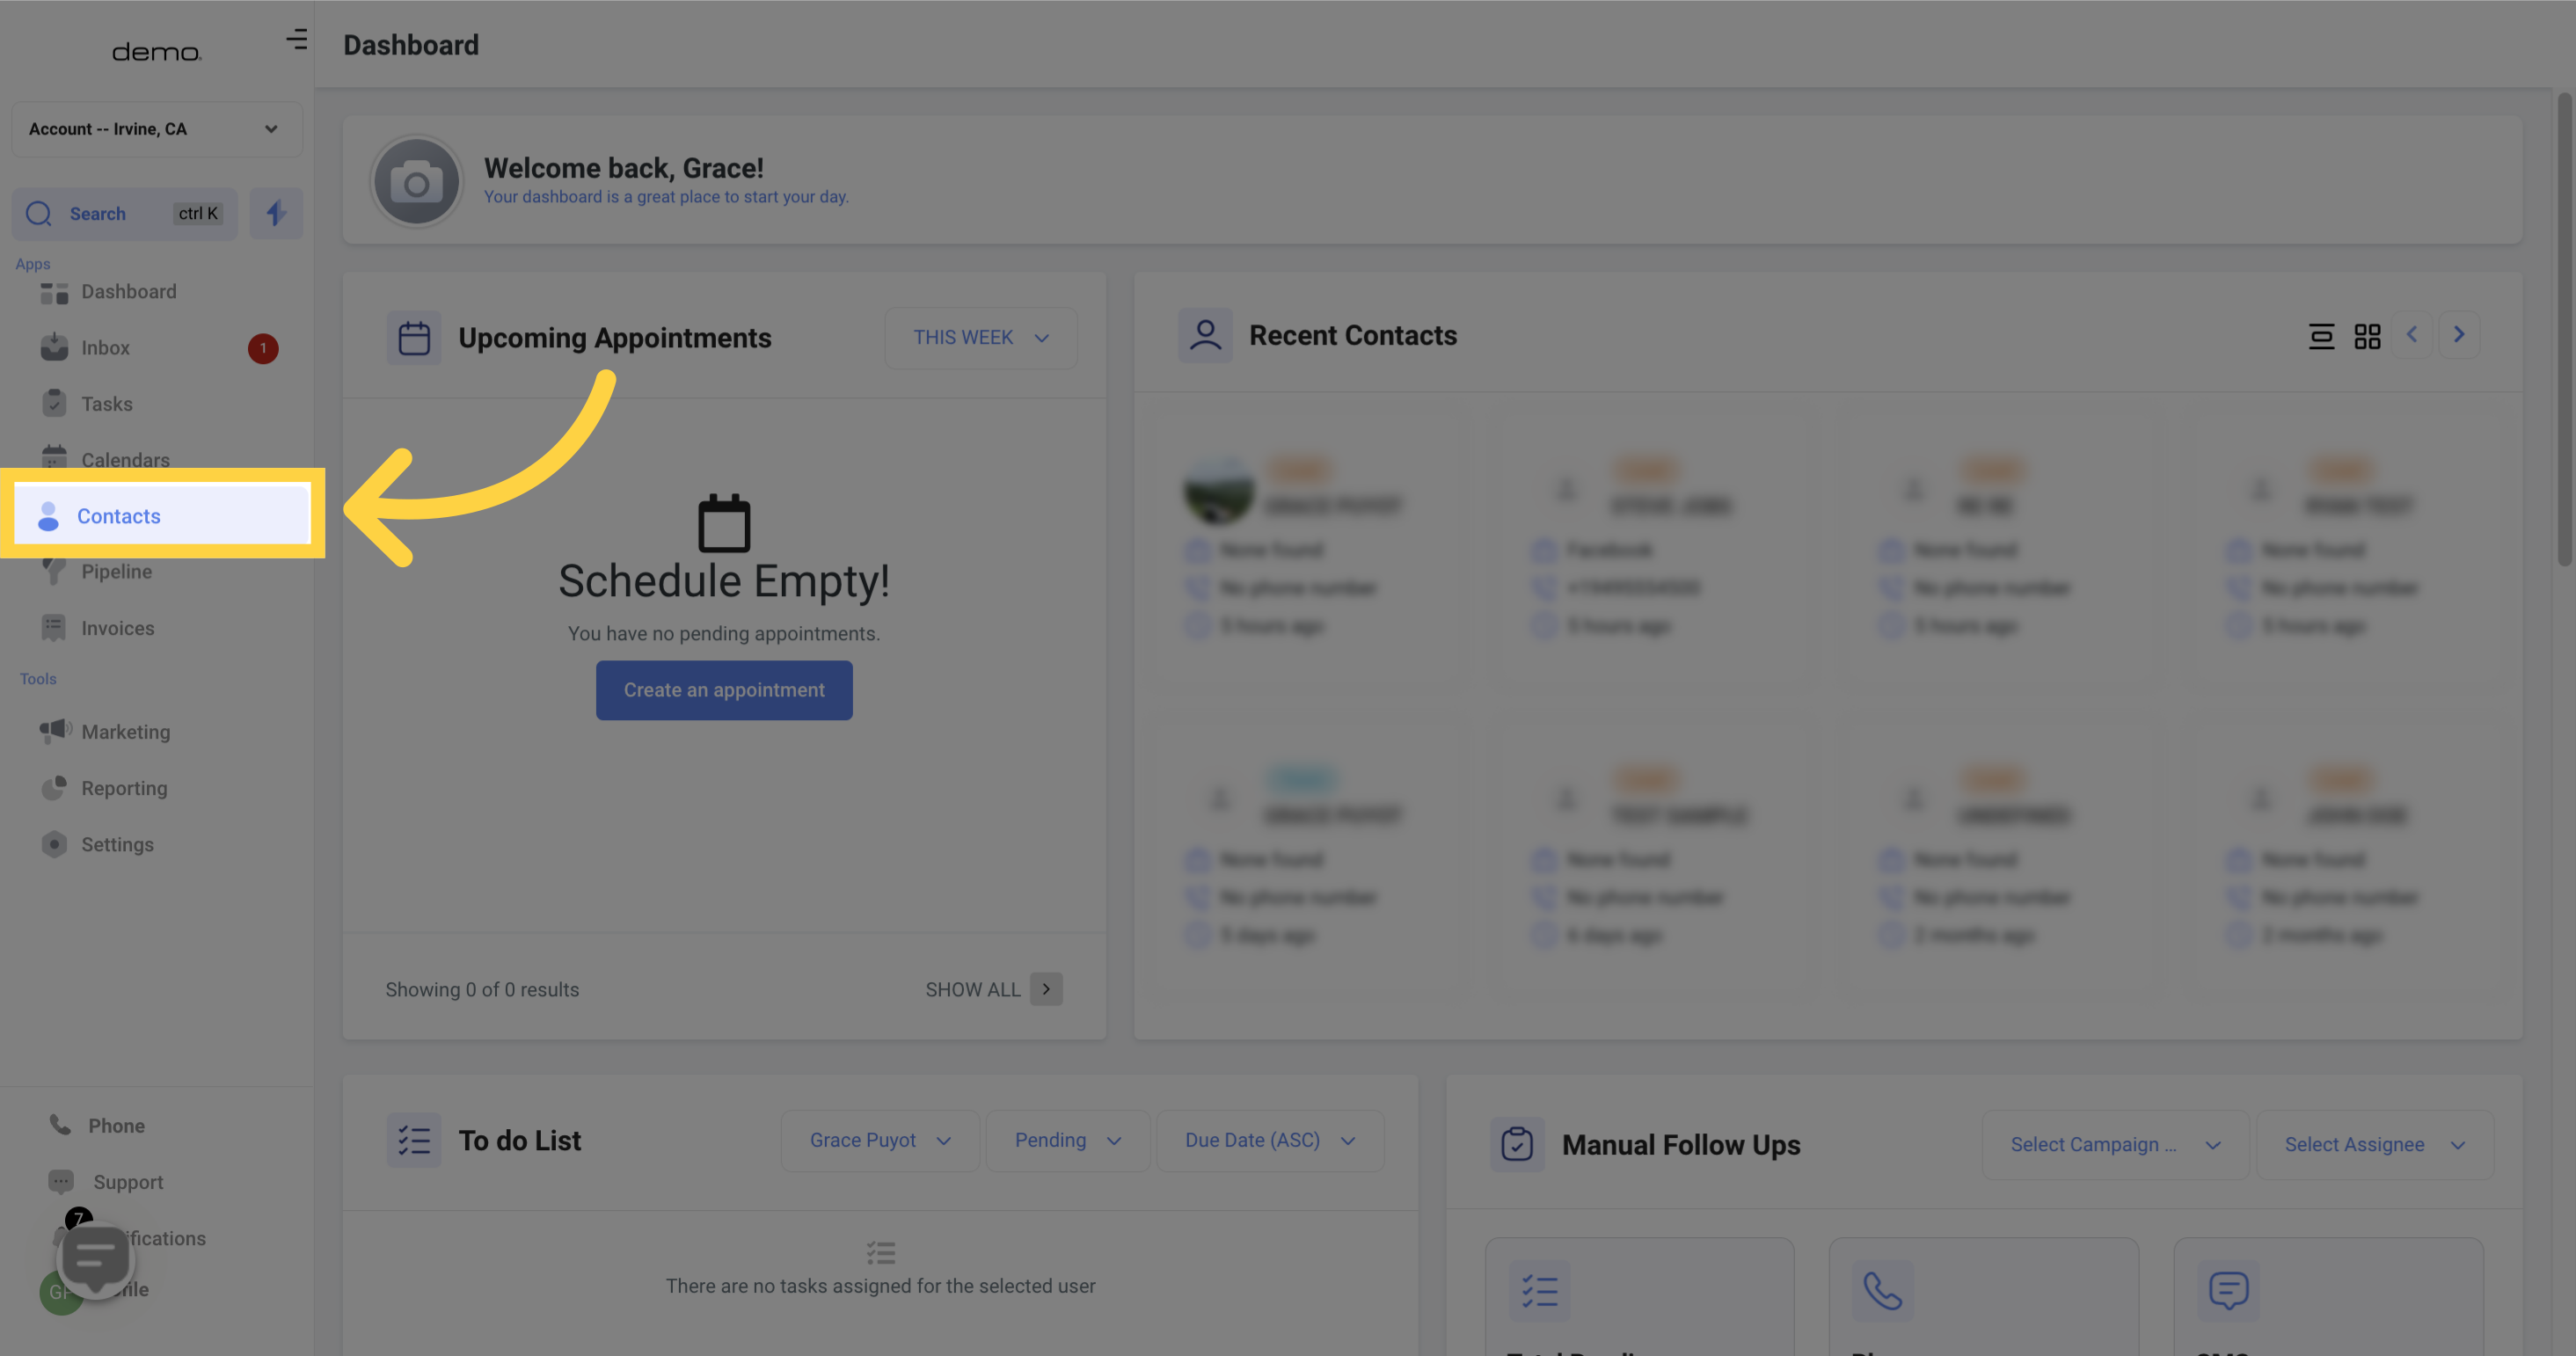
1. Click "Contacts"
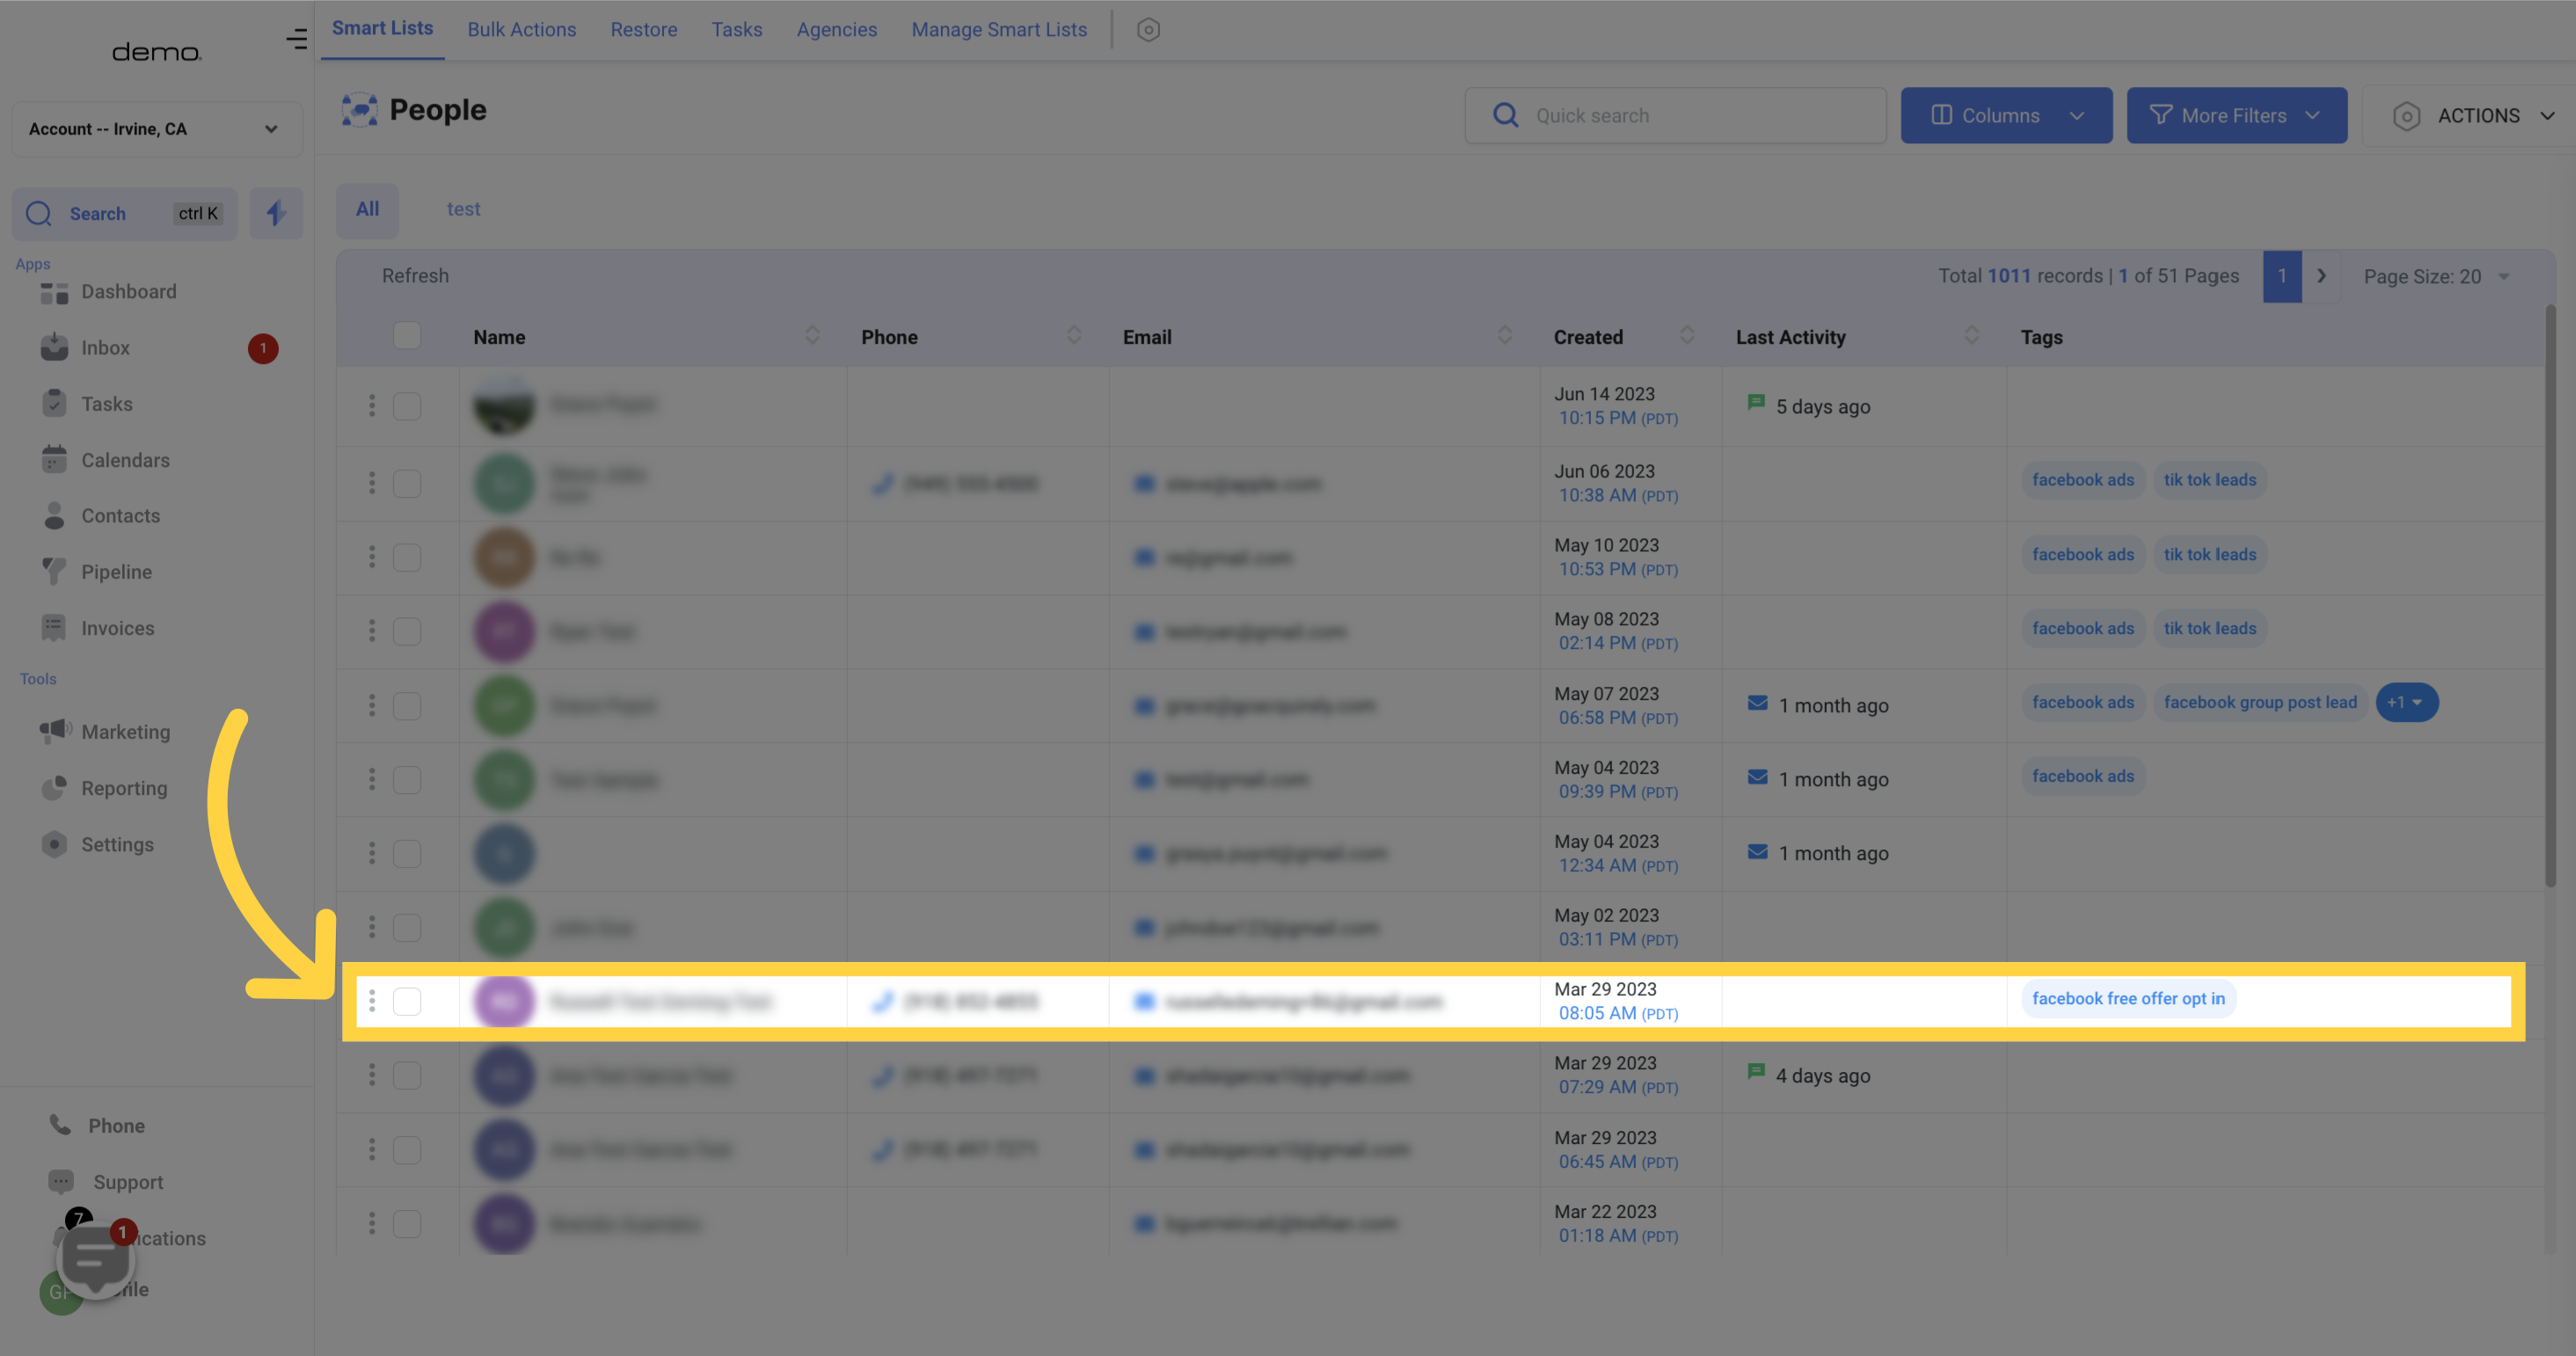
2. Select "Contact"
Select the contact you want to message.
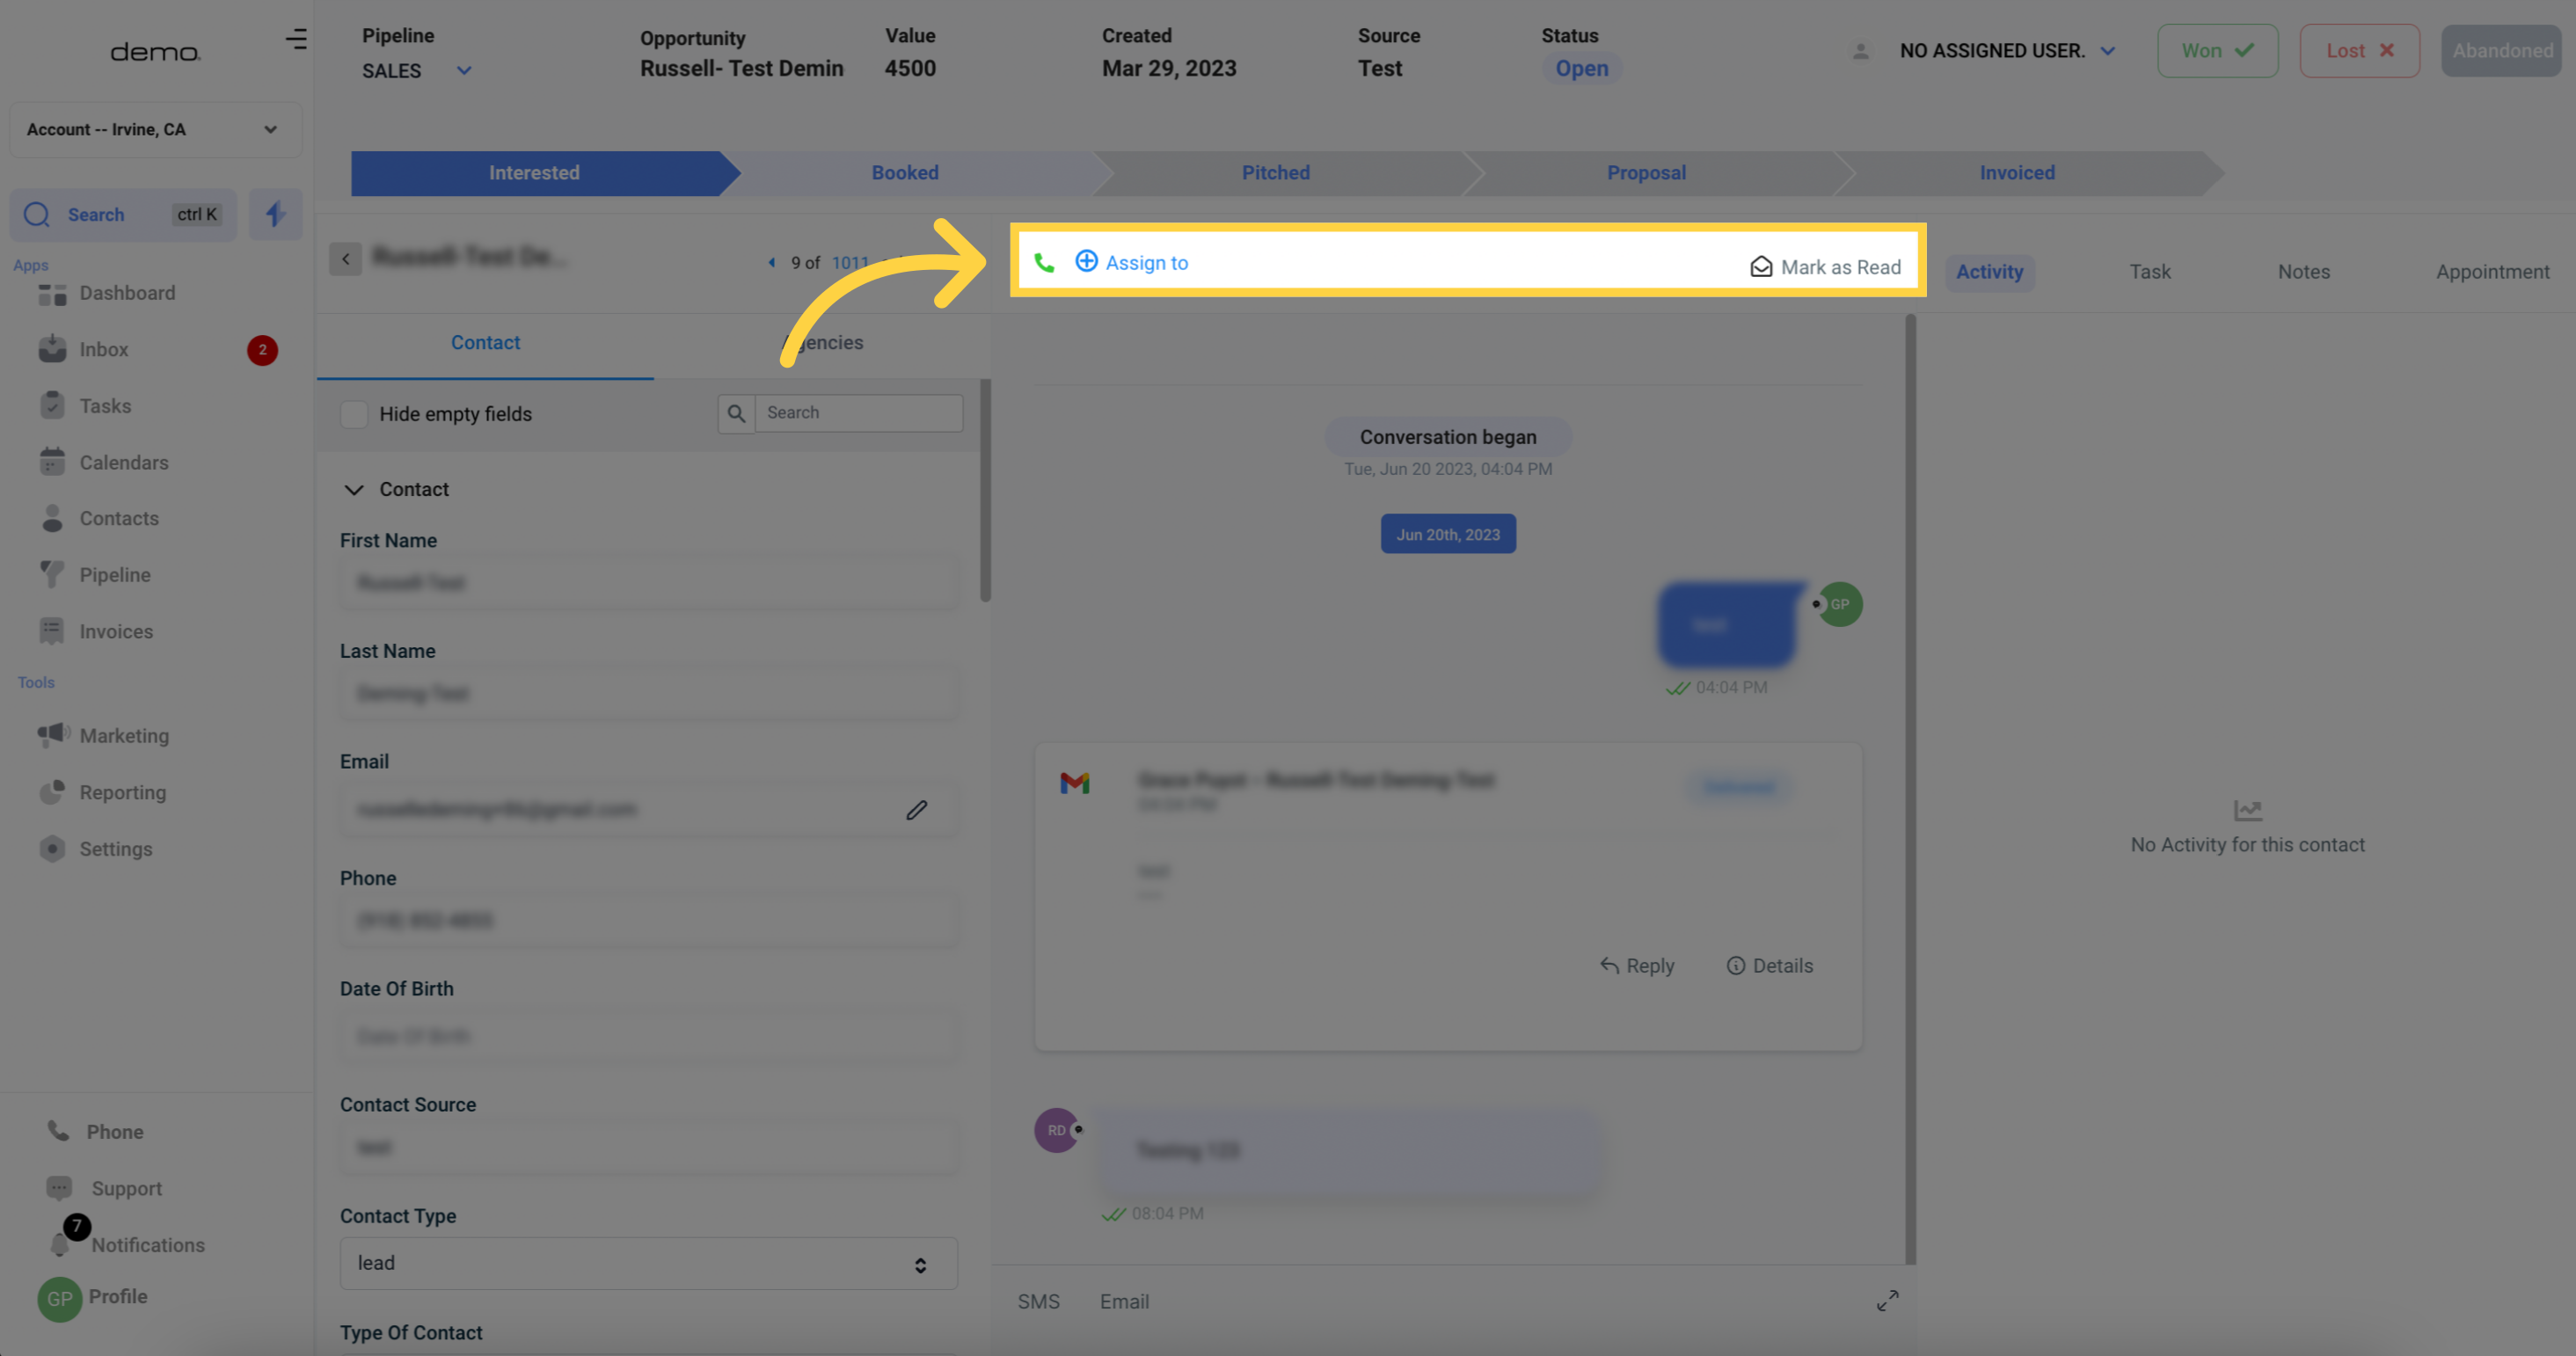
3. Messaging Header
When you're viewing a message, there are several options and buttons available in the header.
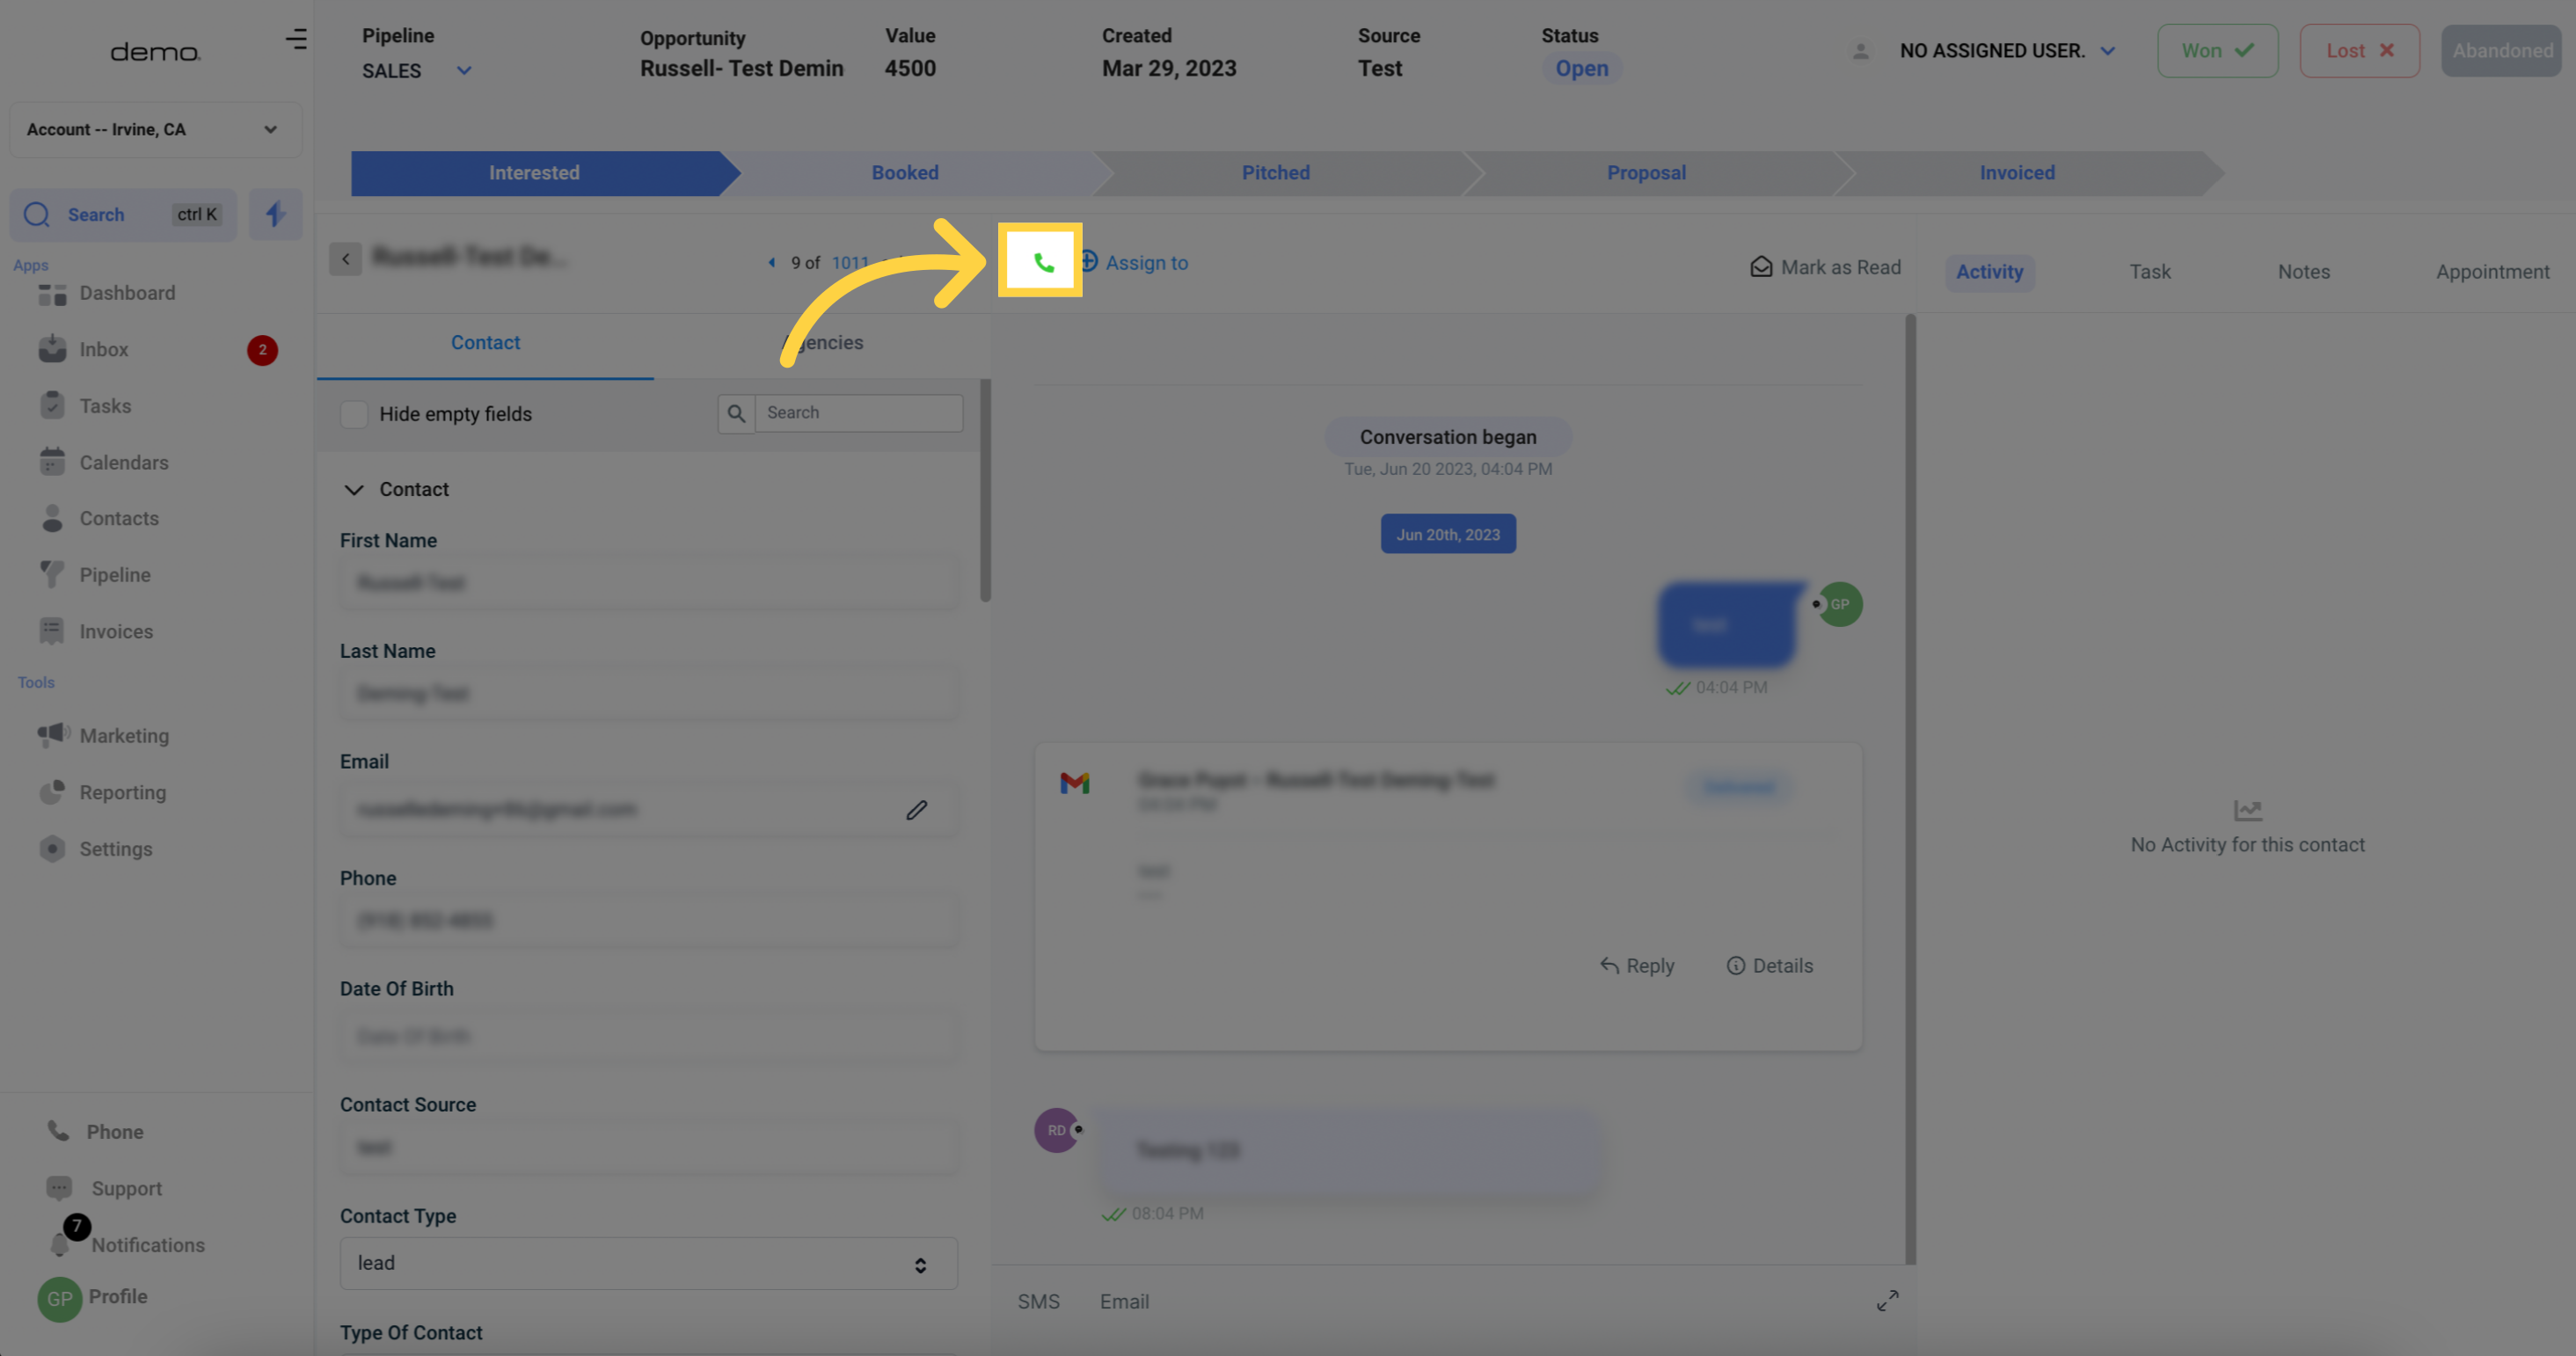
4. Call Contact
To initiate a call with the contact you're currently viewing, simply click the small phone icon. It's a convenient shortcut that eliminates the need to manually enter the phone number.
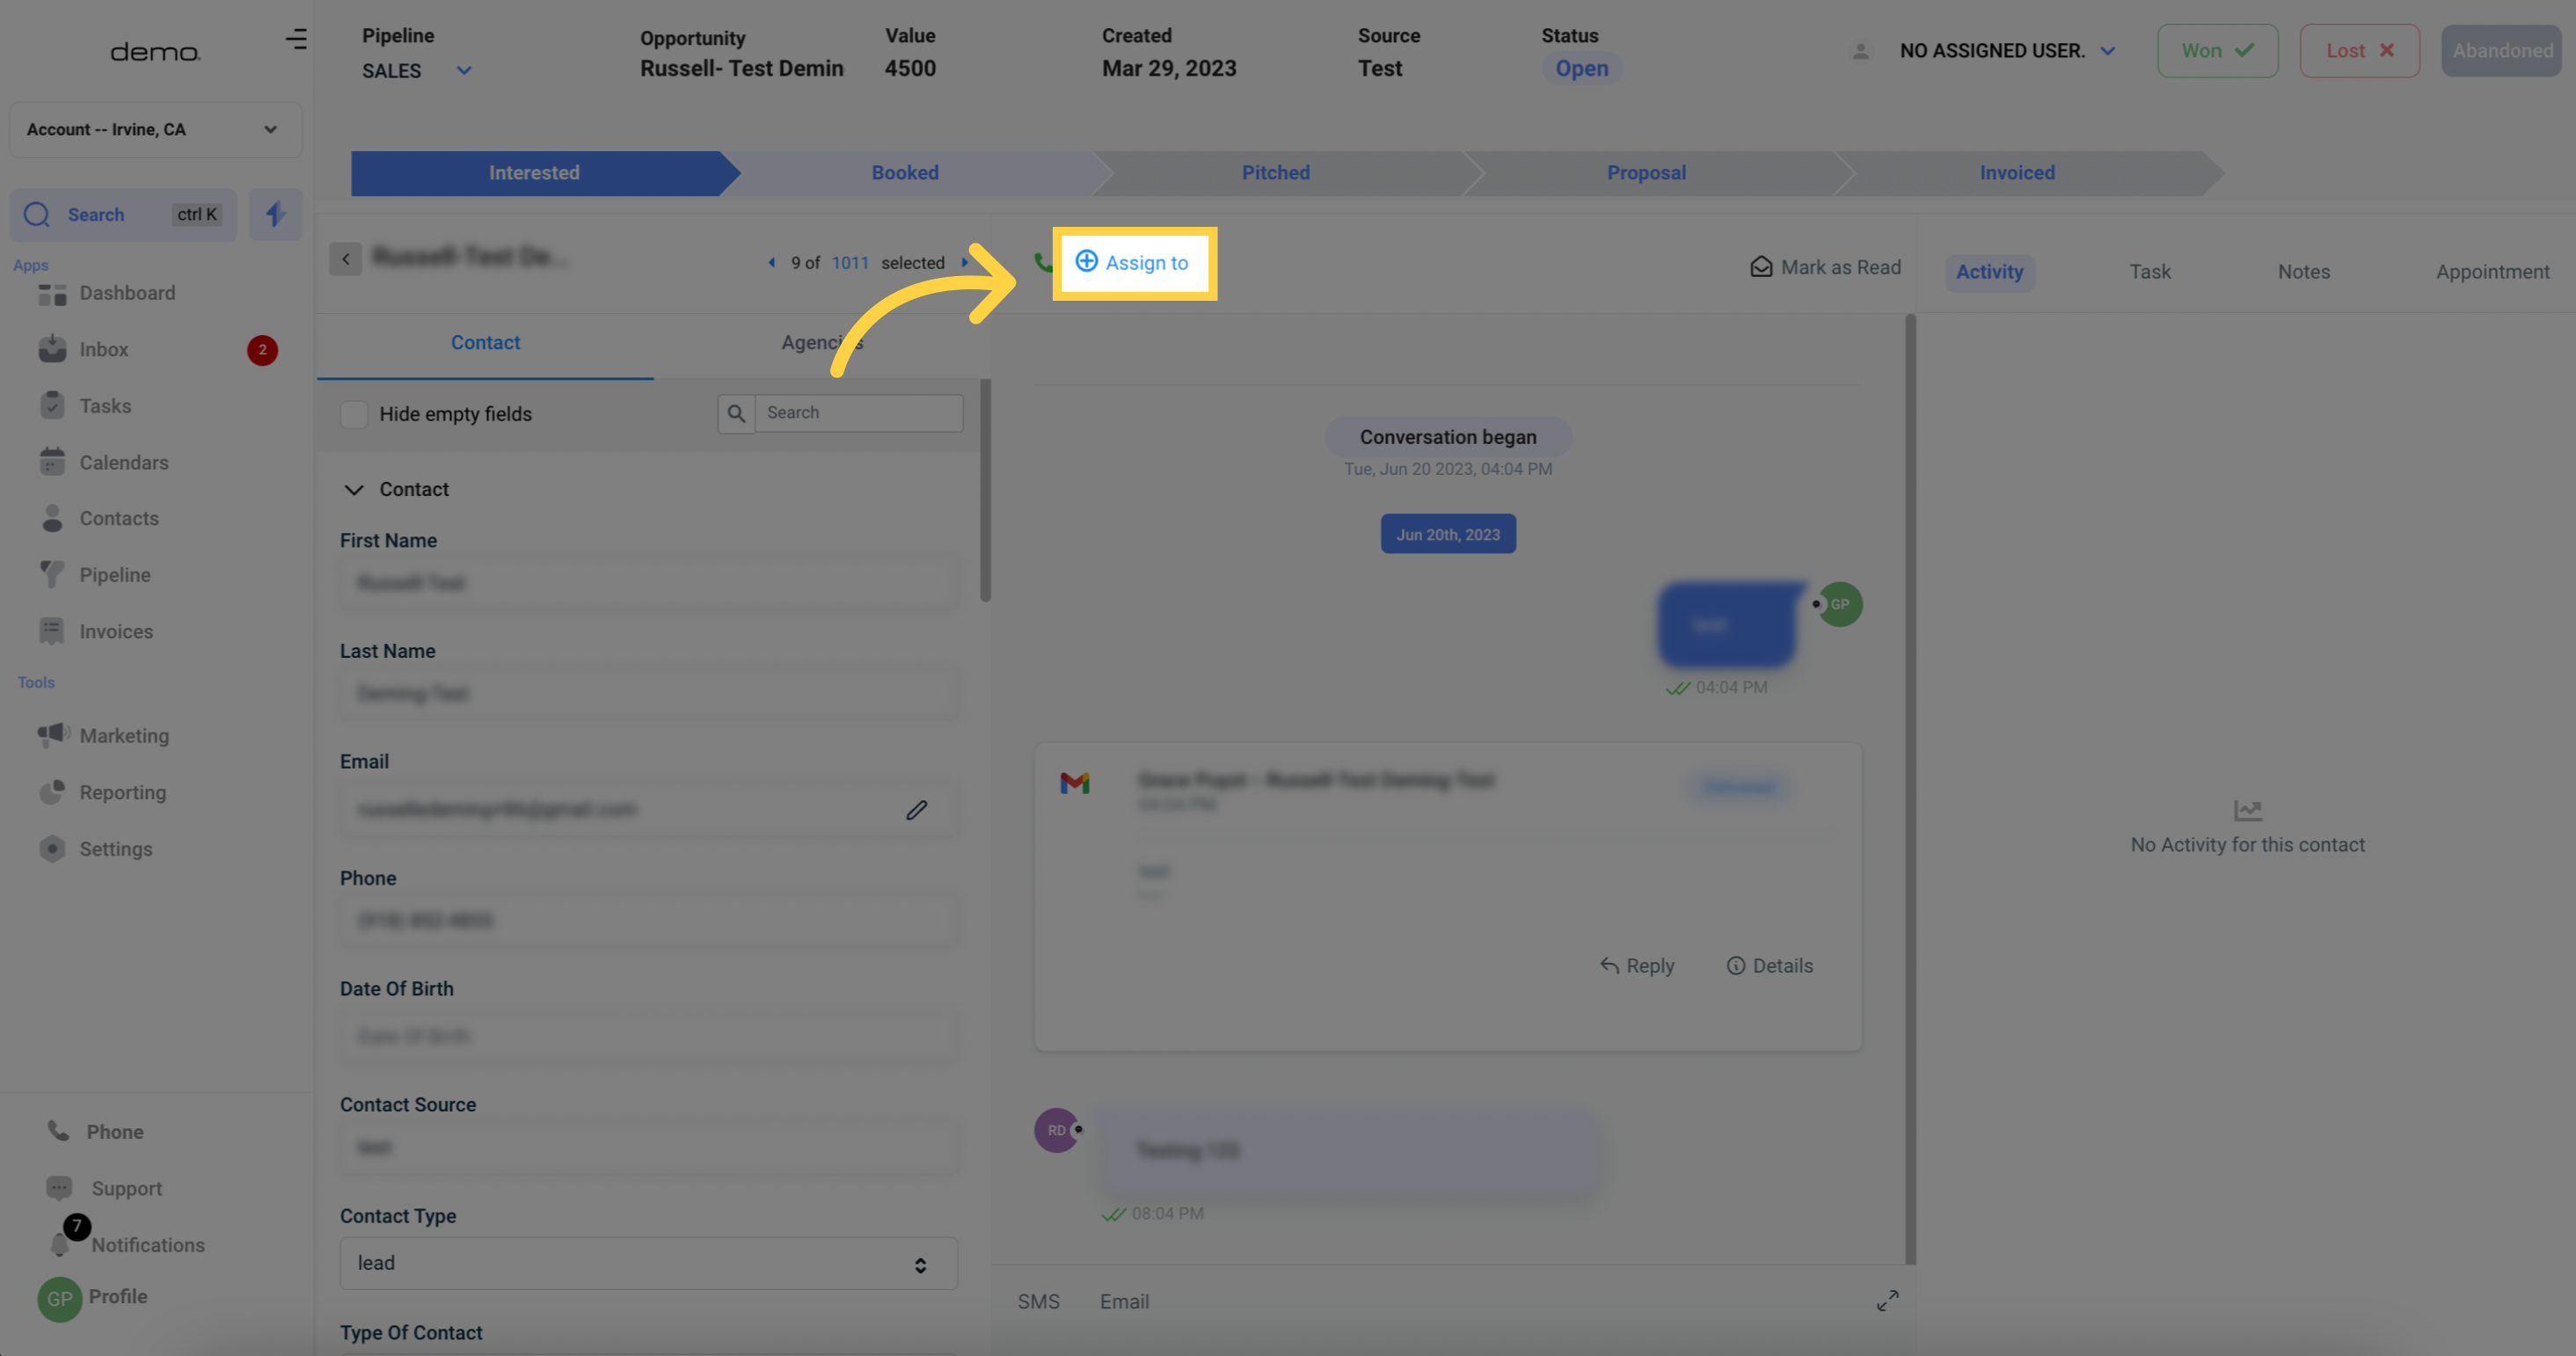
5. Assign Contact
To assign a contact to a specific employee or team member, click the designated button and select one of your registered CRM users to take ownership of the contact.
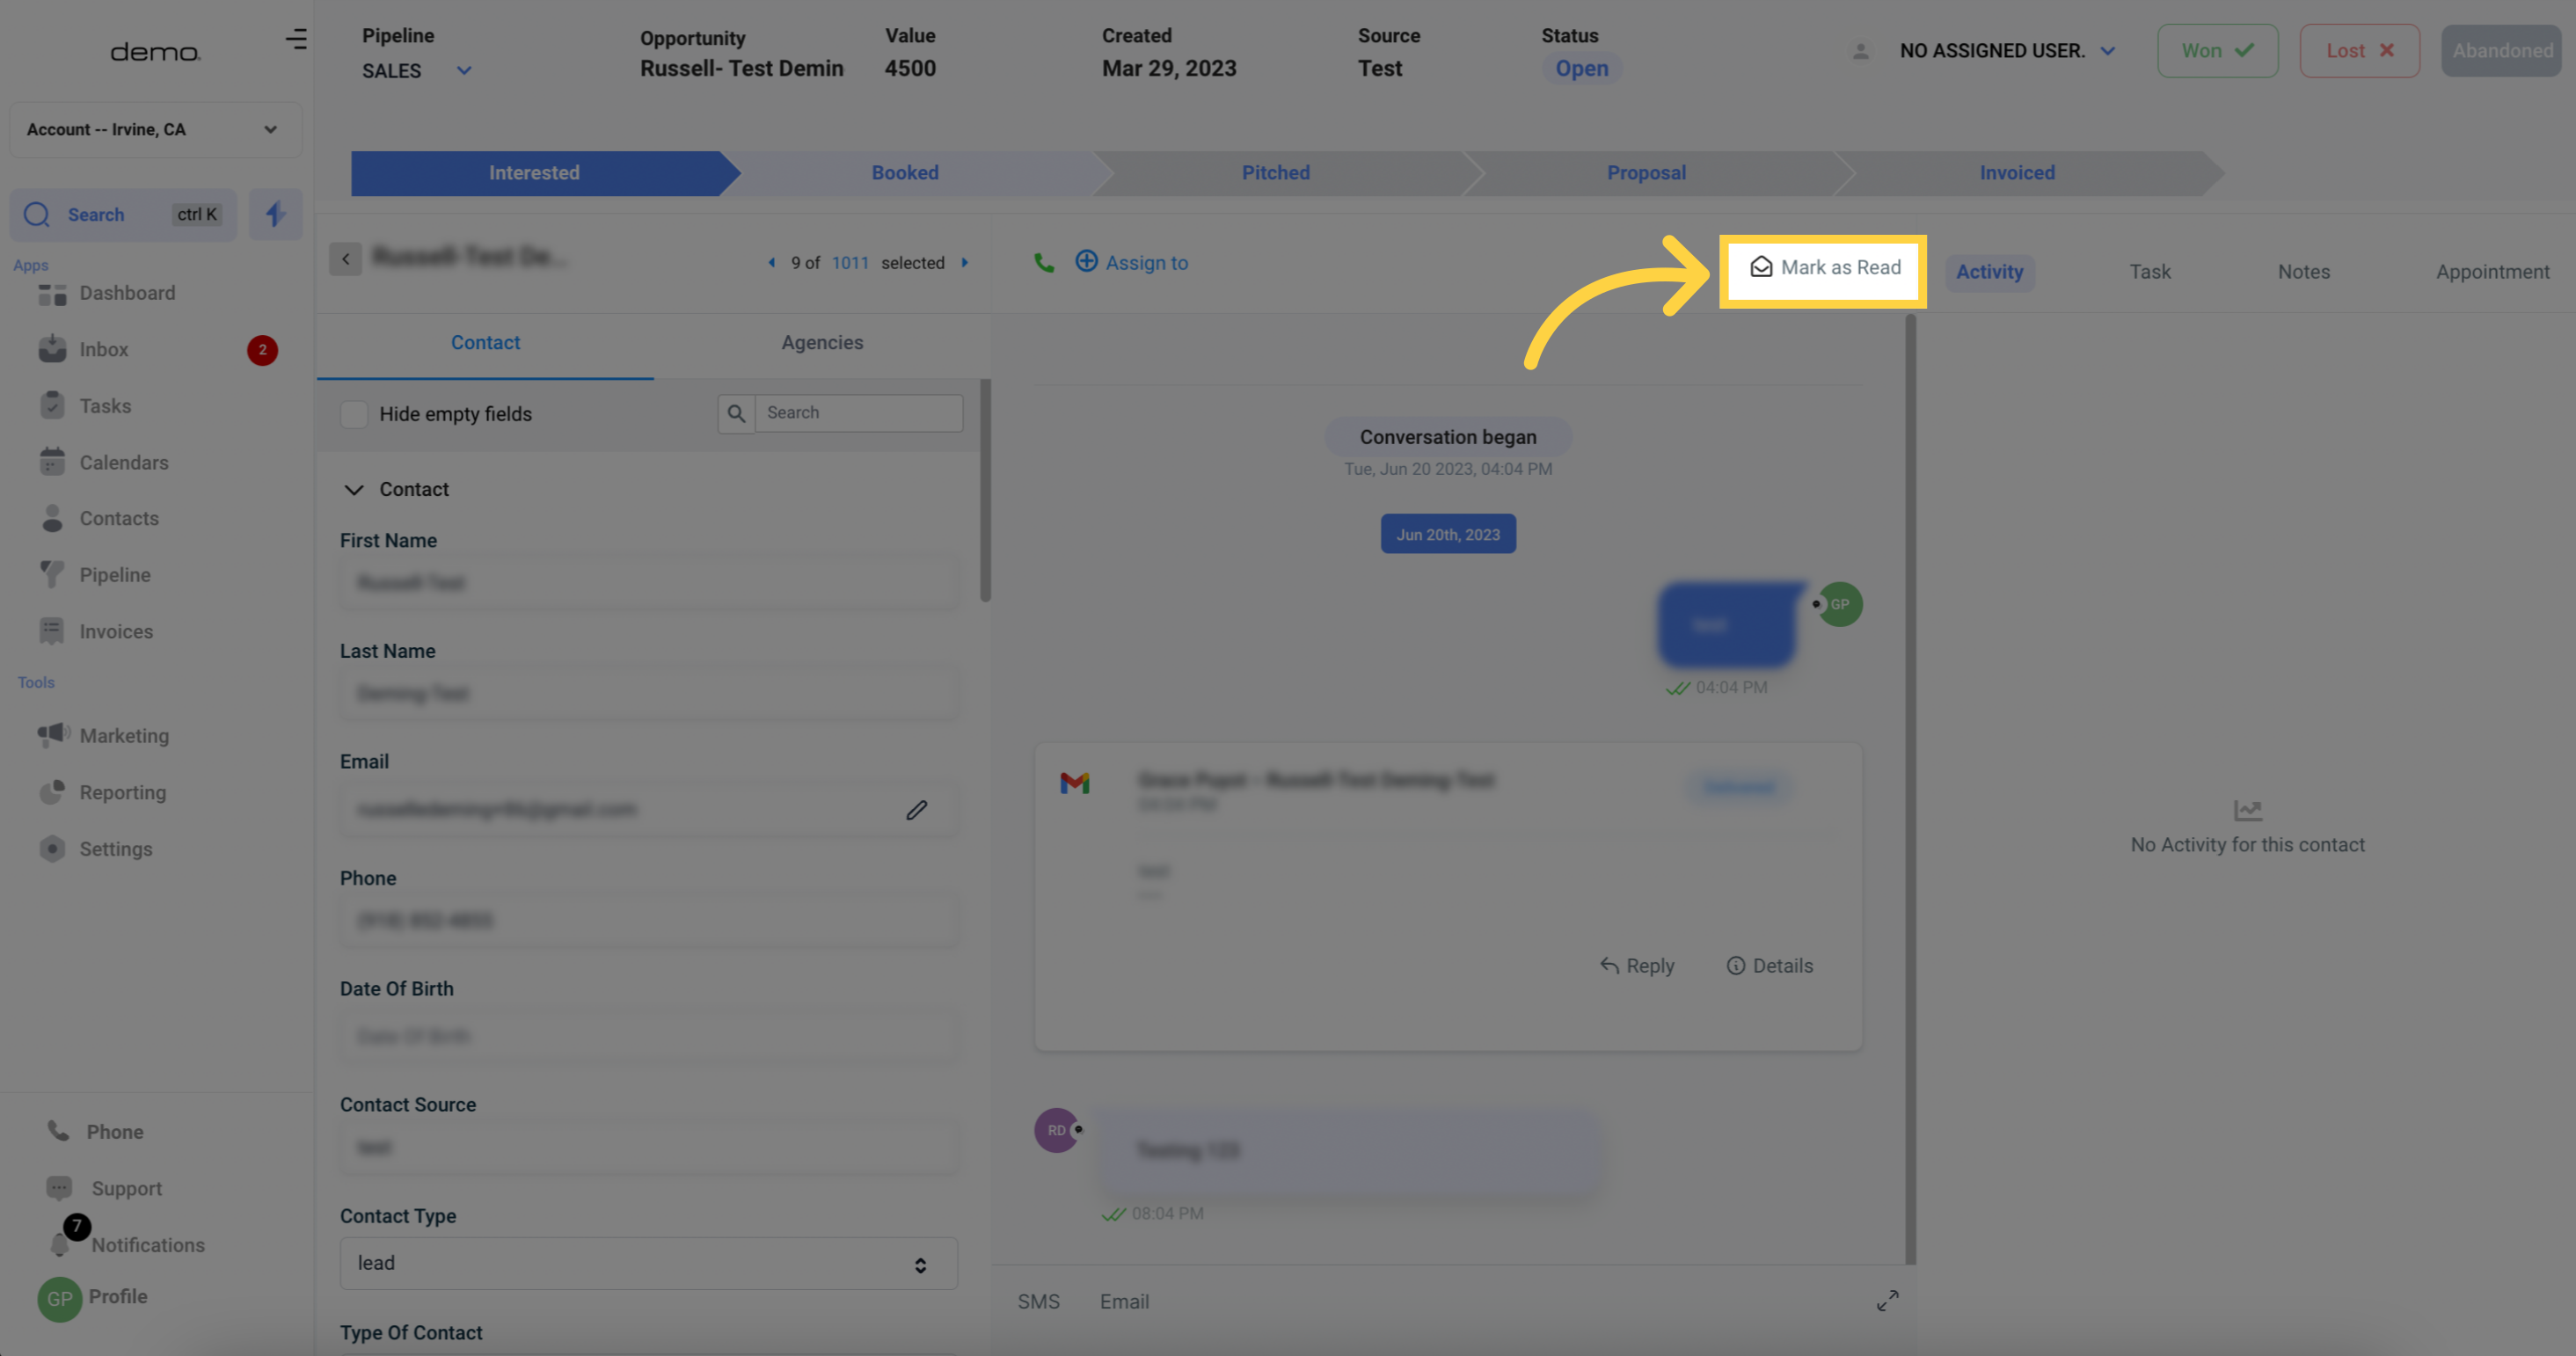
6. Mark Messages As 'Read/Unread'
To keep your messages organized, you can mark them as read or unread using the designated button. This feature helps prioritize messages and prevent important ones from slipping through the cracks.
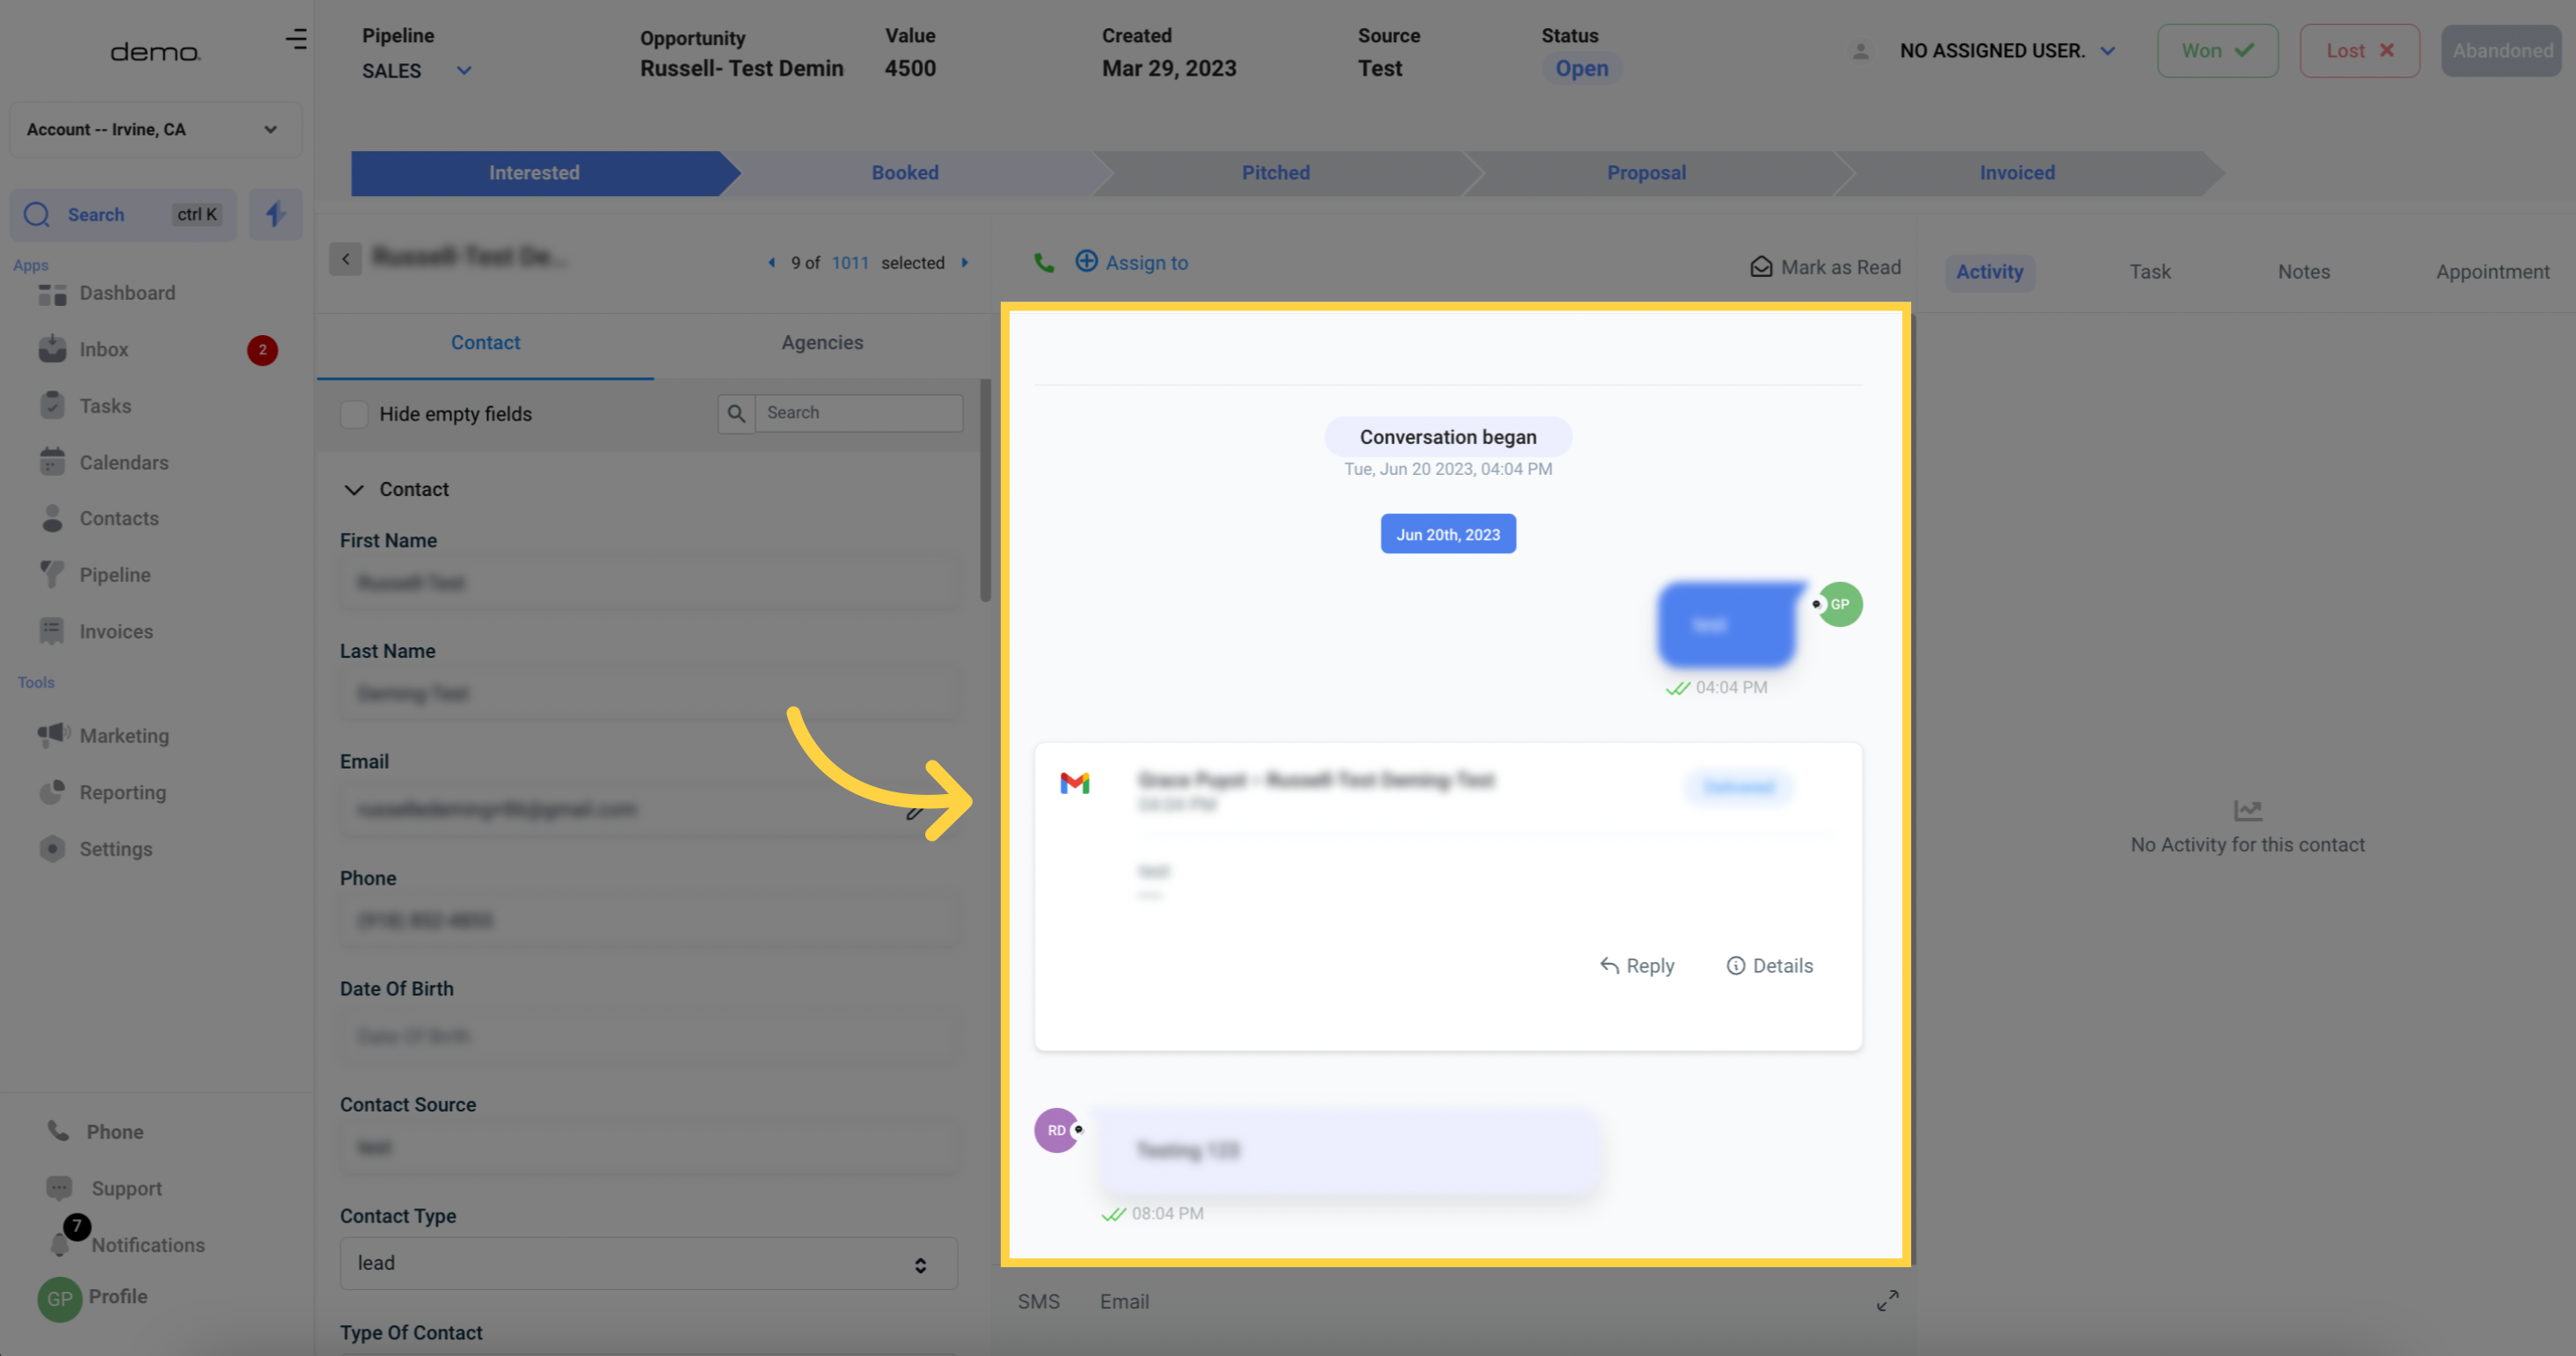
7. Contact Message Threads
Here's where you can view the entire history of your messages and conversations with a specific contact. All messages and calls processed by your CRM for that contact will be displayed here.
8. Sending Messages
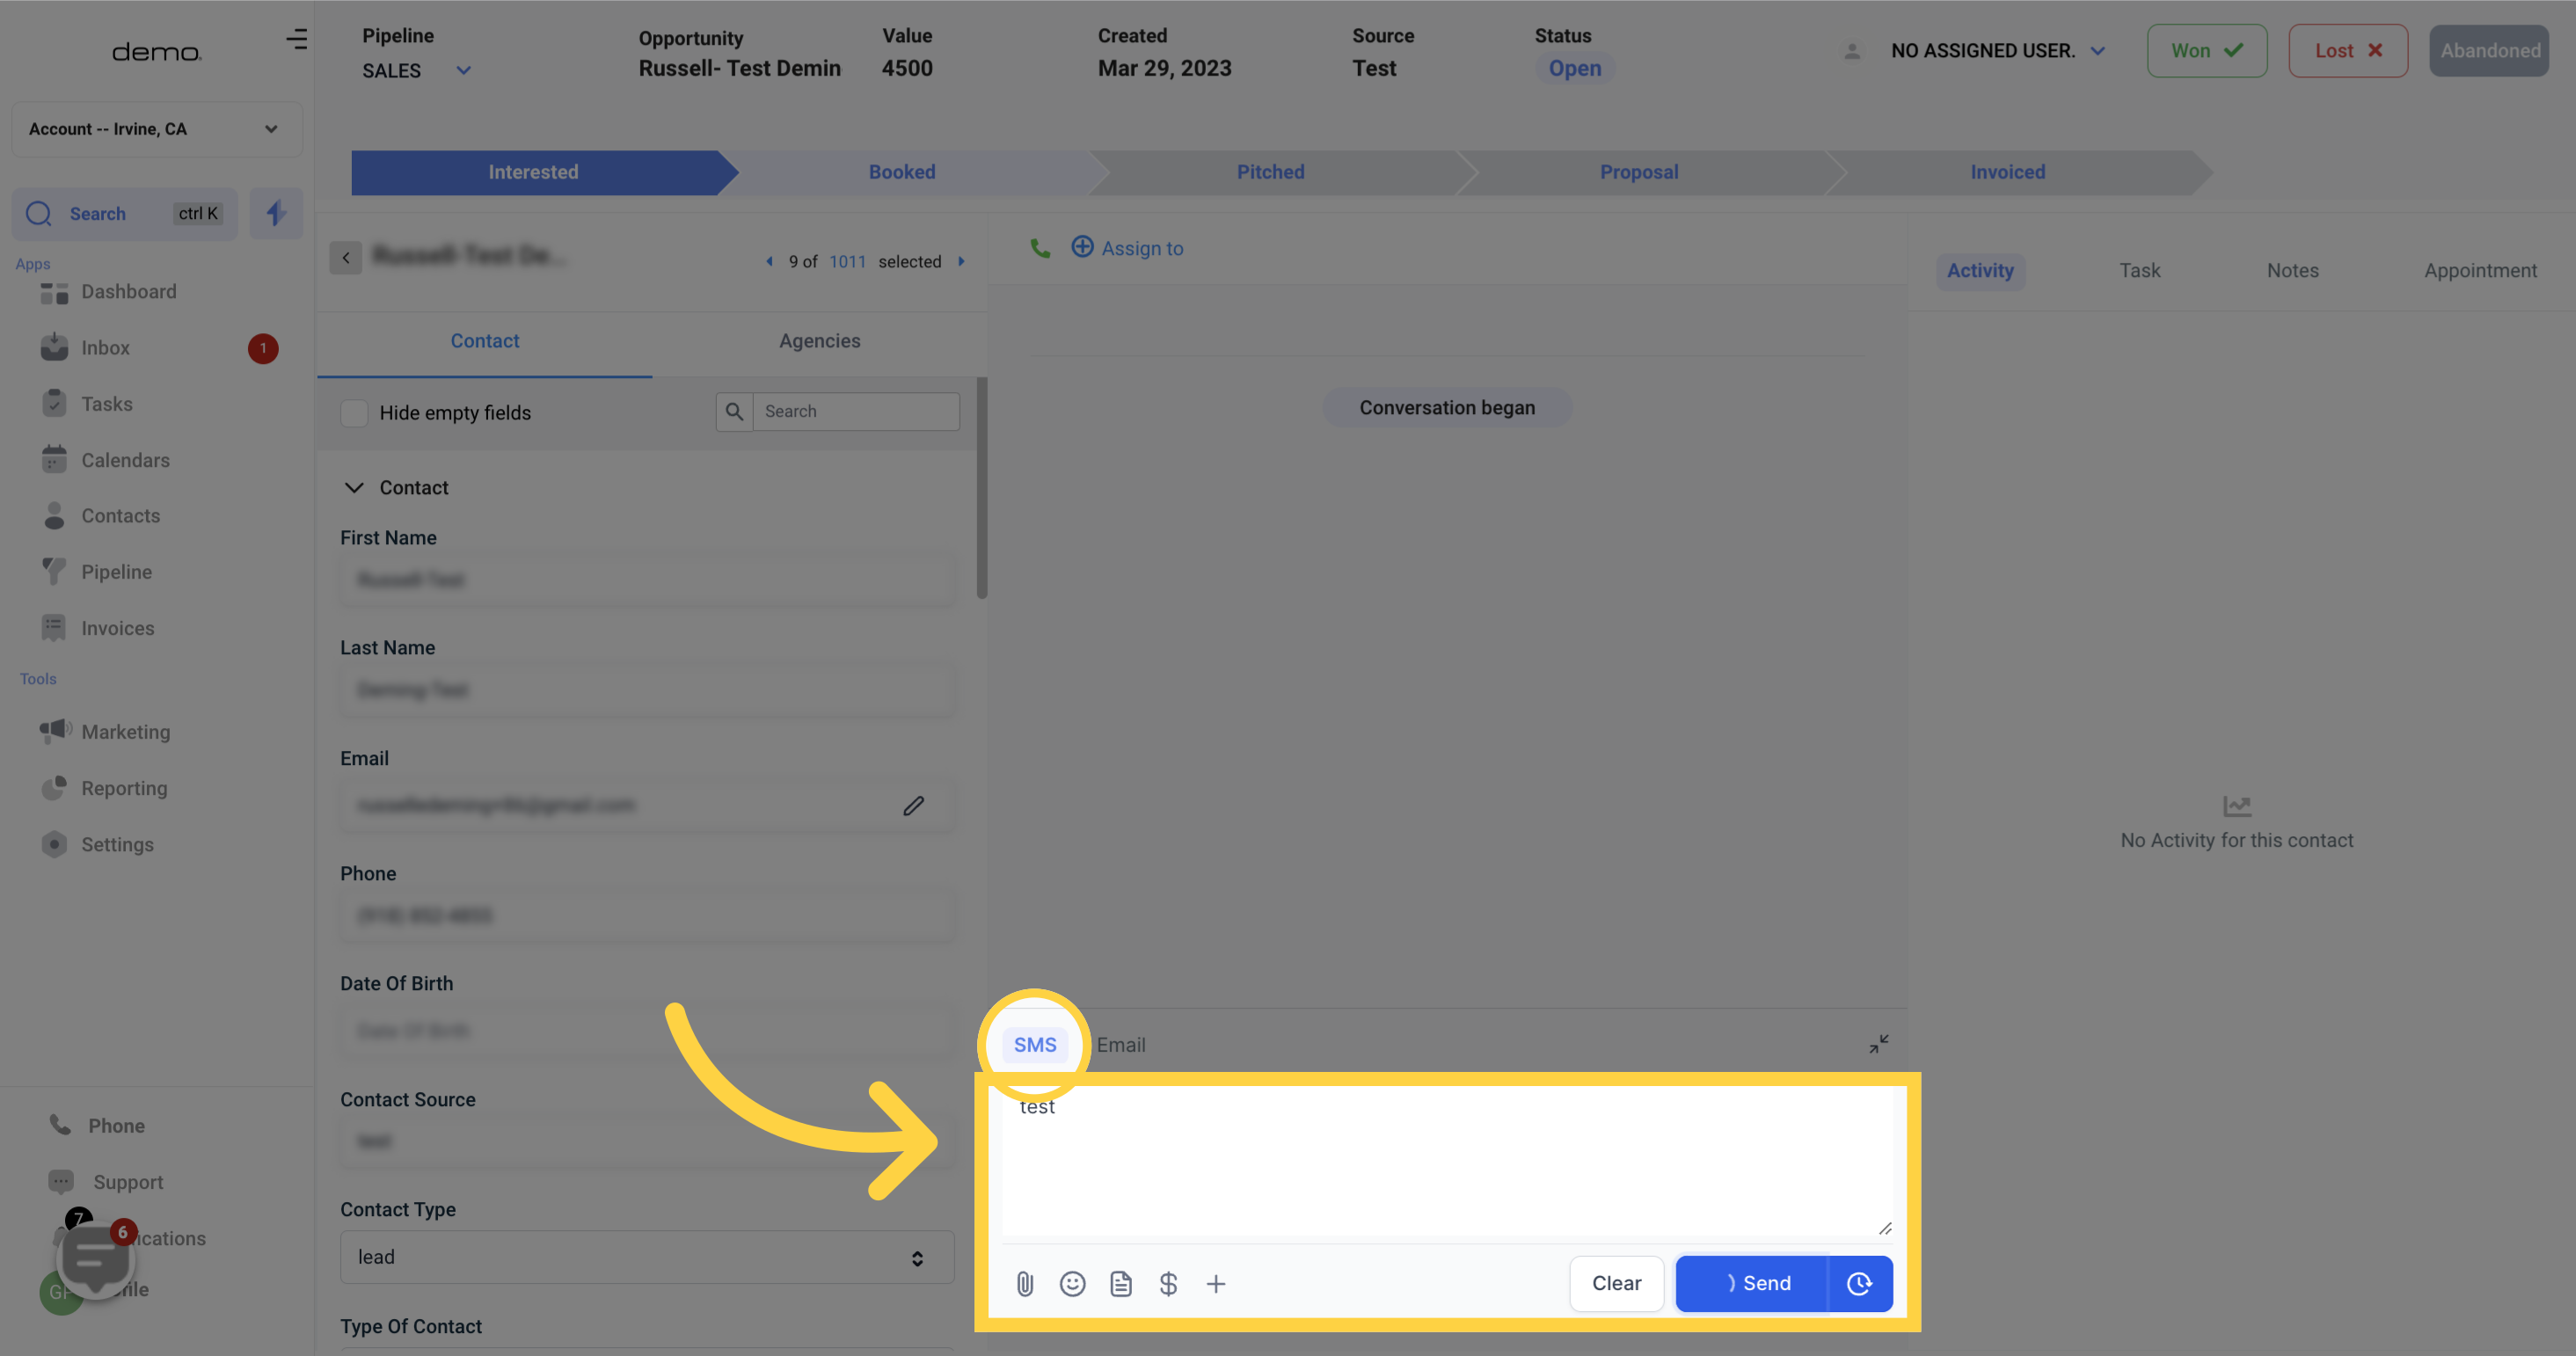
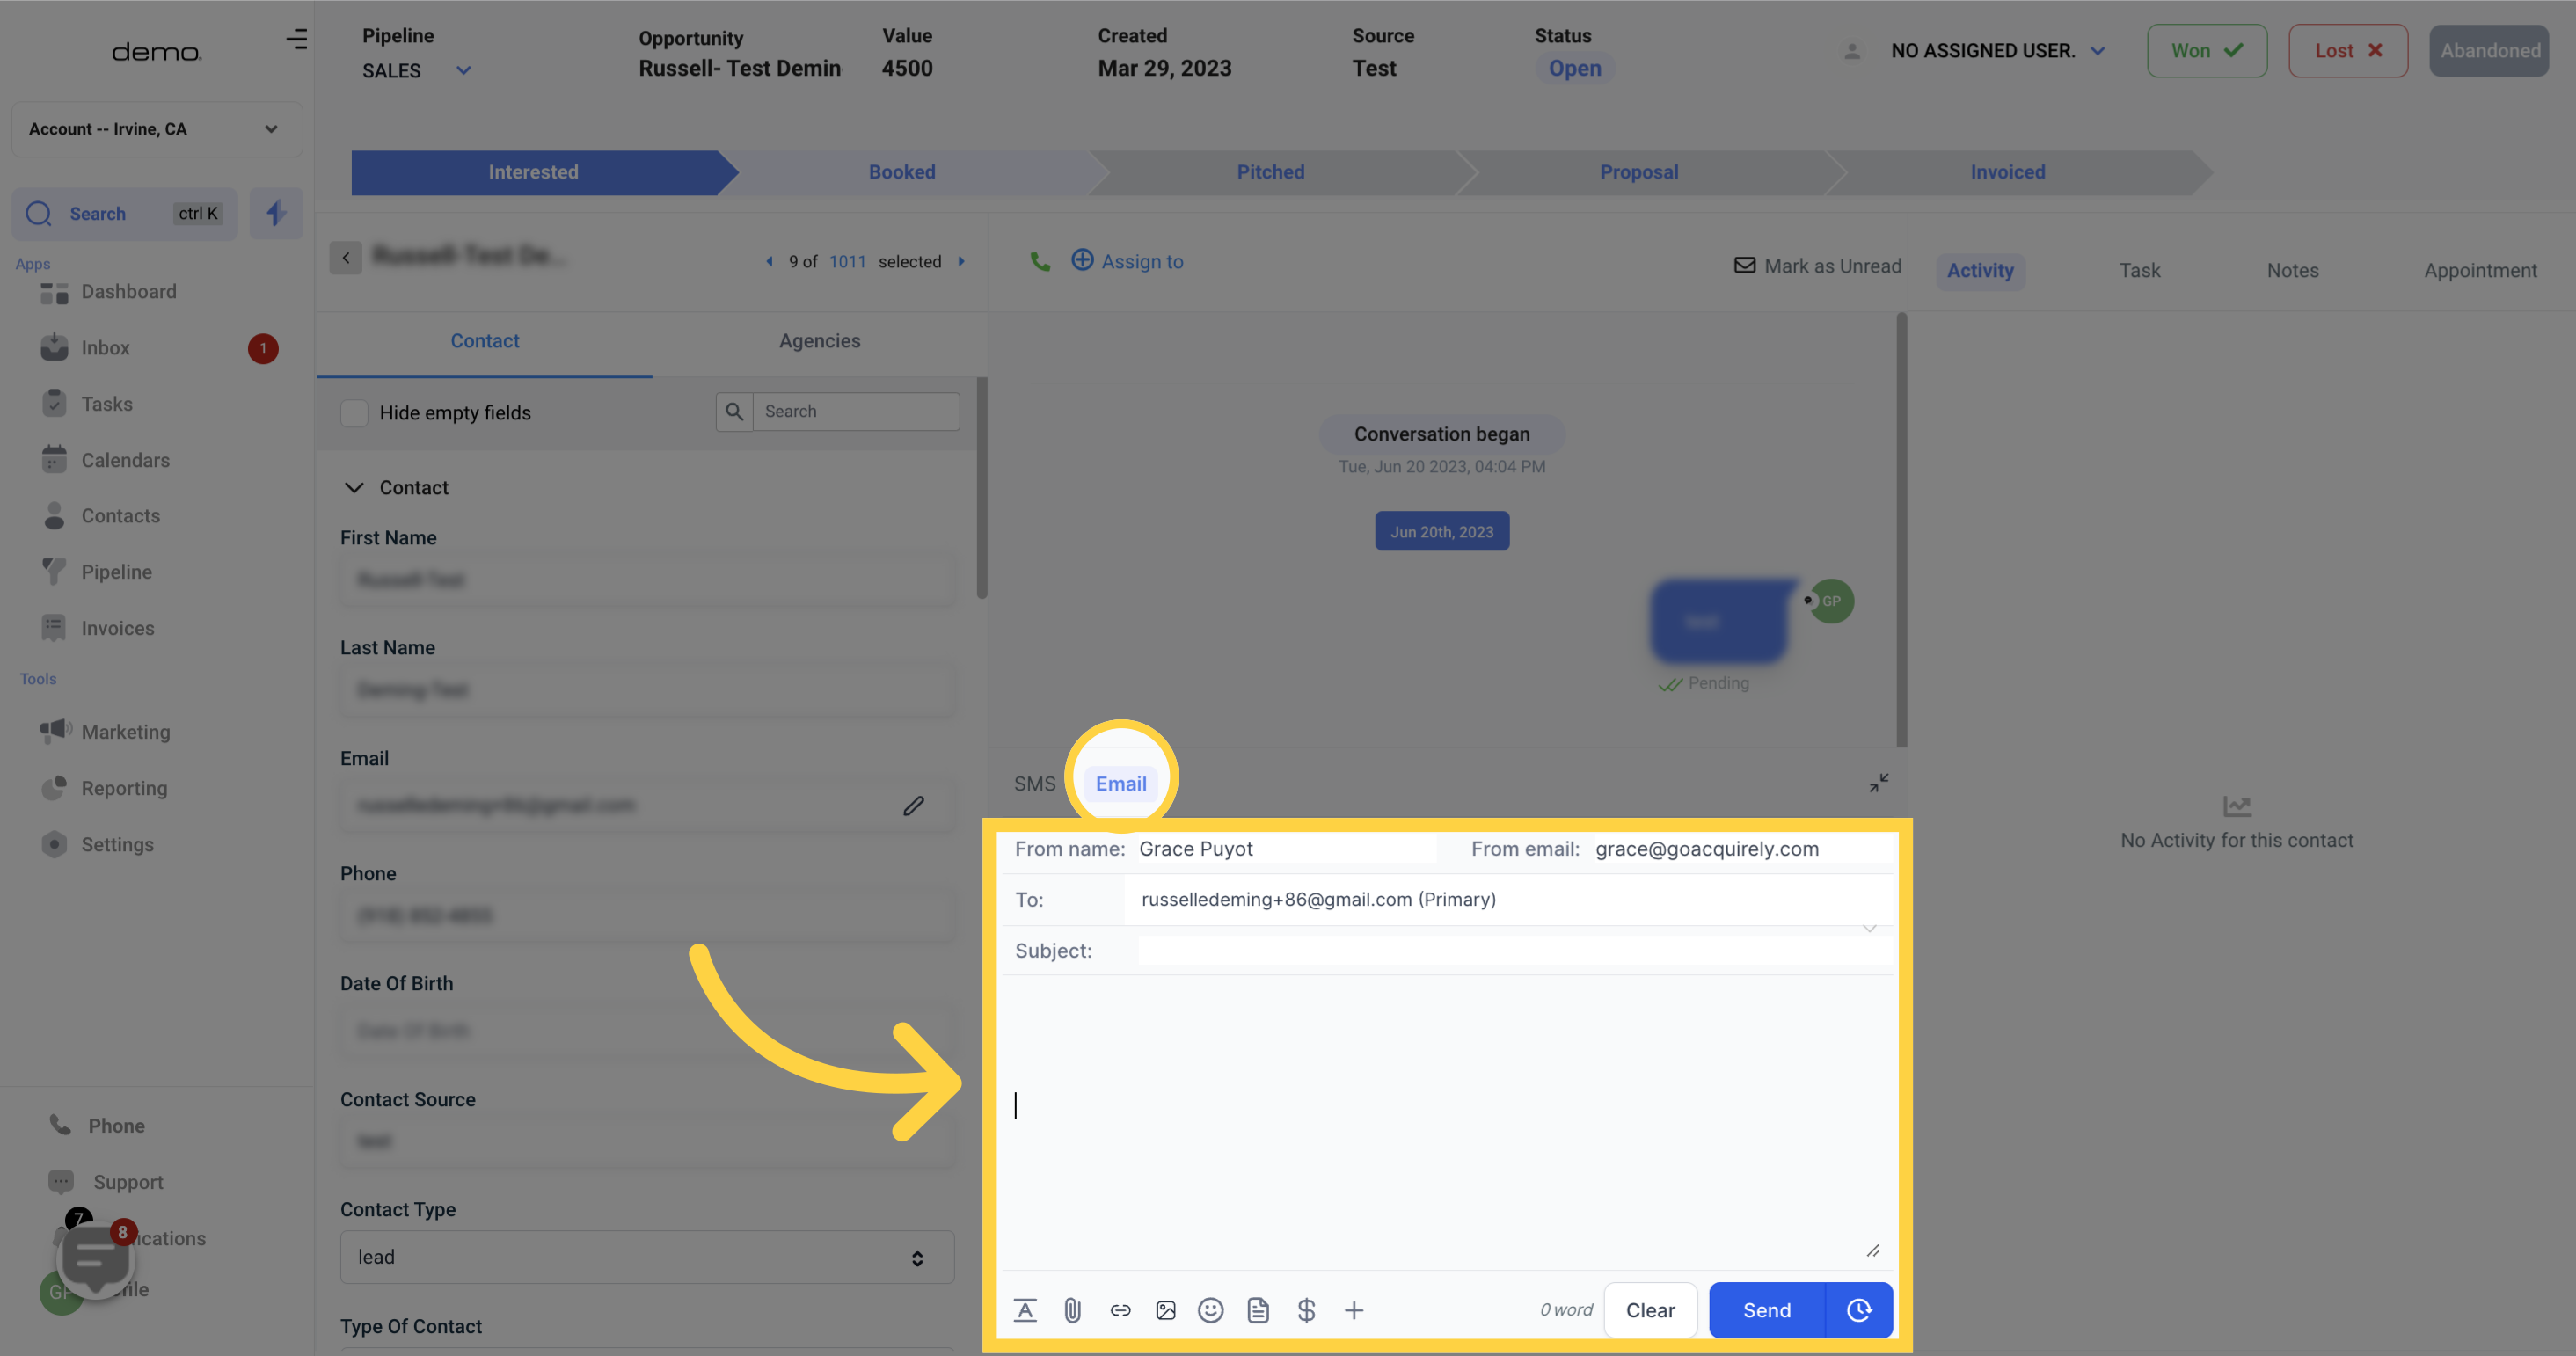
Similar to the "Conversations" section in your CRM, you can send messages by choosing the message type and then composing the message.
SMS
