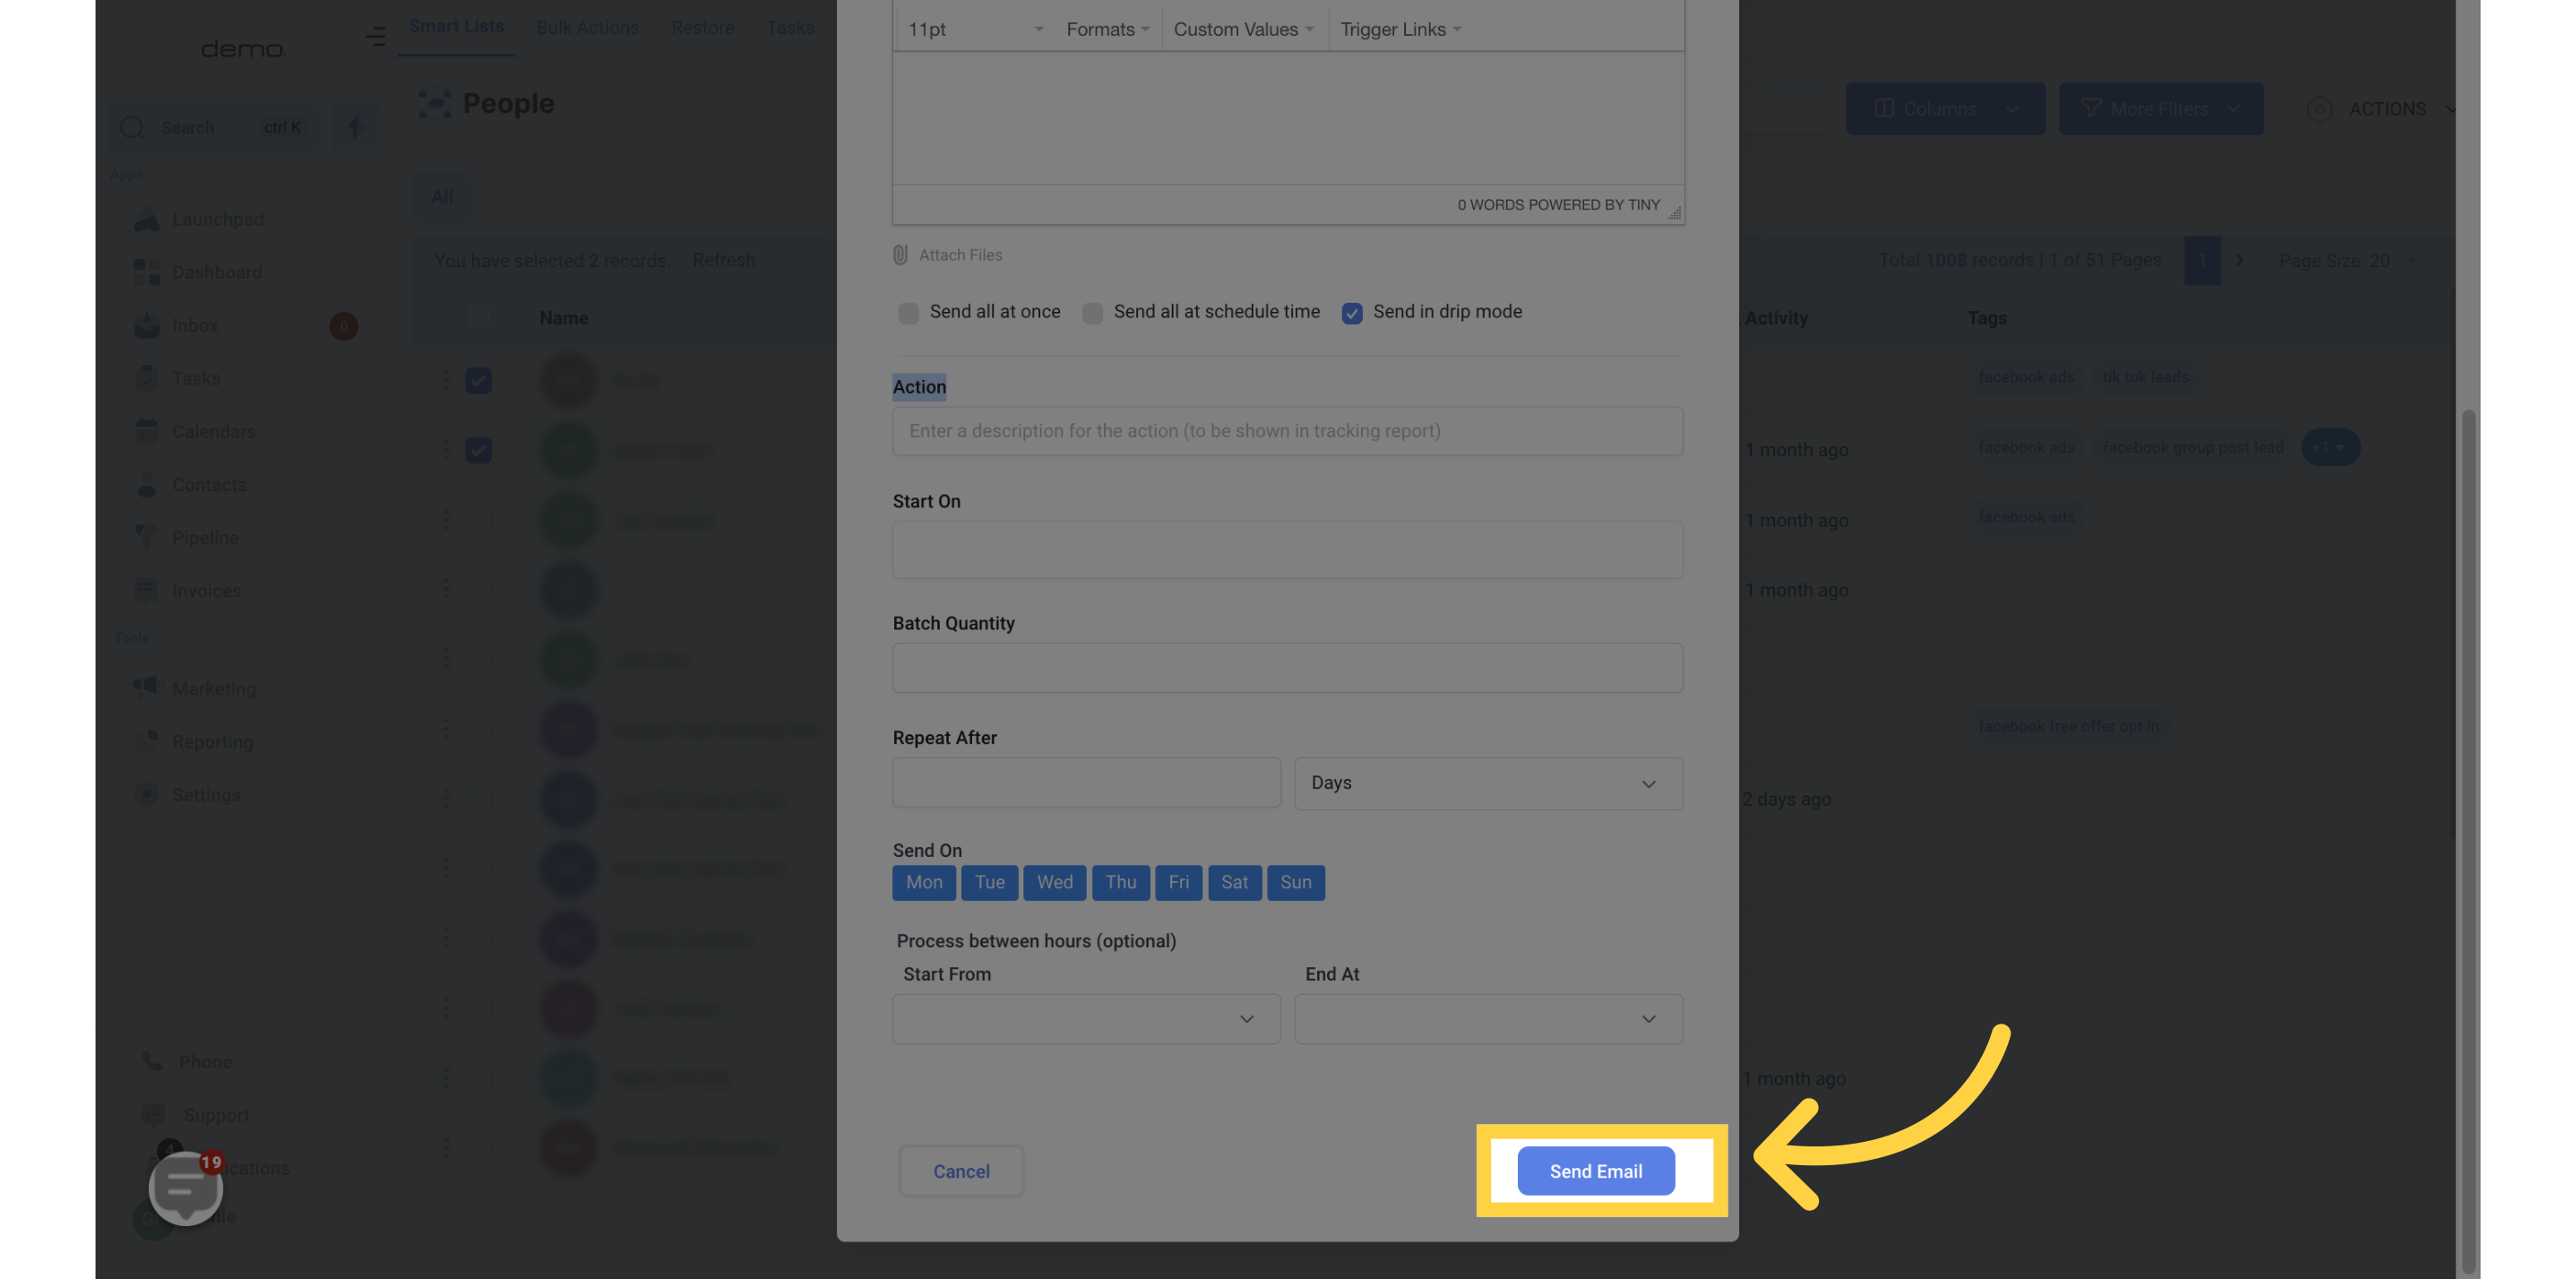
1. Click "Contacts"
Access the Contacts section.
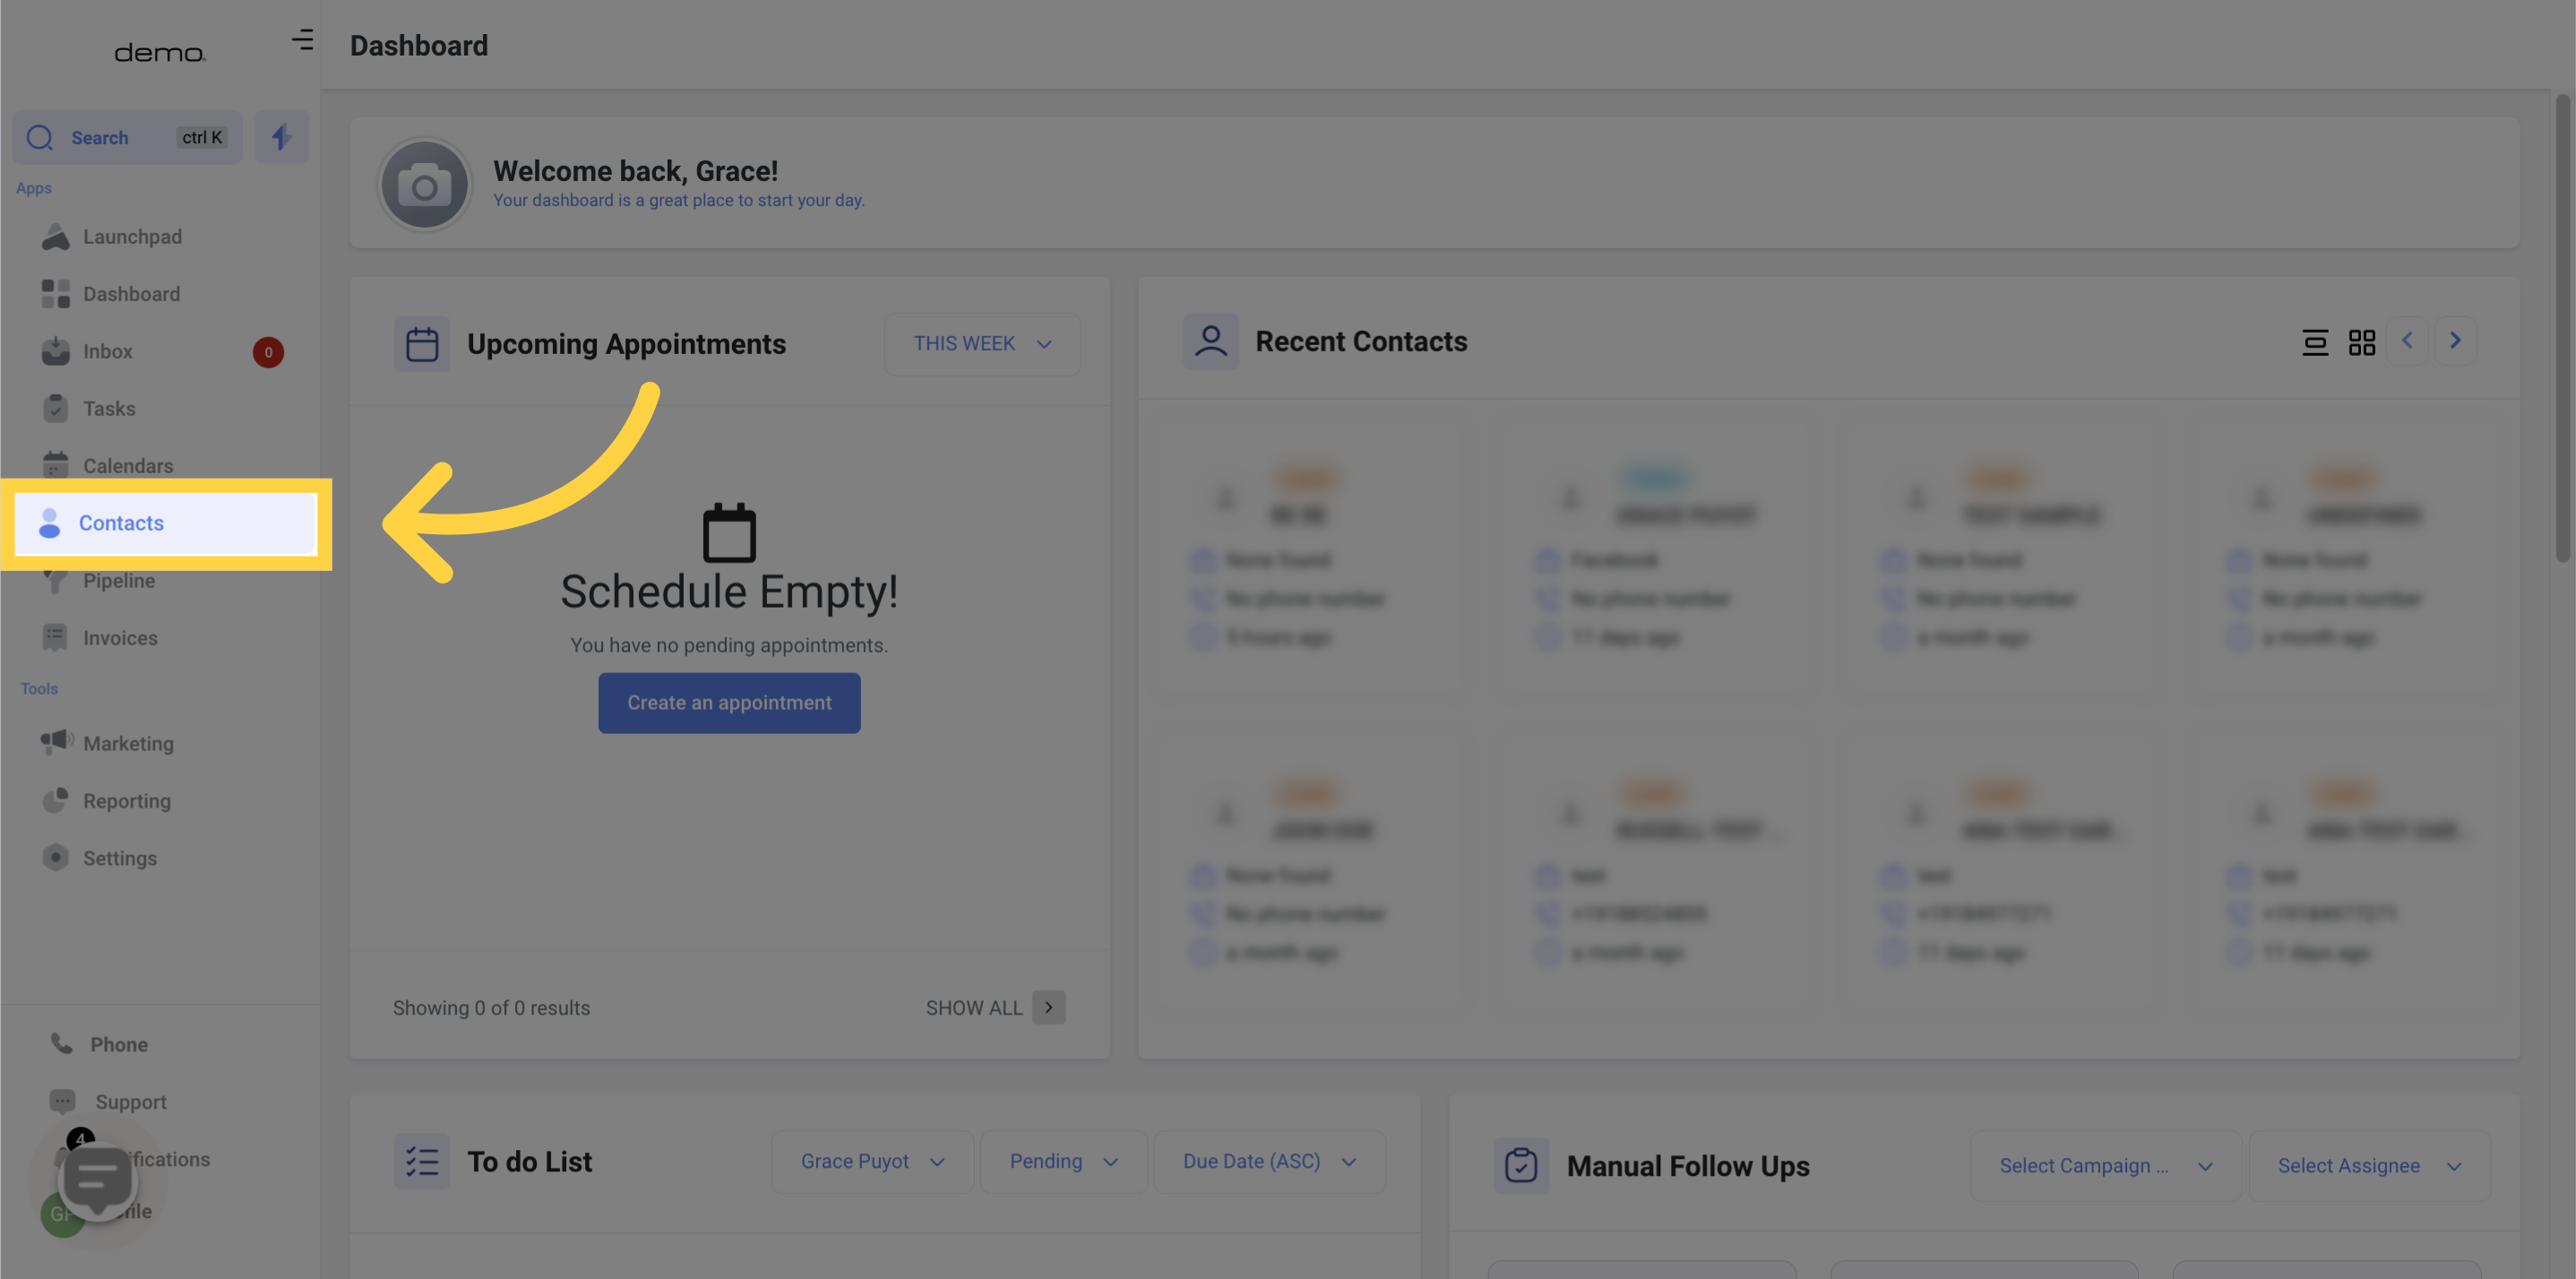
2. Select "Records"
By clicking on this button, you can choose to either send an email message to a single recipient or multiple recipients at once. To move on to the following step, you must first choose which contact(s) you wish to receive the message.
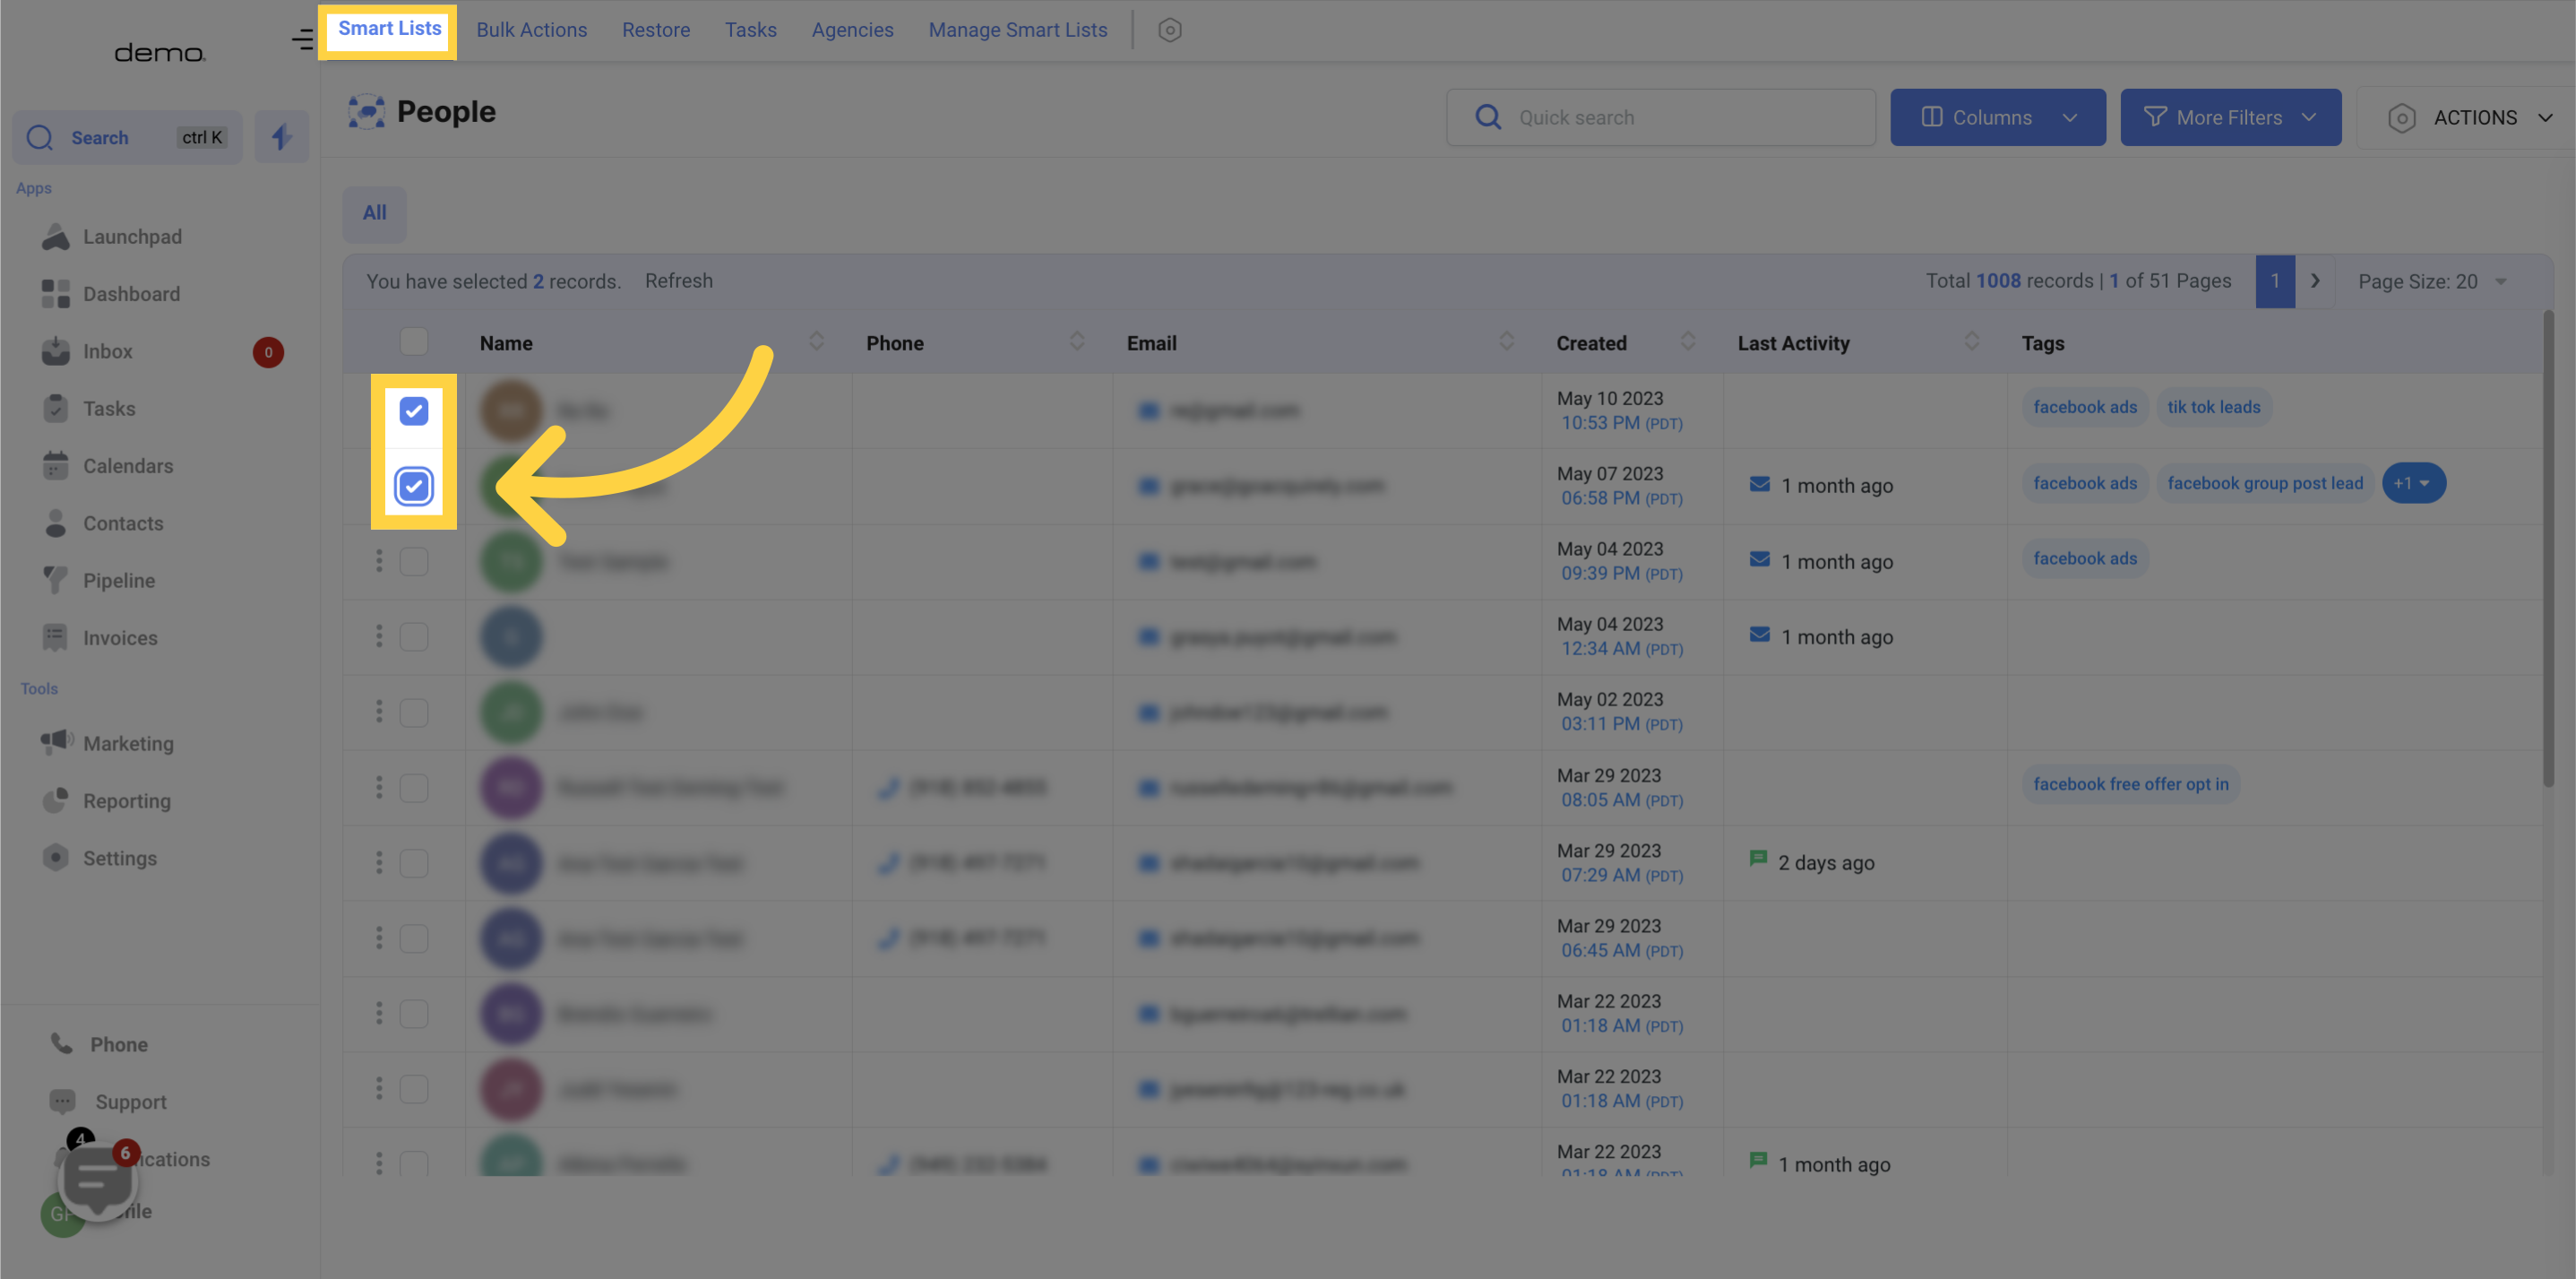
3. Click "Actions"
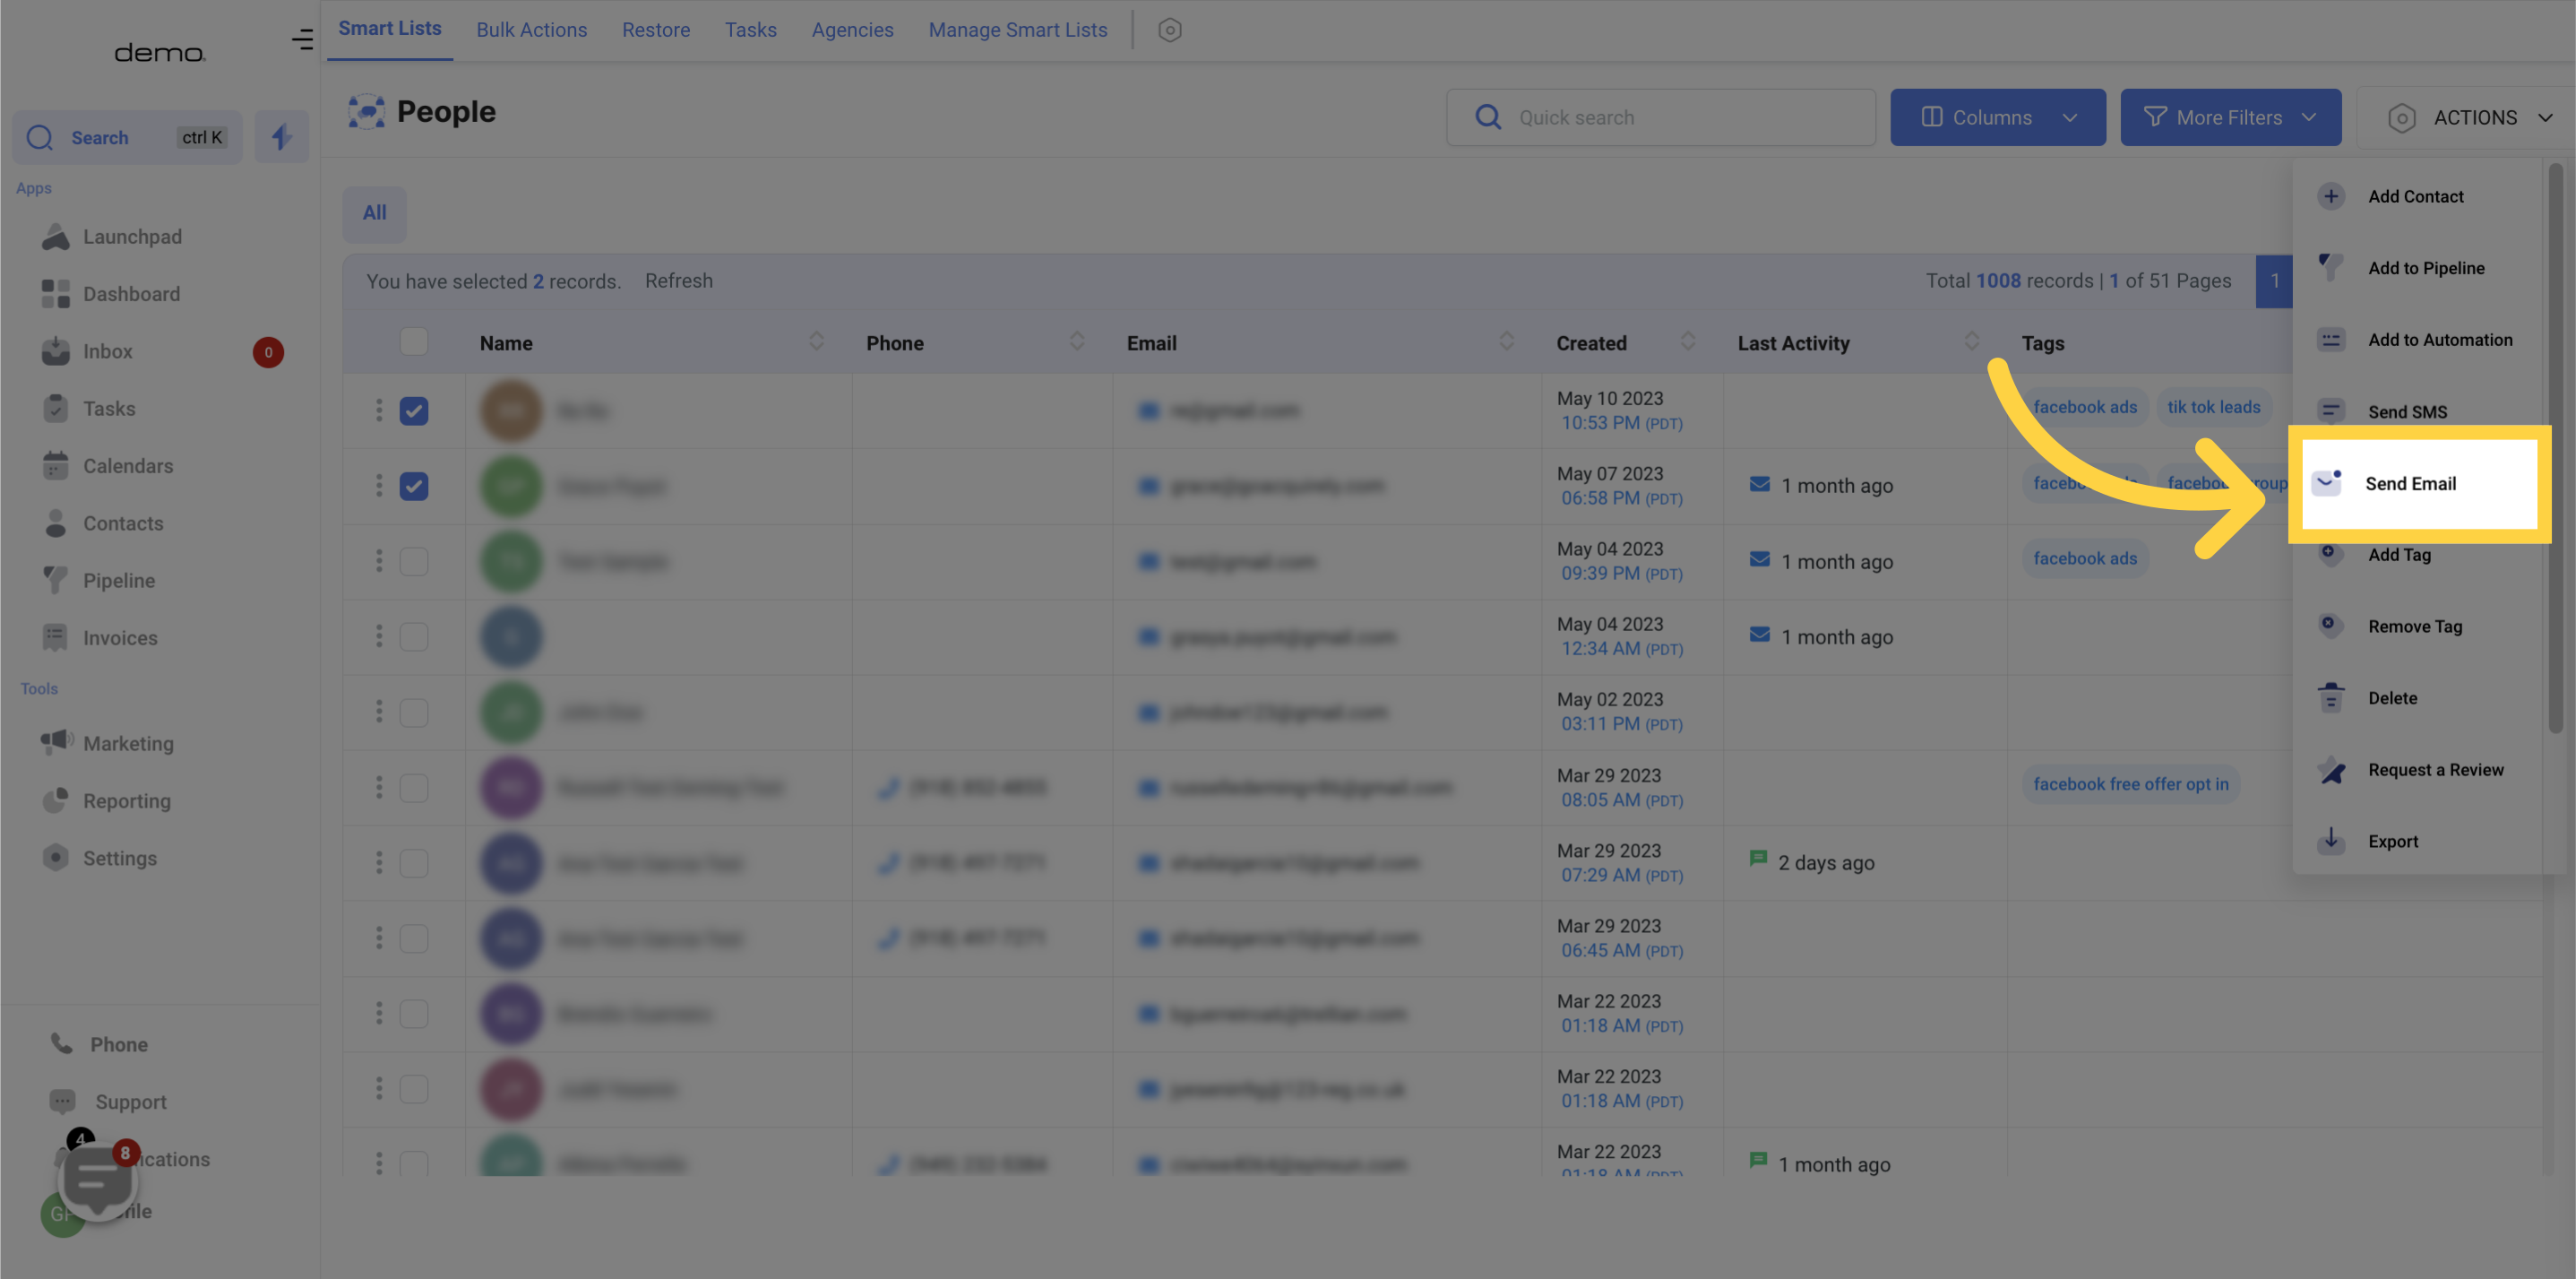
4. Click "Send Email"
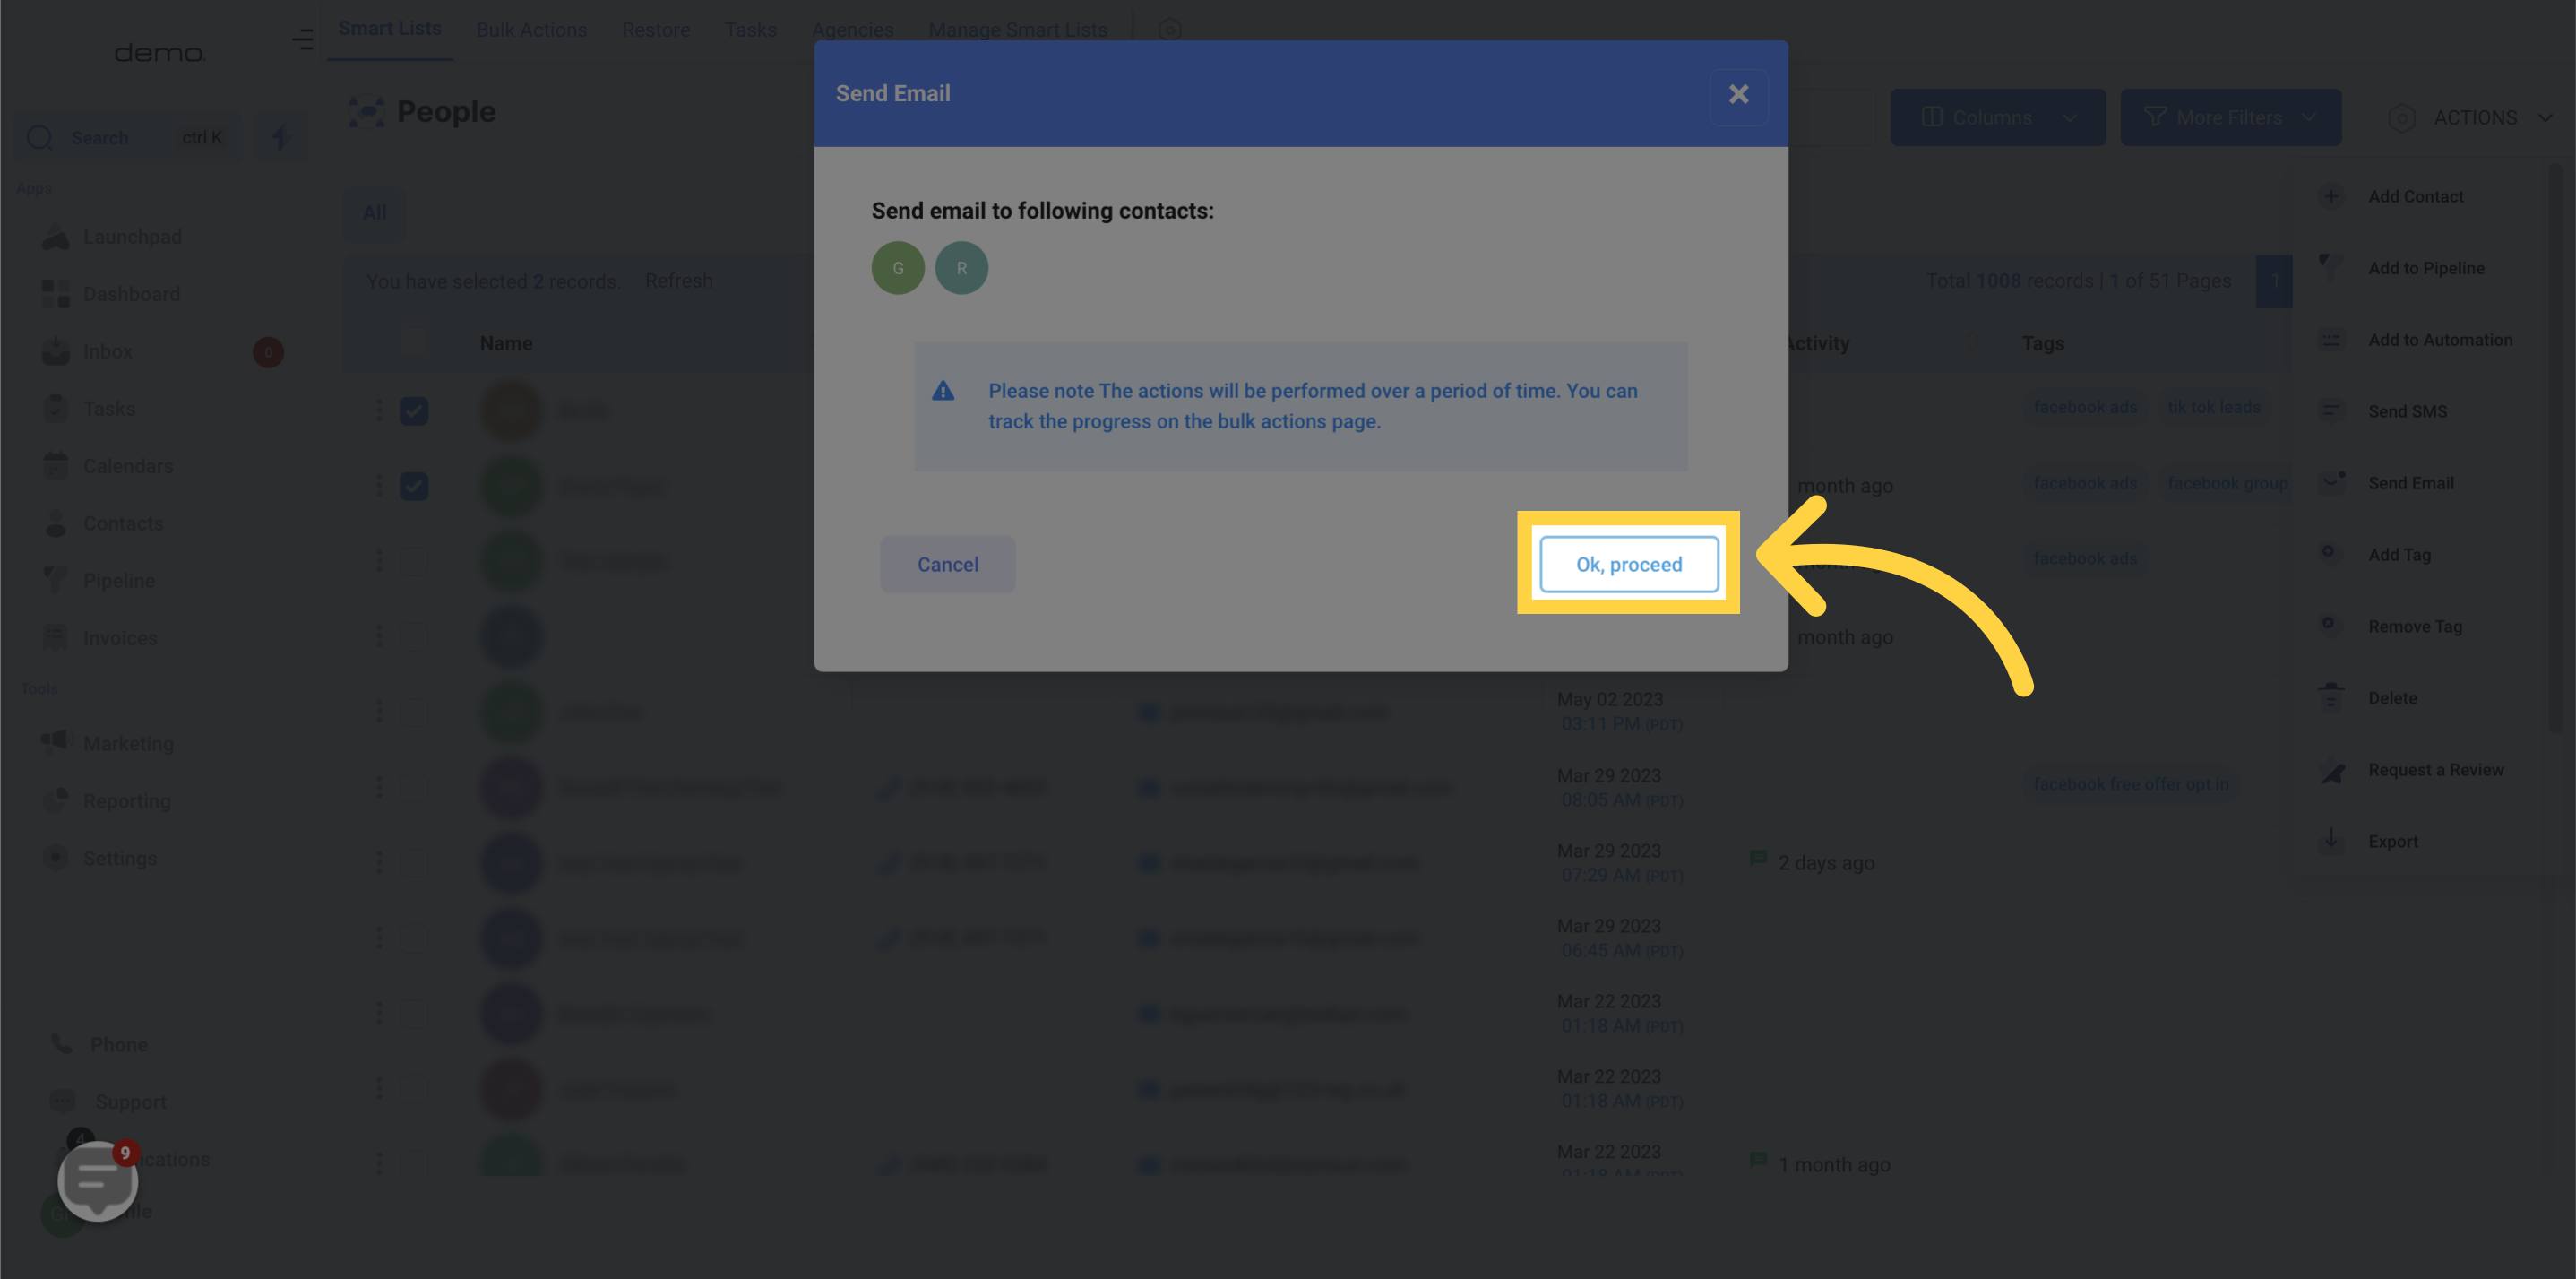
5. Click "Ok, proceed"
6. "Send Email"
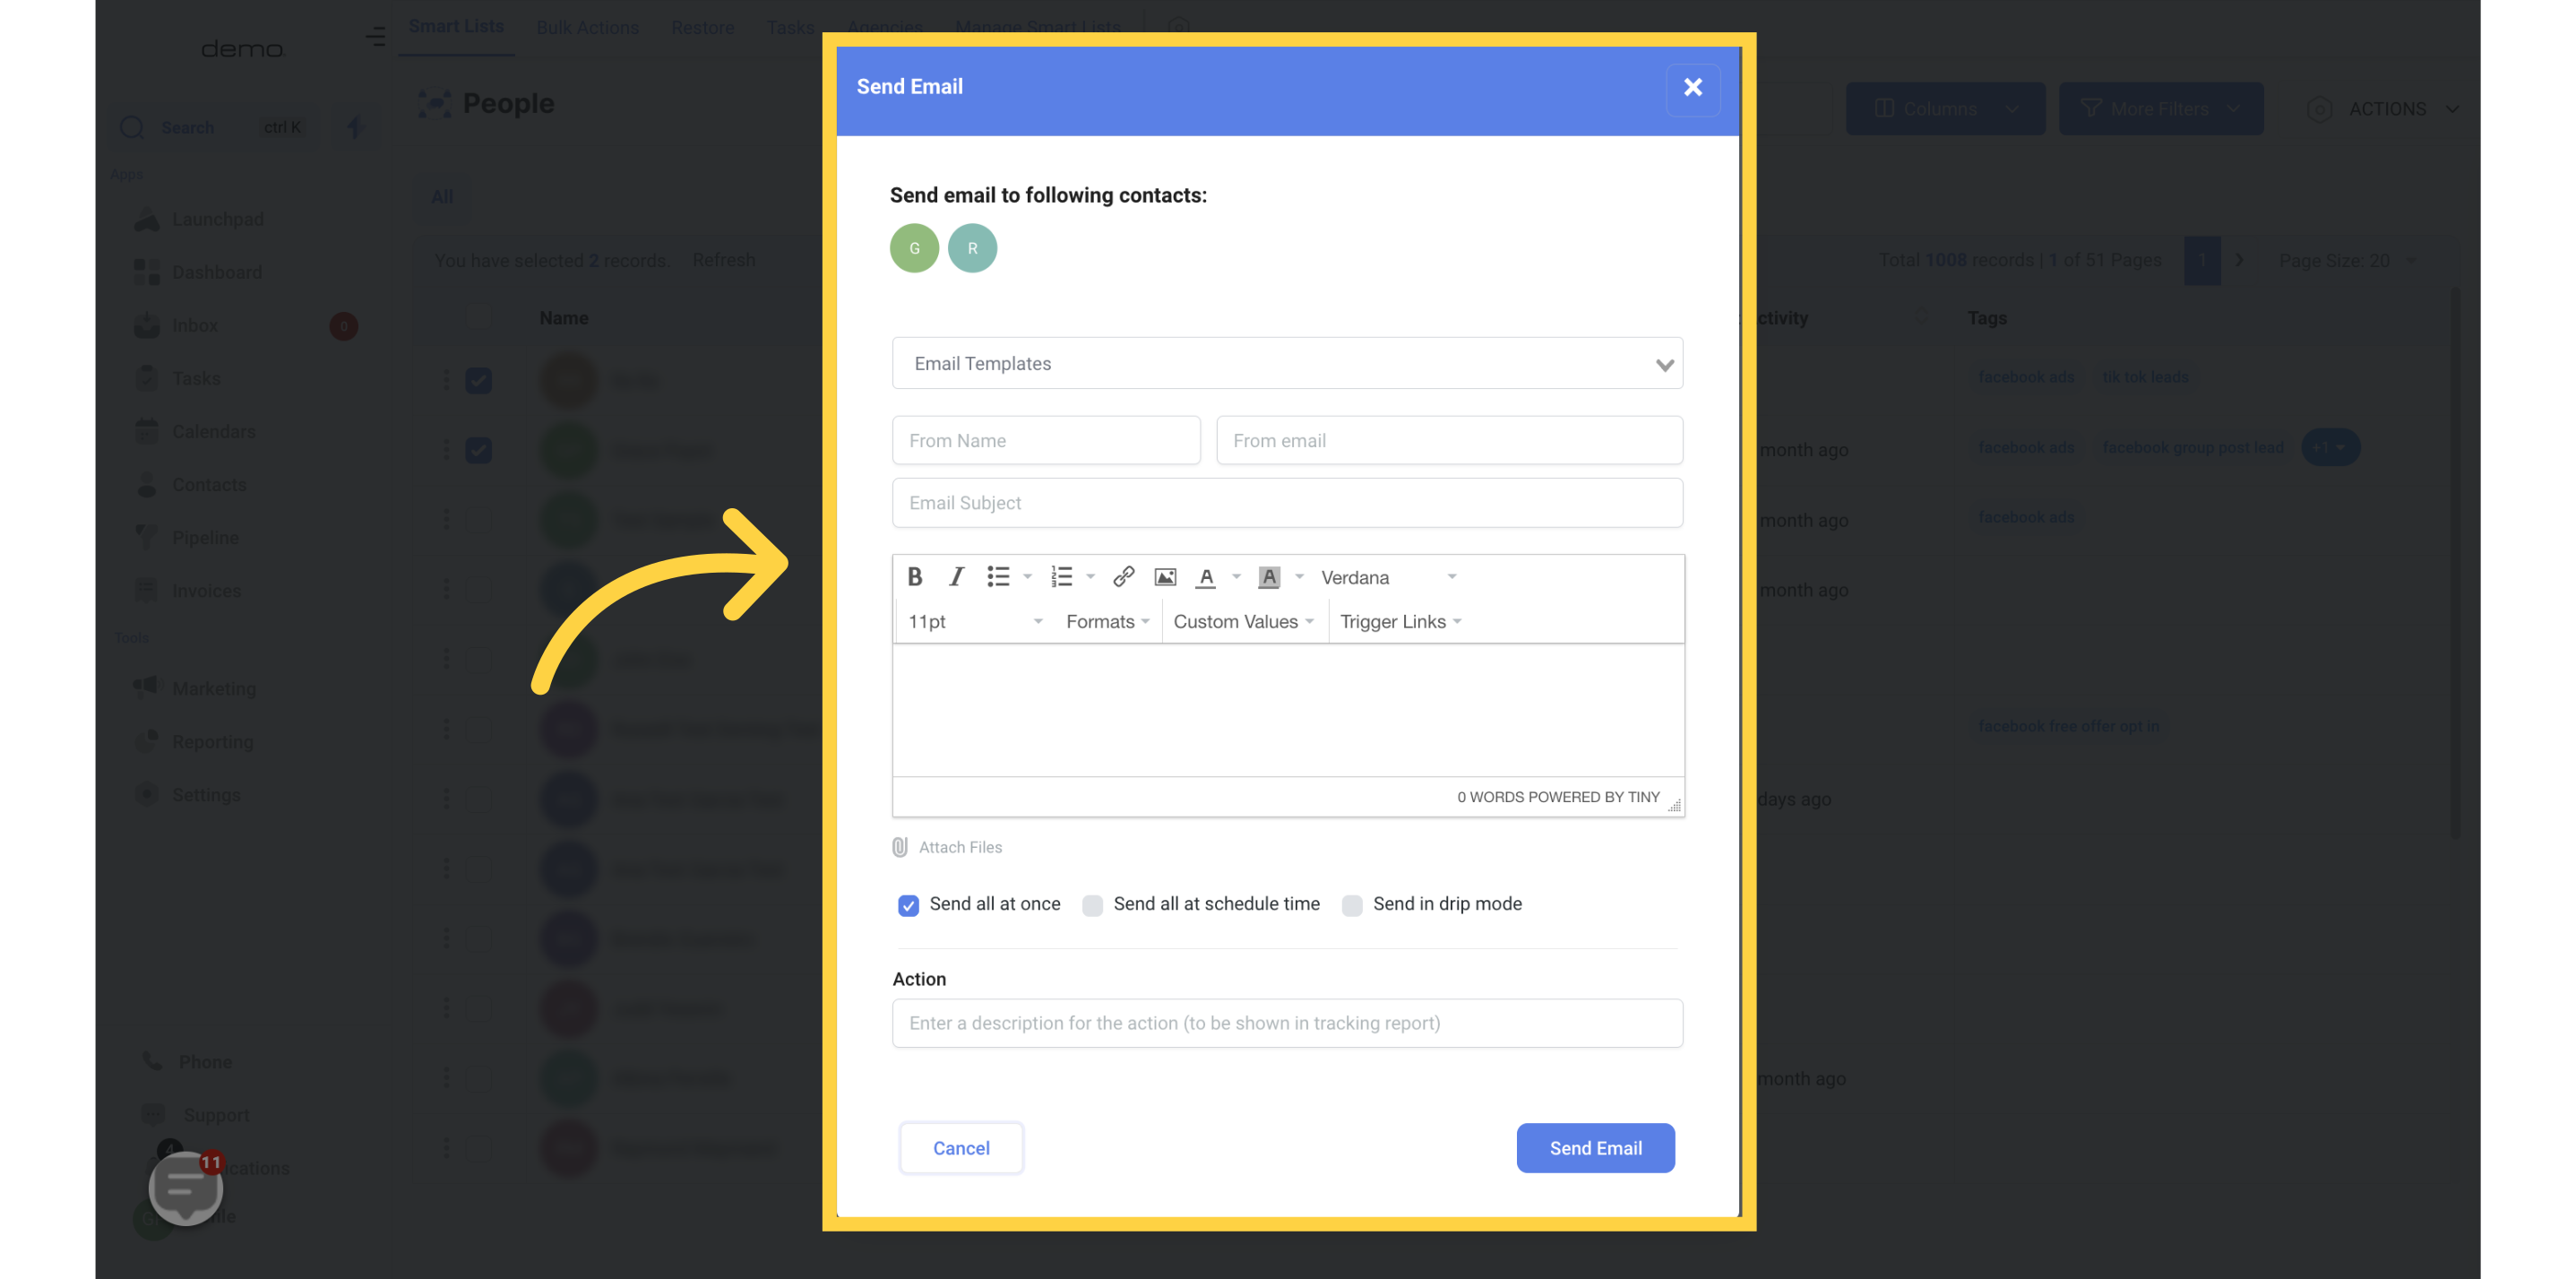
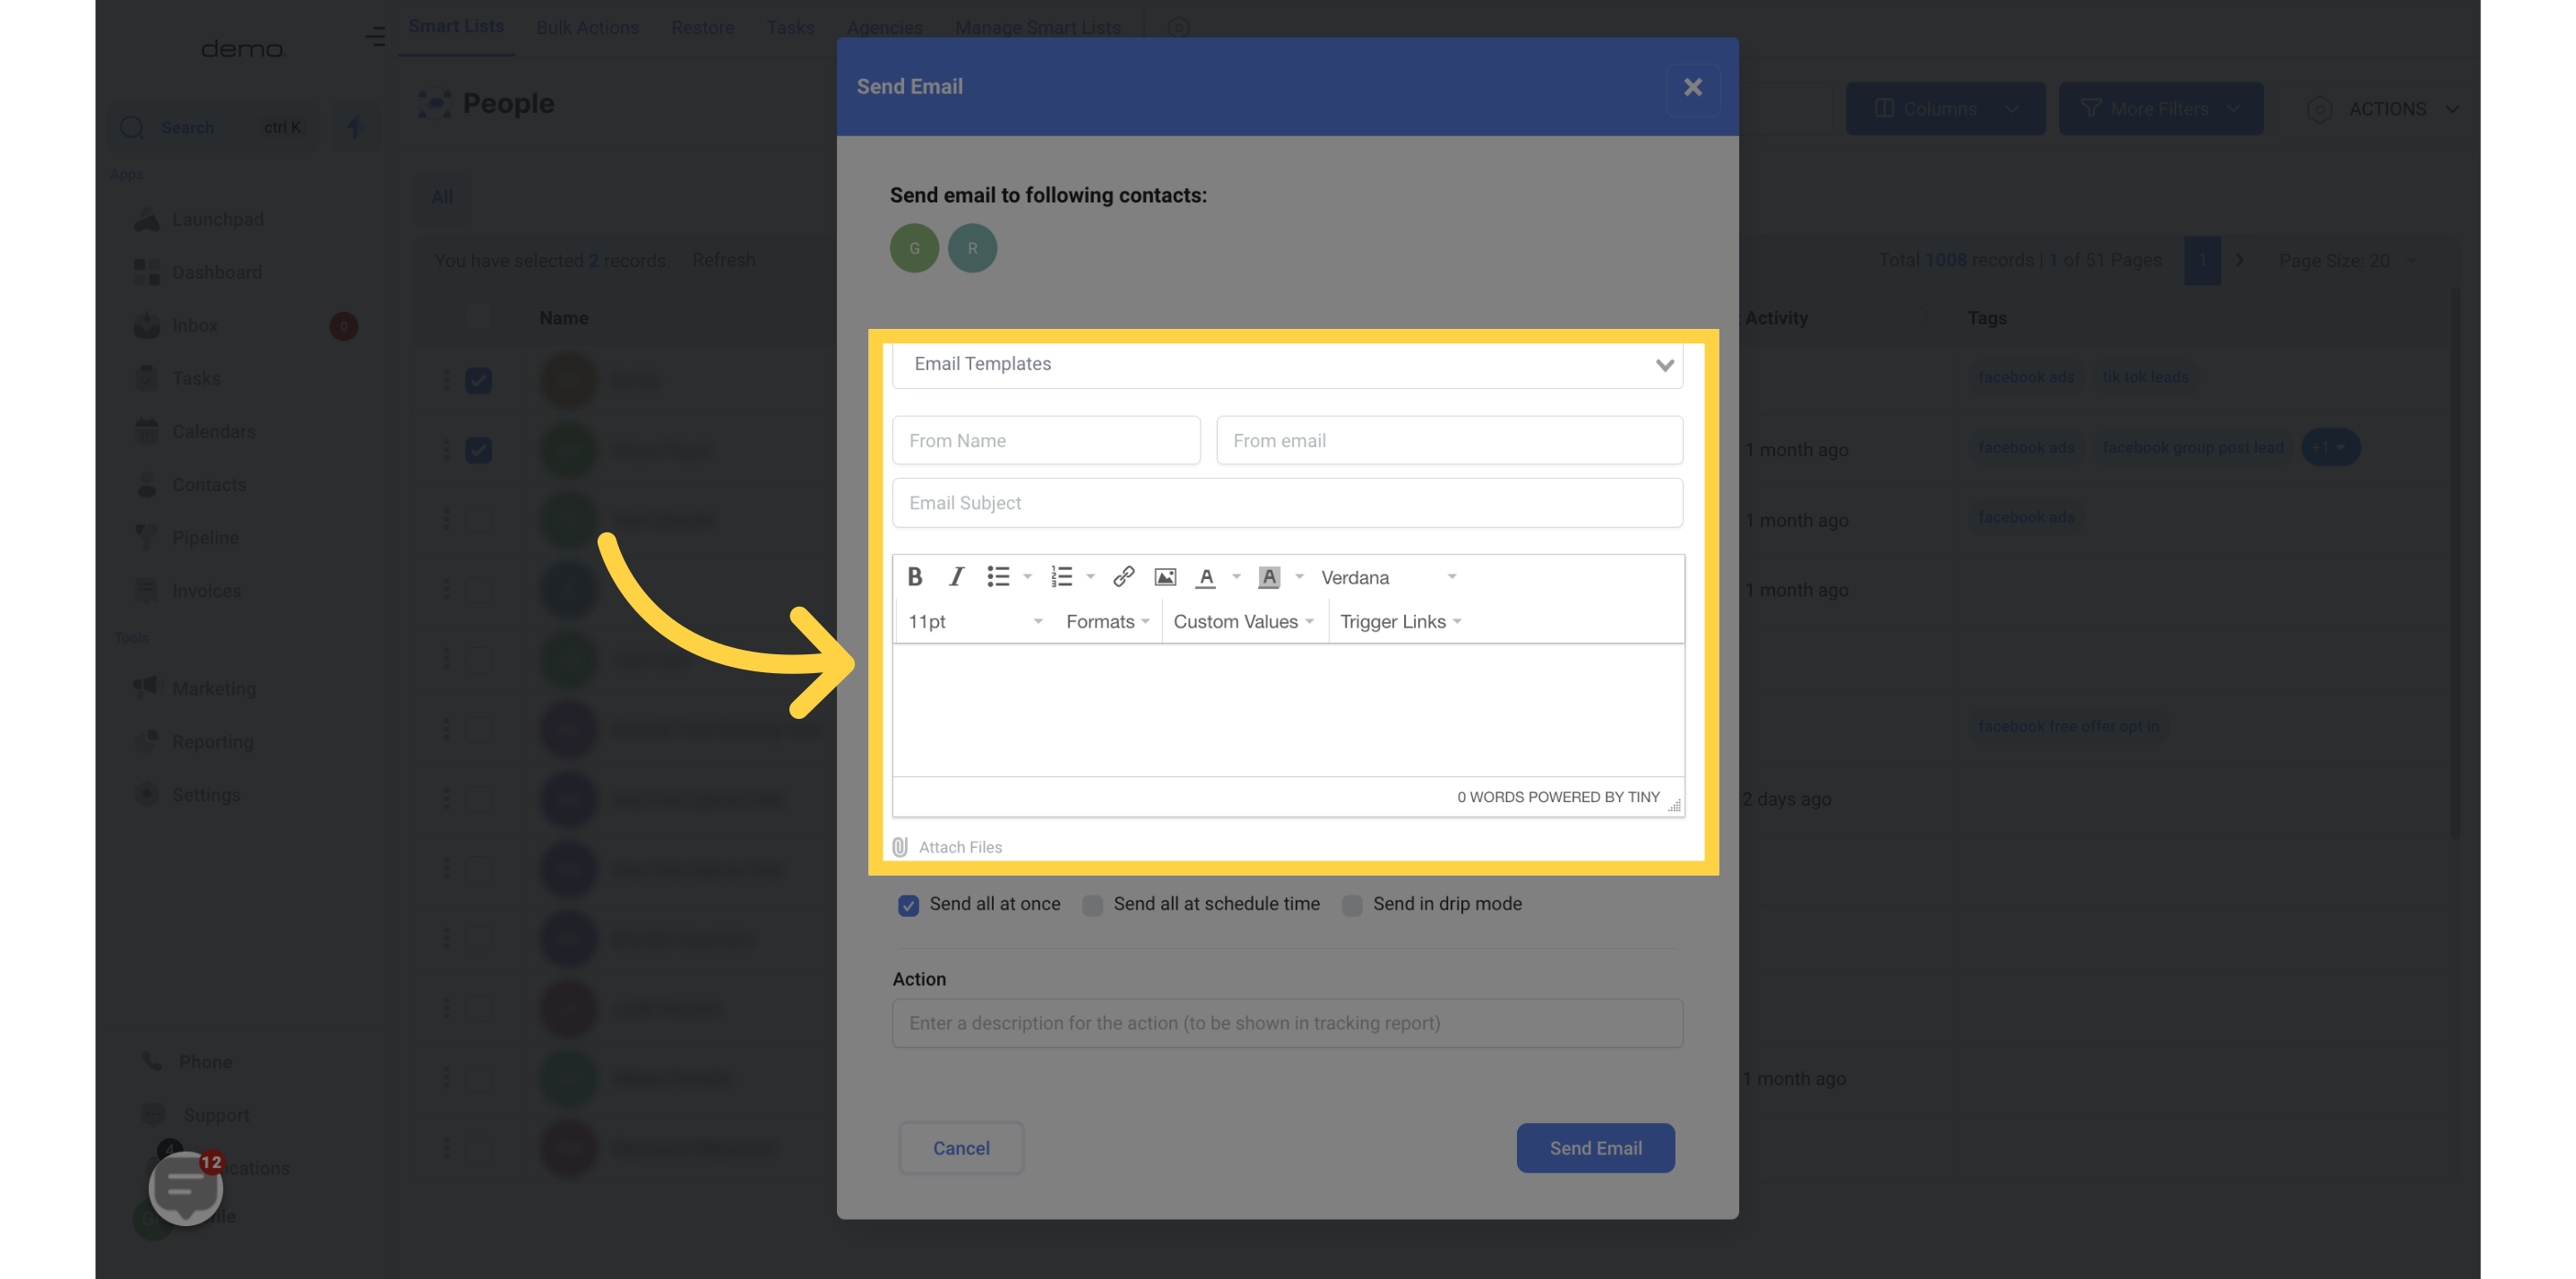
7. Drafting Your Email
Choose the Email template you plan to use and fill in the "From Name" and "From Email" fields with the sender's name and email respectively. Remember to include the Email Subject. If you prefer to personalize the email instead of using a template, you can enter the message content in the designated area.
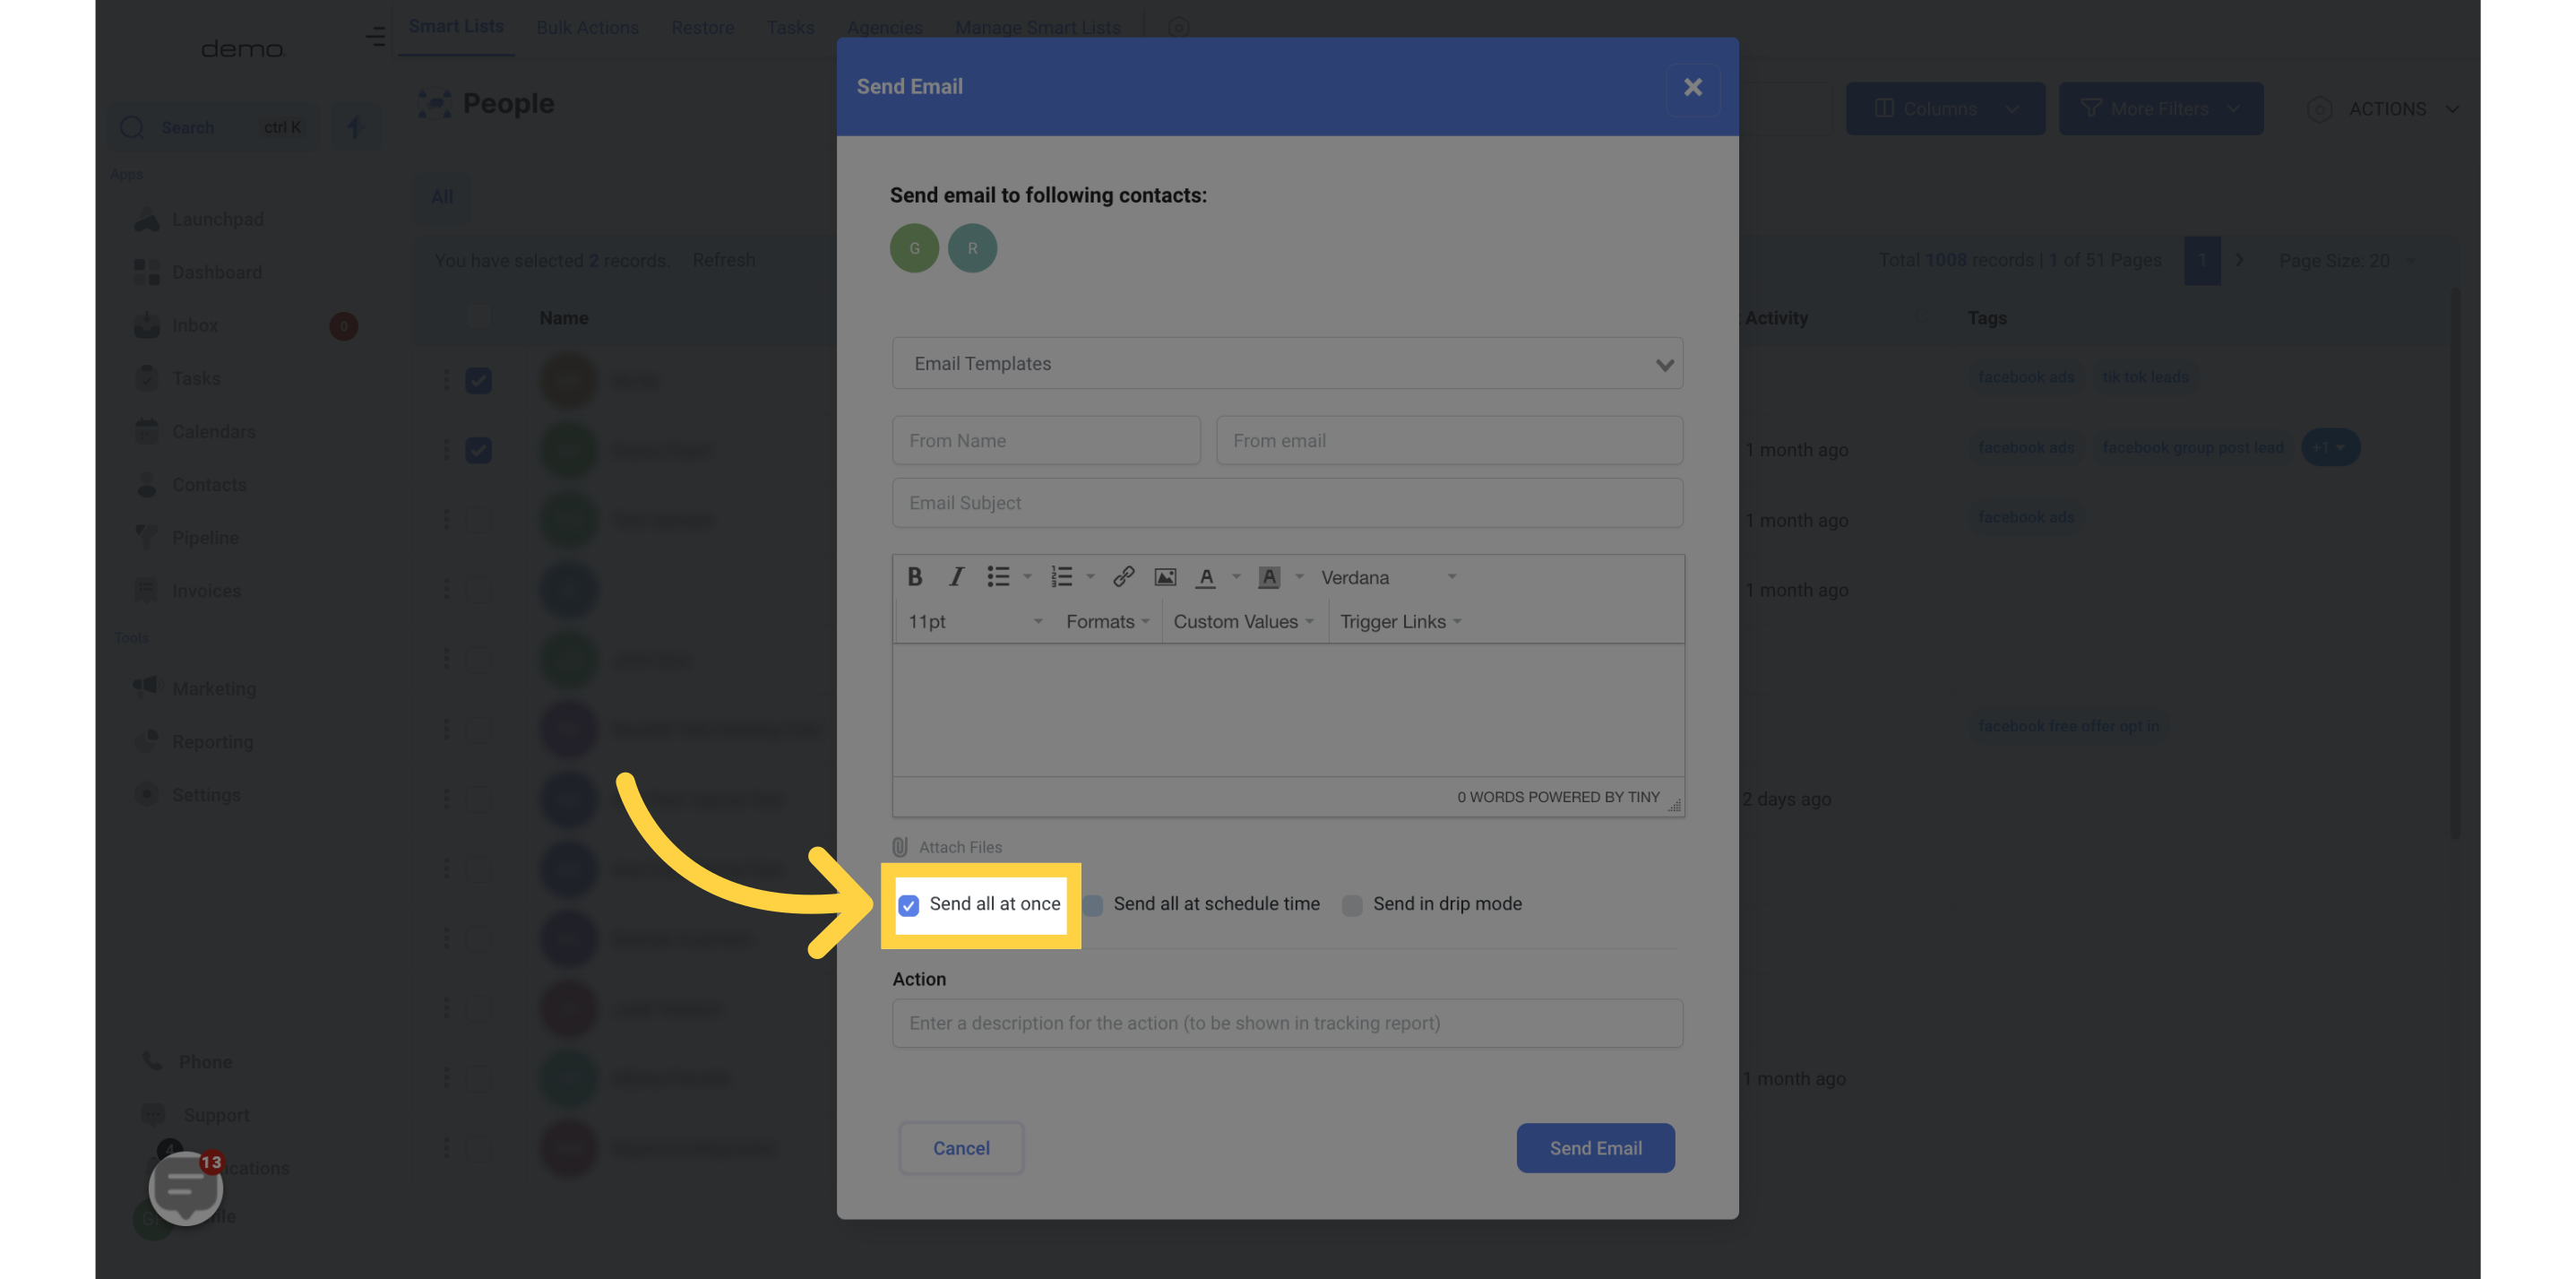
8. Click "Send all at Once"
If you activate the "Send all at Once" feature, you can opt to promptly incorporate all of your preferred contacts into the campaign of your choice.
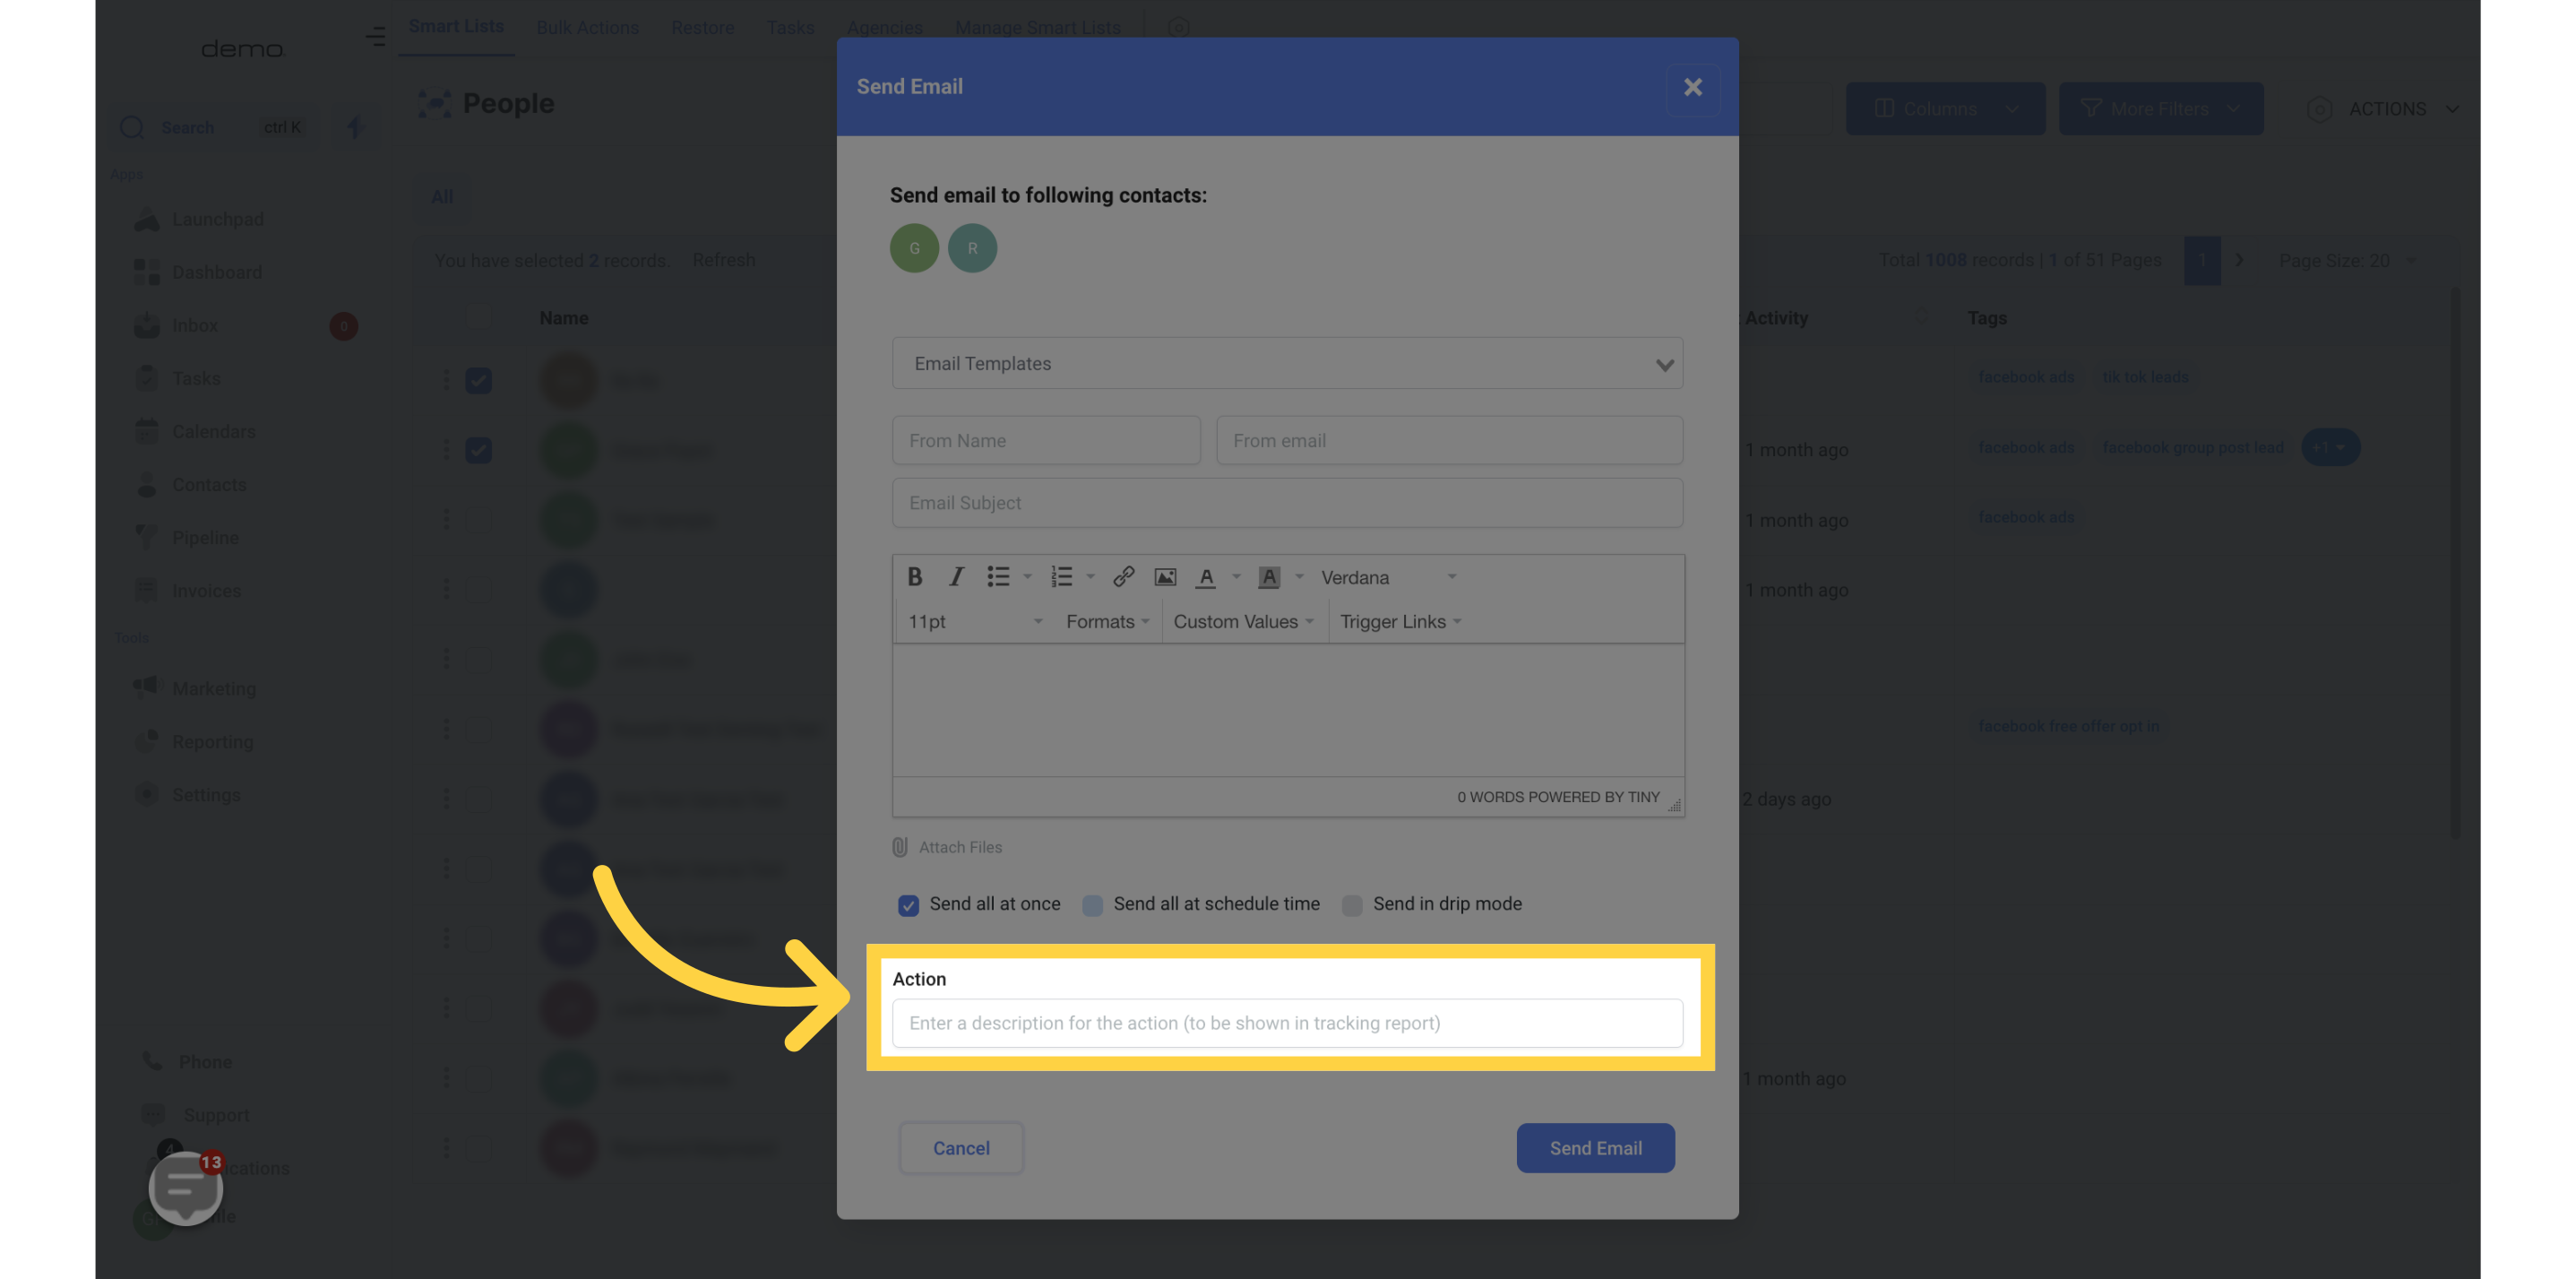
9. Add Action
Please enter the name you would like to use to describe this action, which will be displayed in the tracking report.
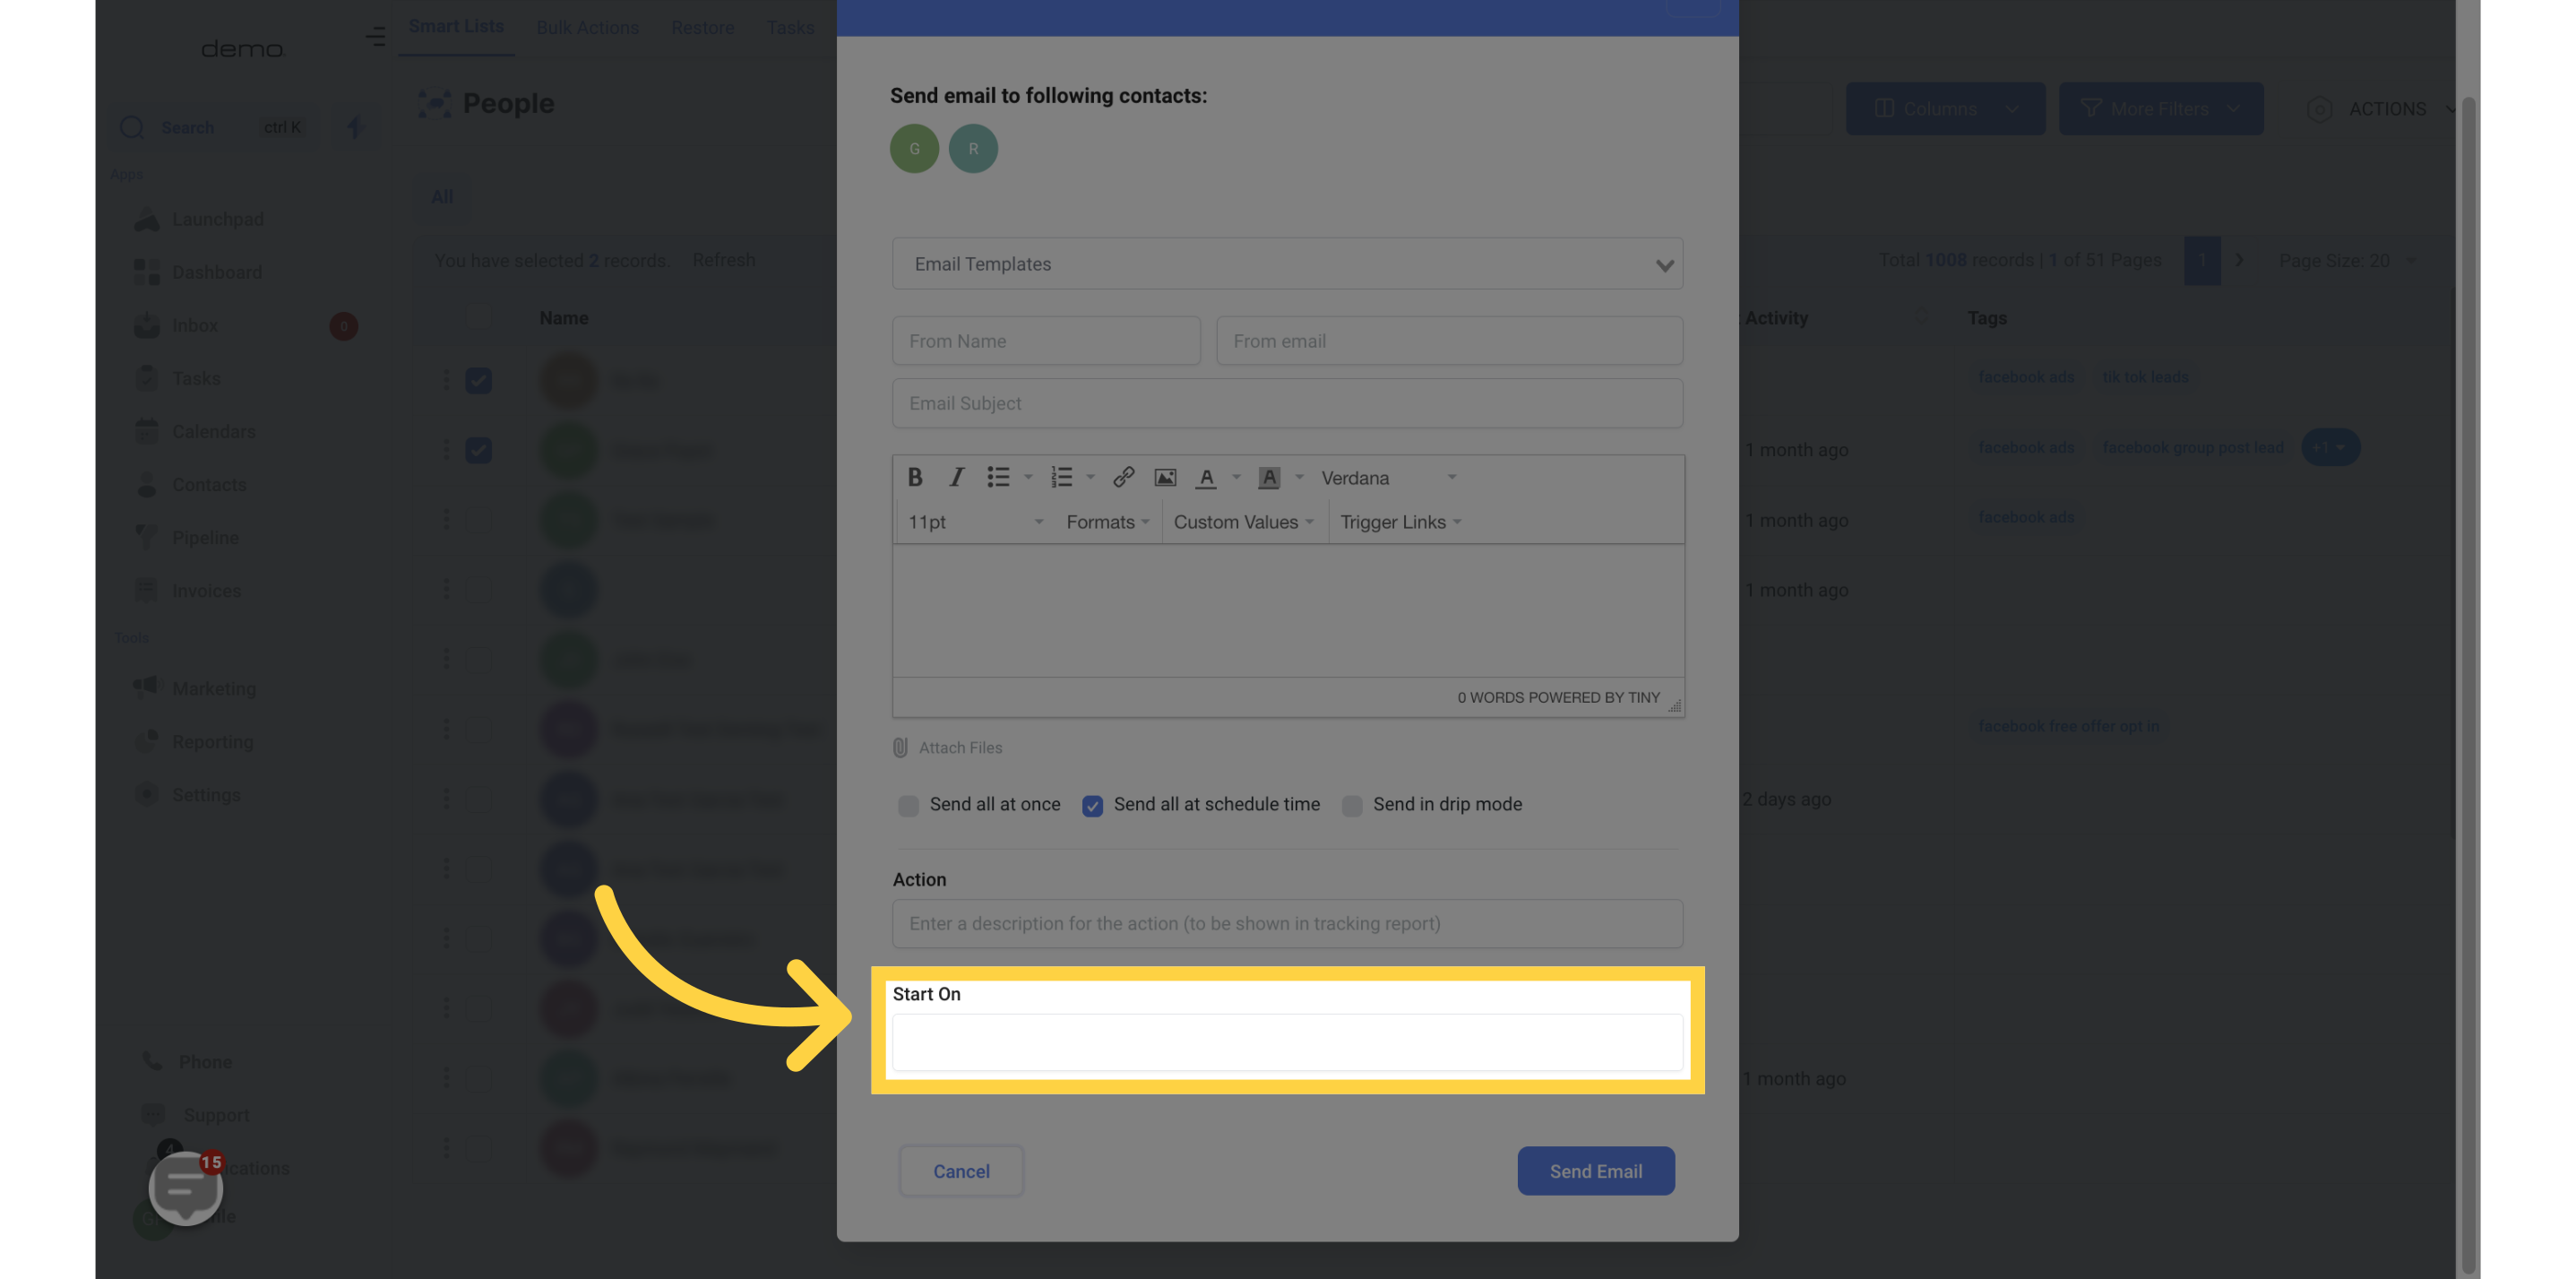
10. Send all at a scheduled time
By turning on the "Send all at a scheduled time" feature, you have the ability to set a specific date and time for your message to be sent to all of the contacts you have chosen.

11. Select the date and time
Choose the desired date and time for scheduling the message intended for your contact..
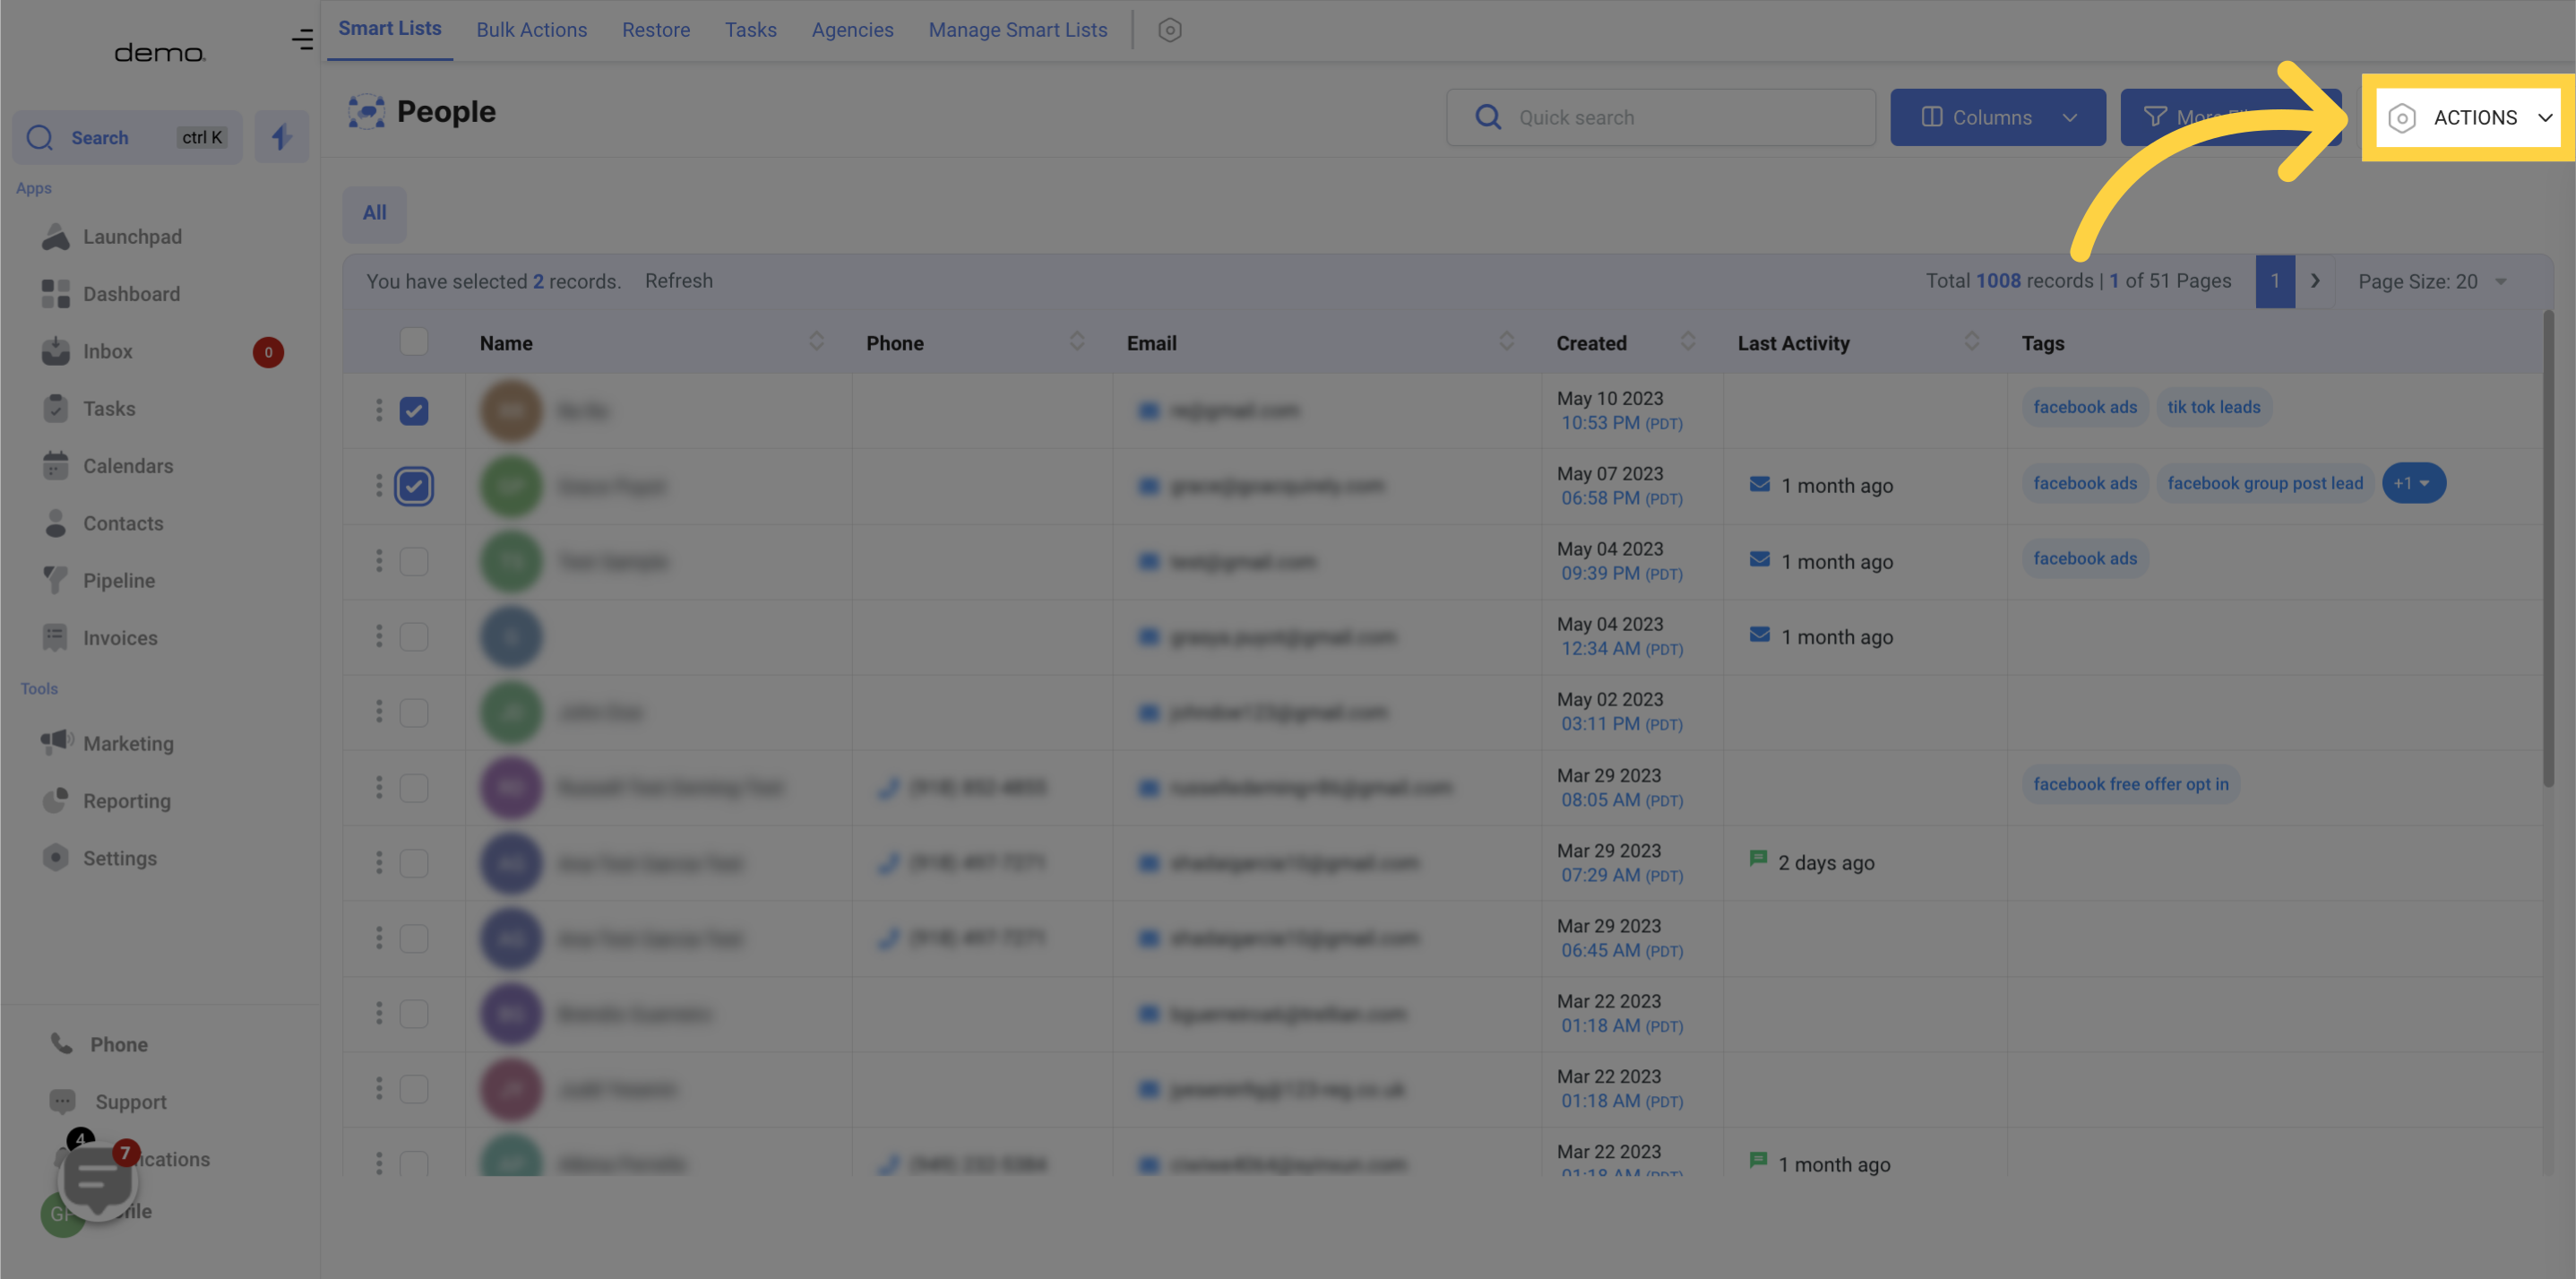
12. Click "Send in drip mode"
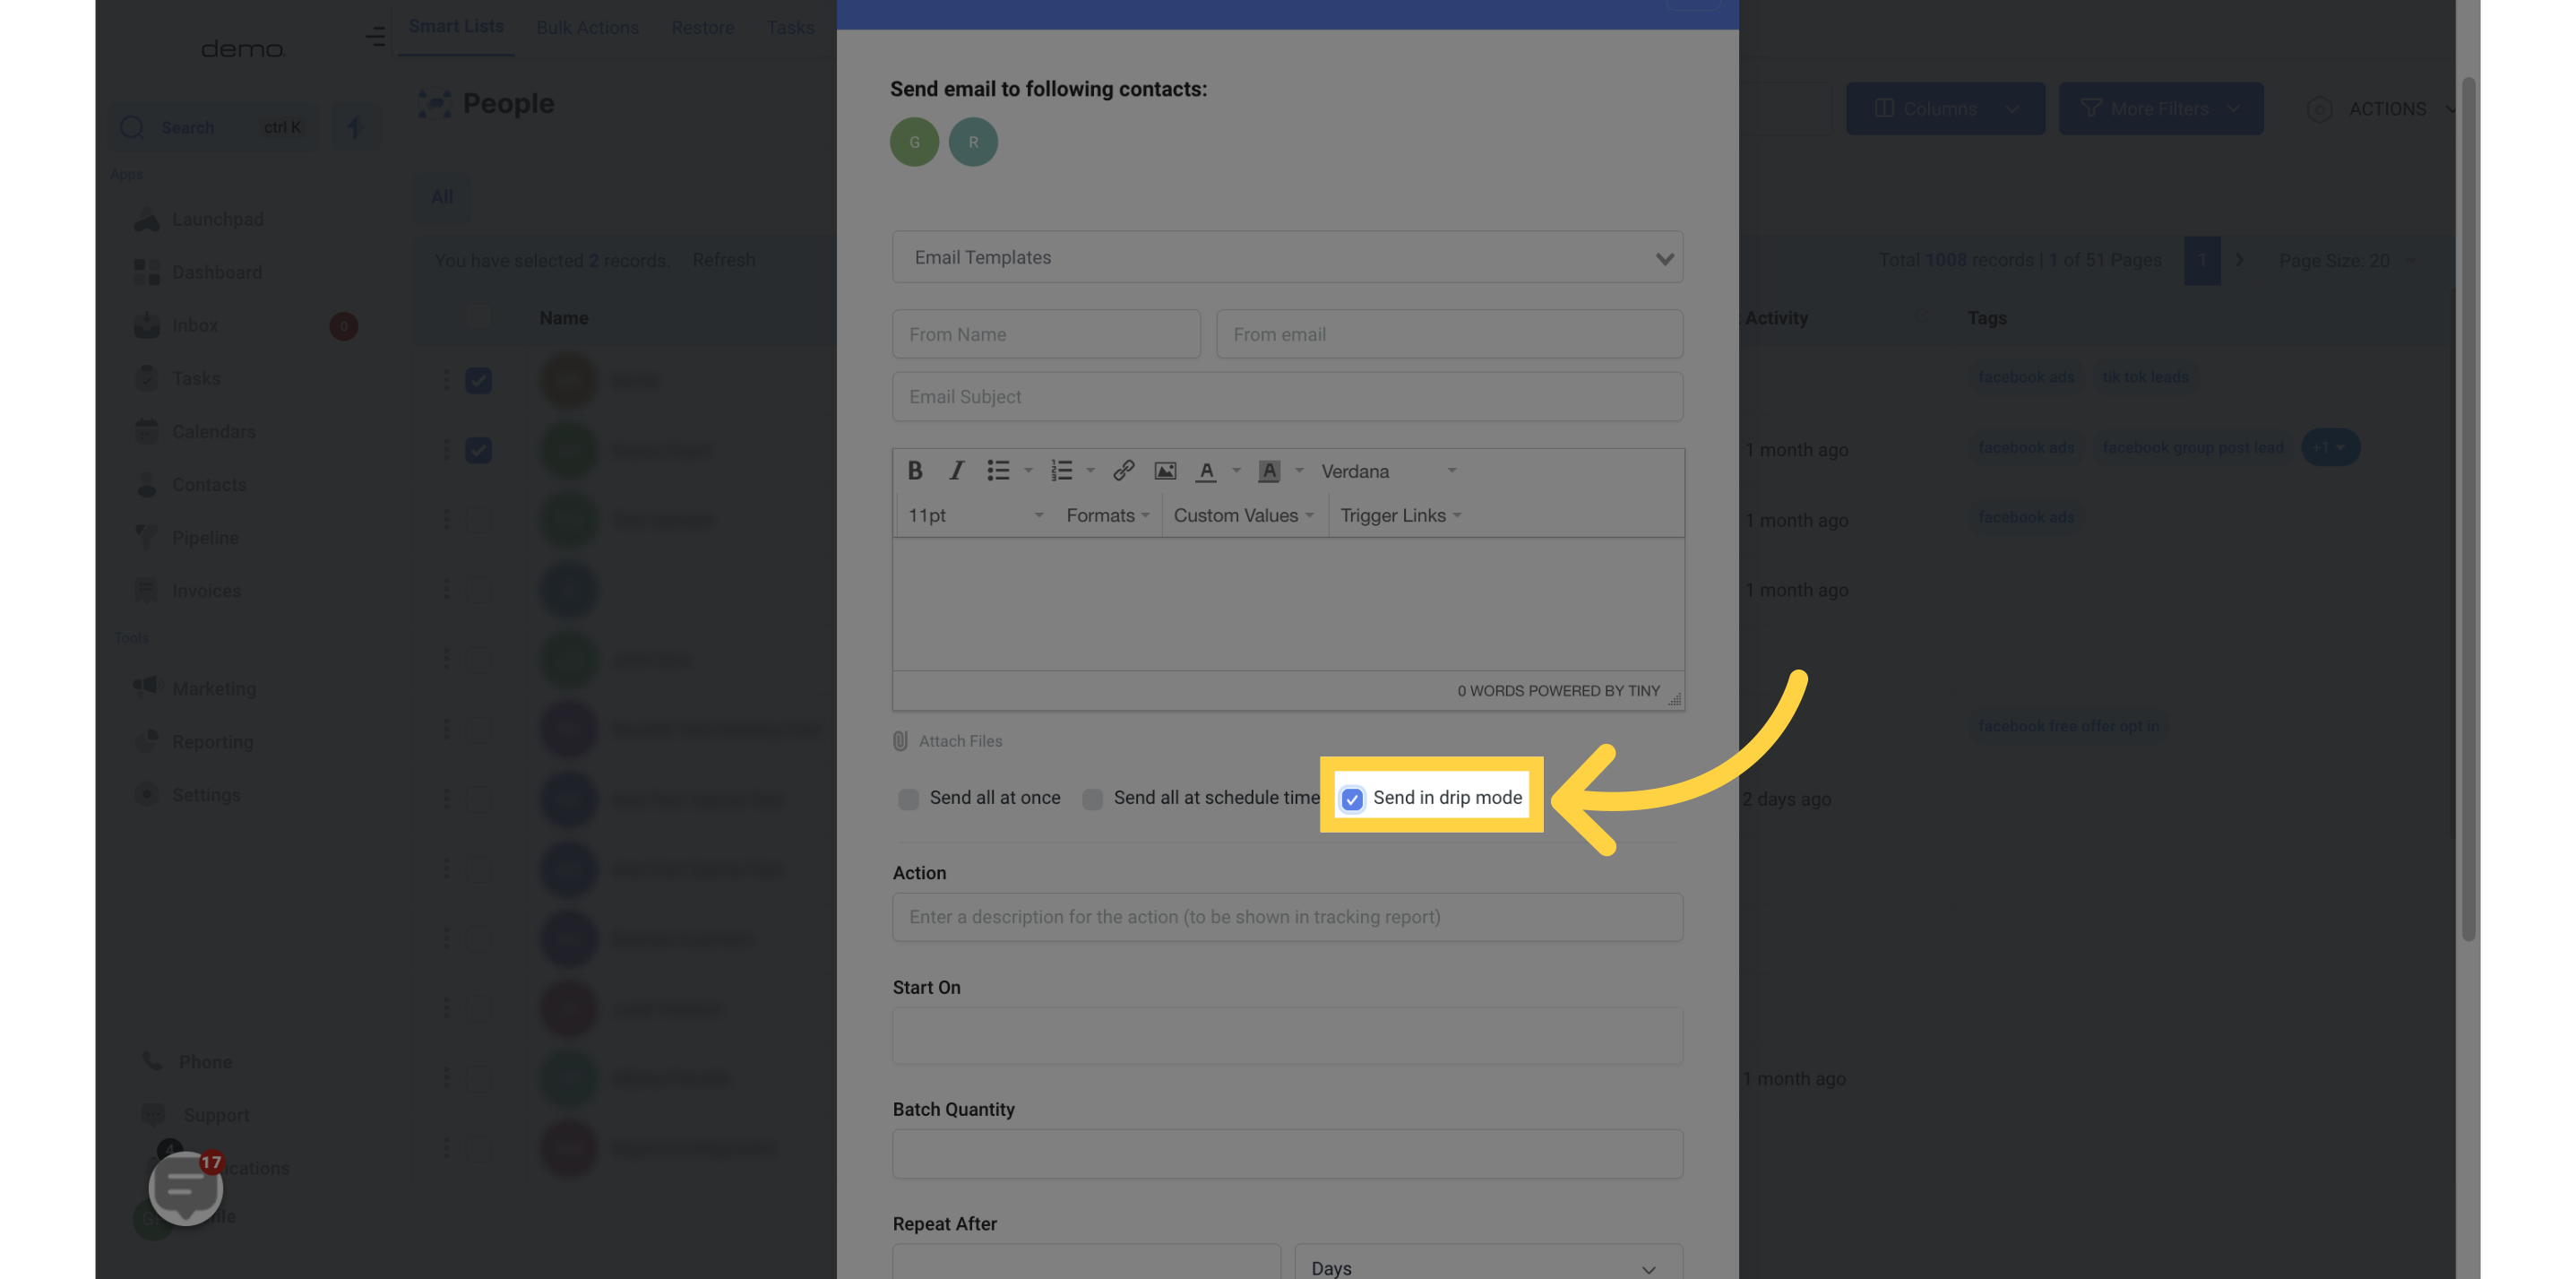
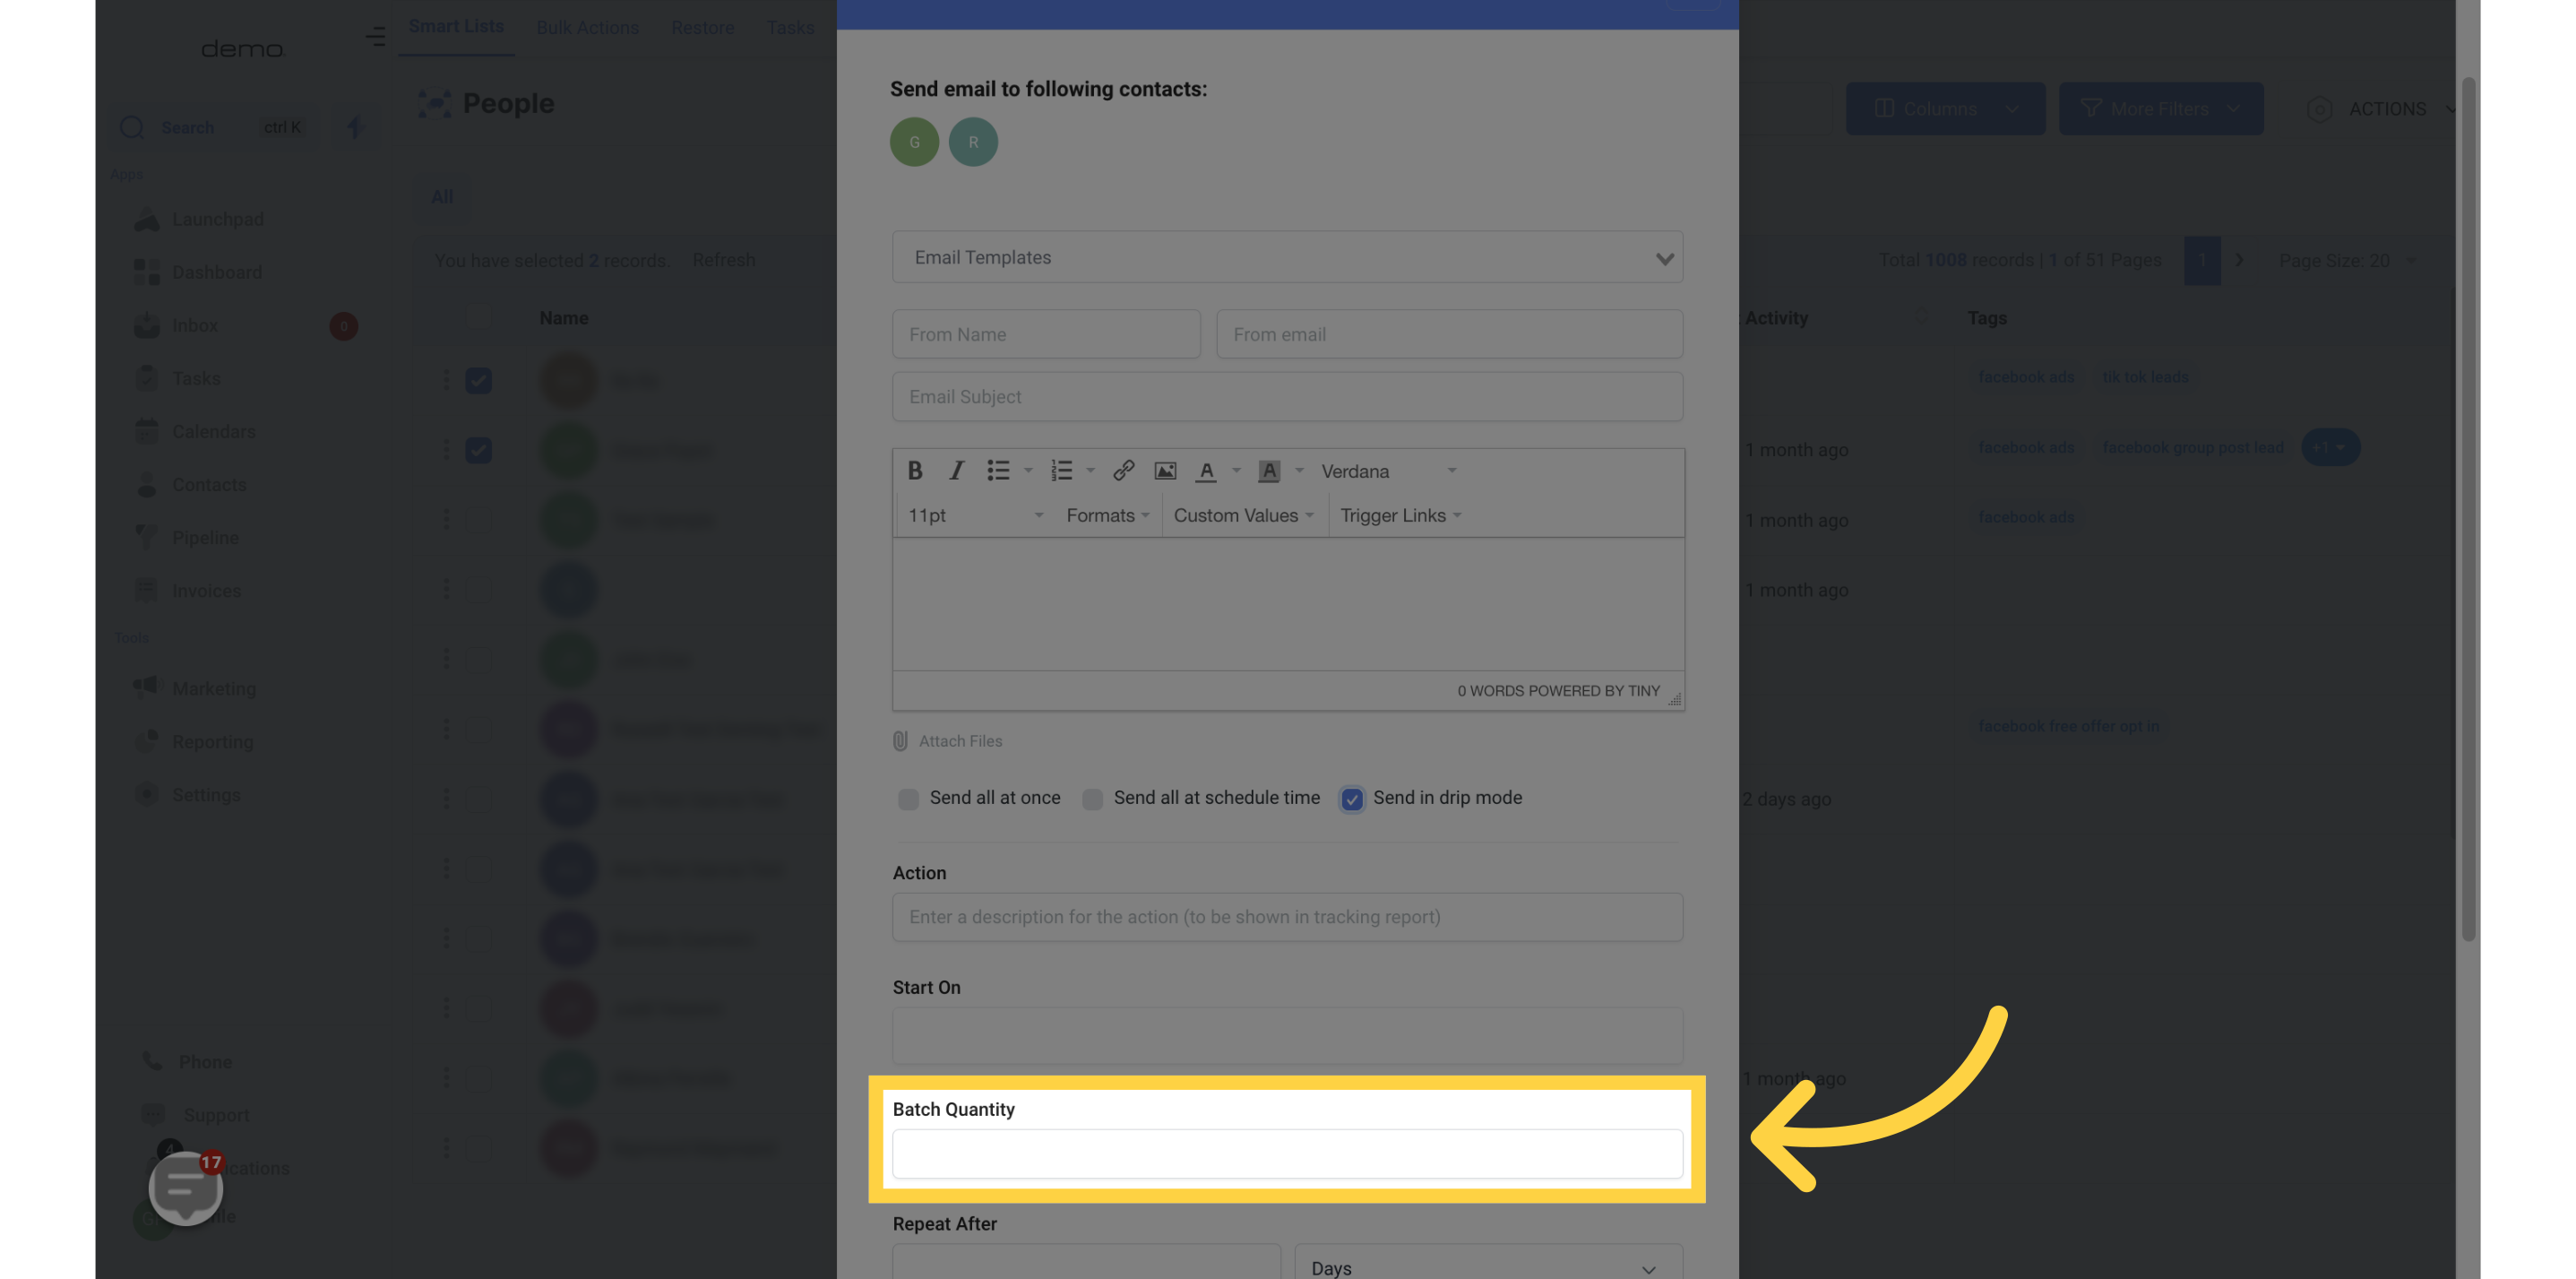
13. Add Batch Quantity
In the Batch Quantity field, input the number of contacts you wish to send a message to in one batch.
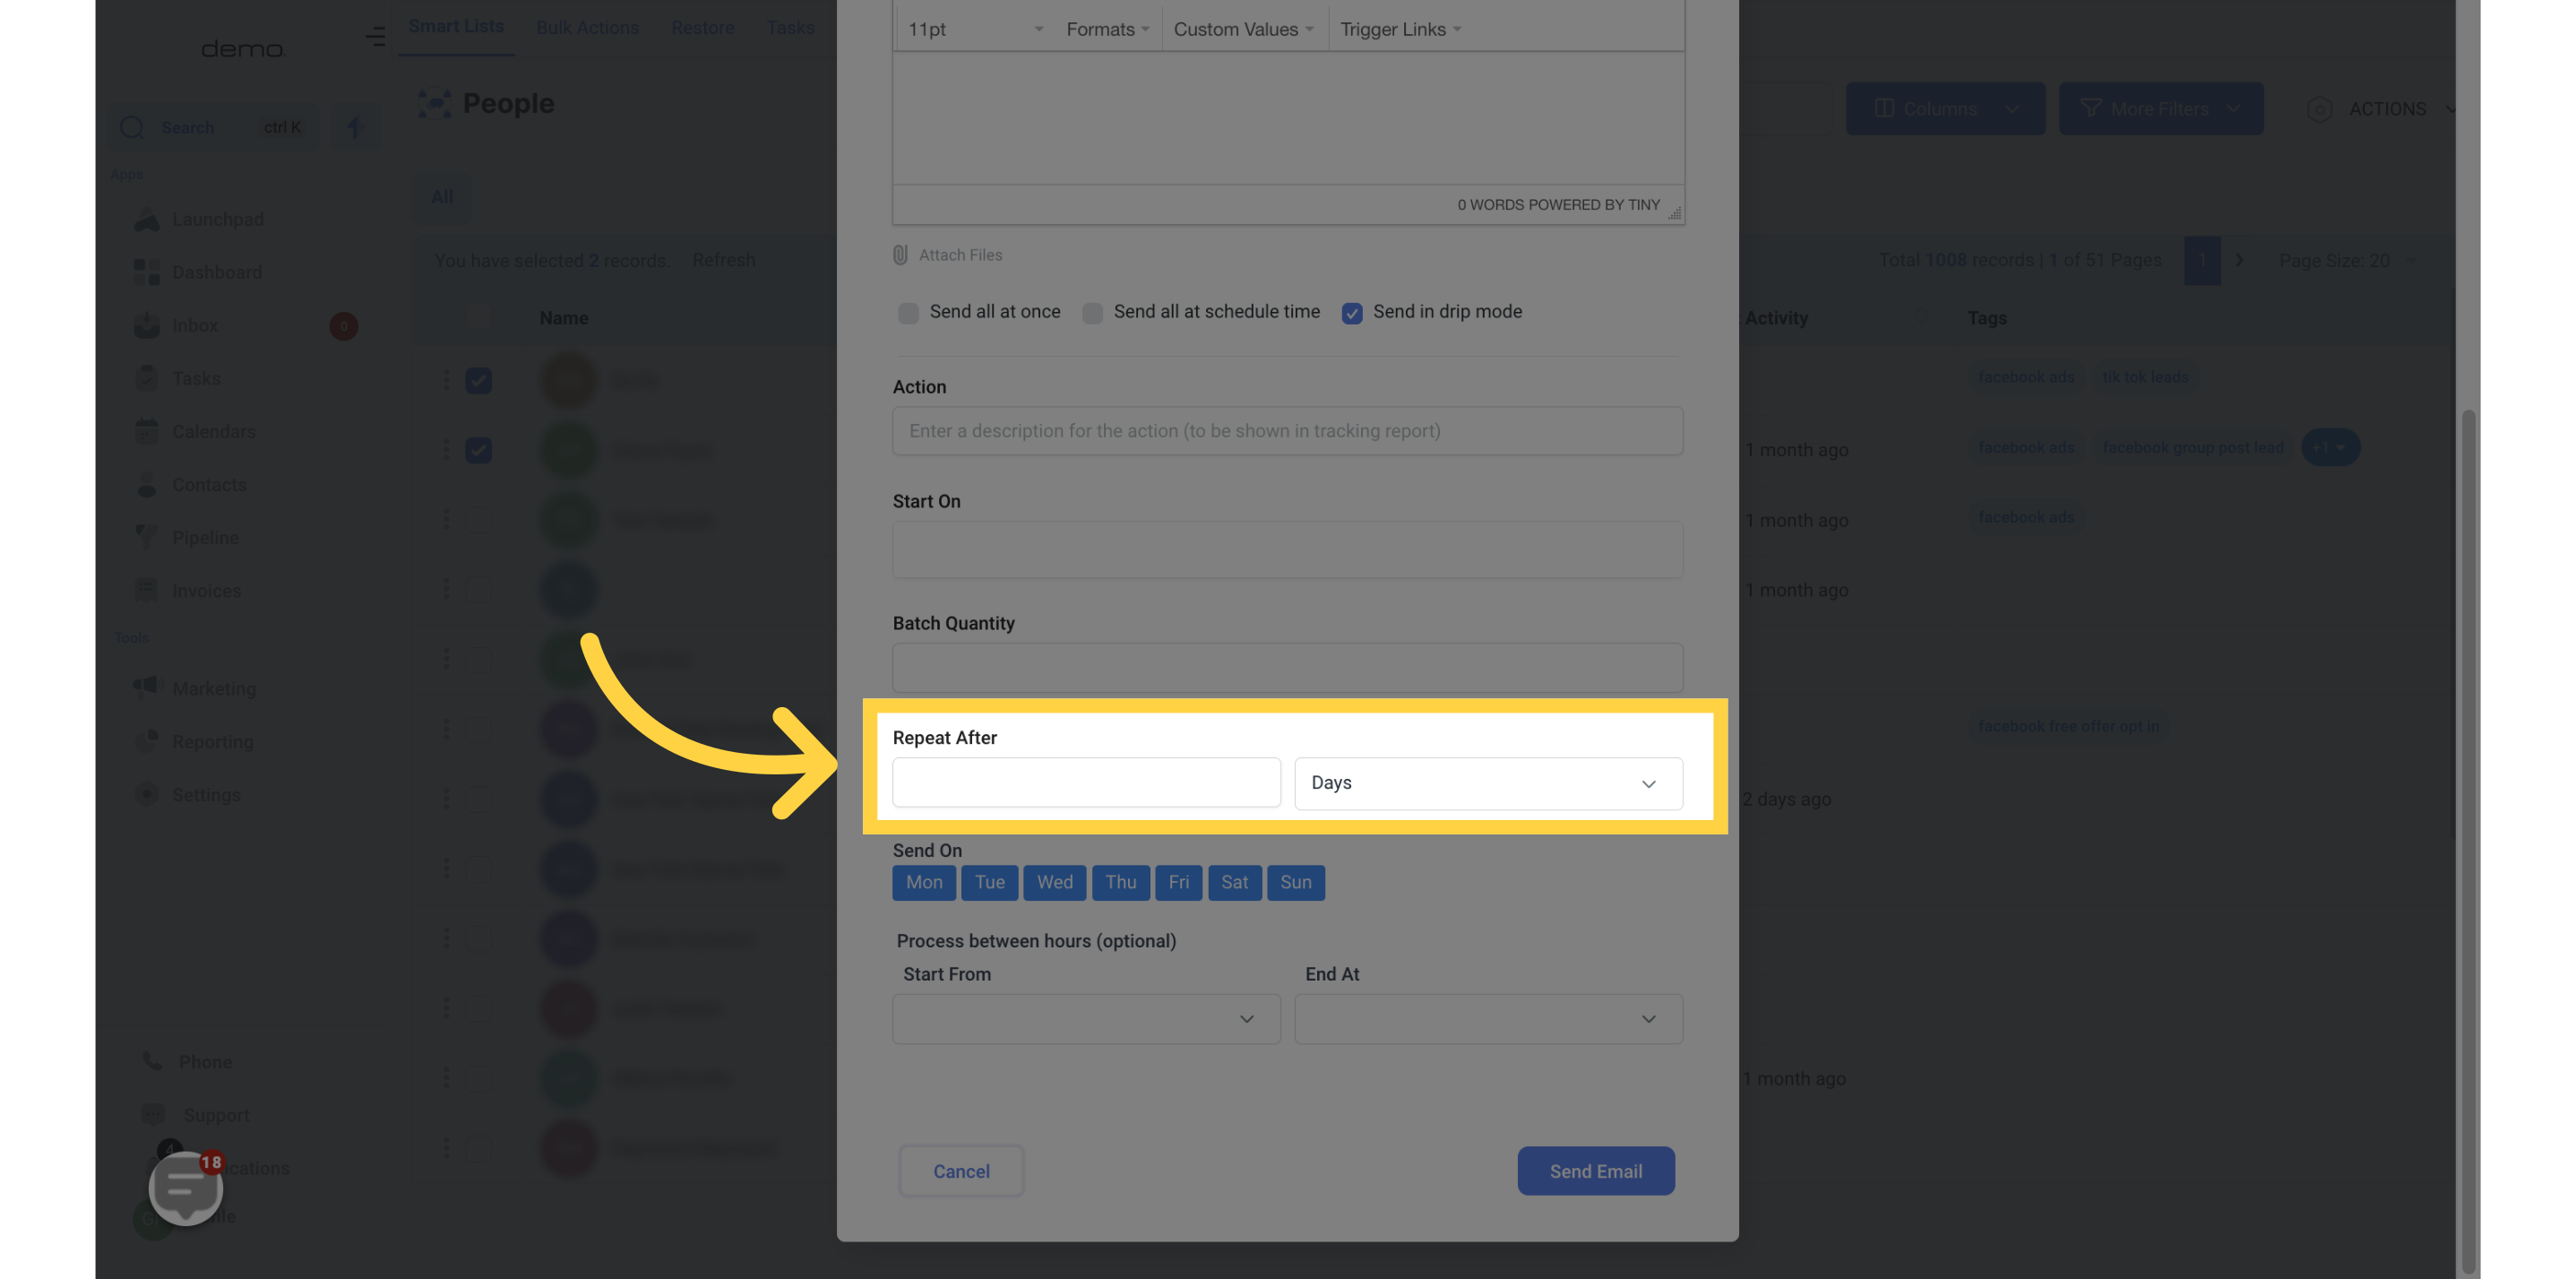
14. Repeat After
For Repeat After, you can choose to repeat the action at intervals ranging from seconds to days.
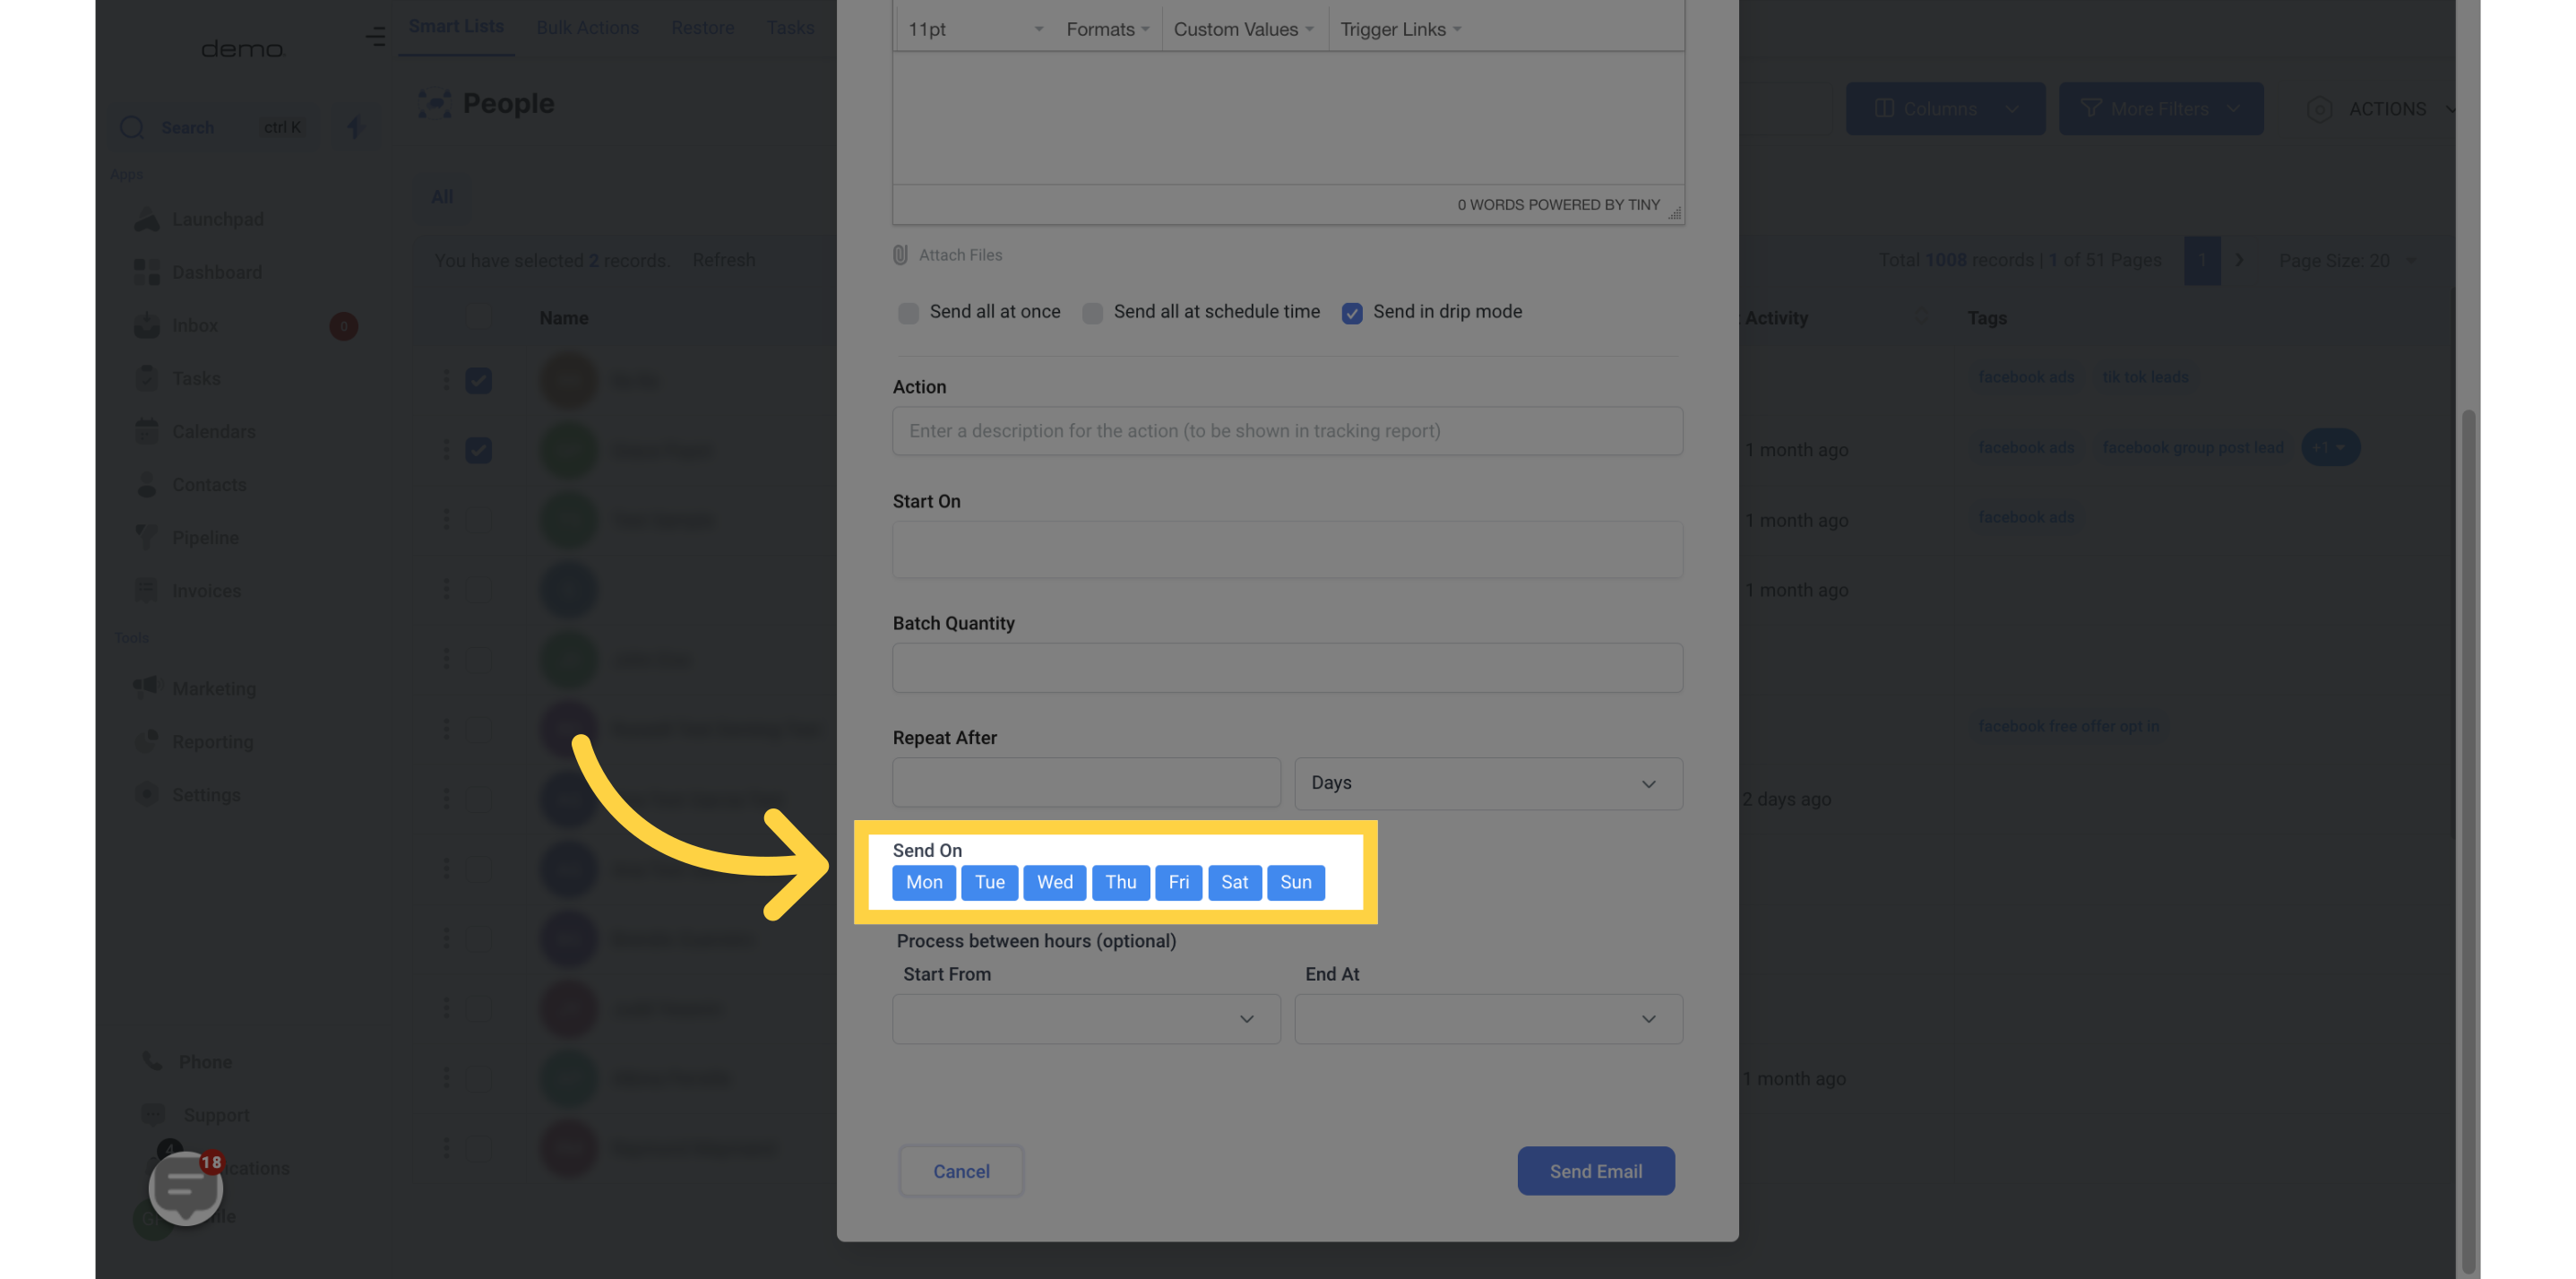
15. Select a Day
For Send On, select the day(s) of the week you want to send the batch.
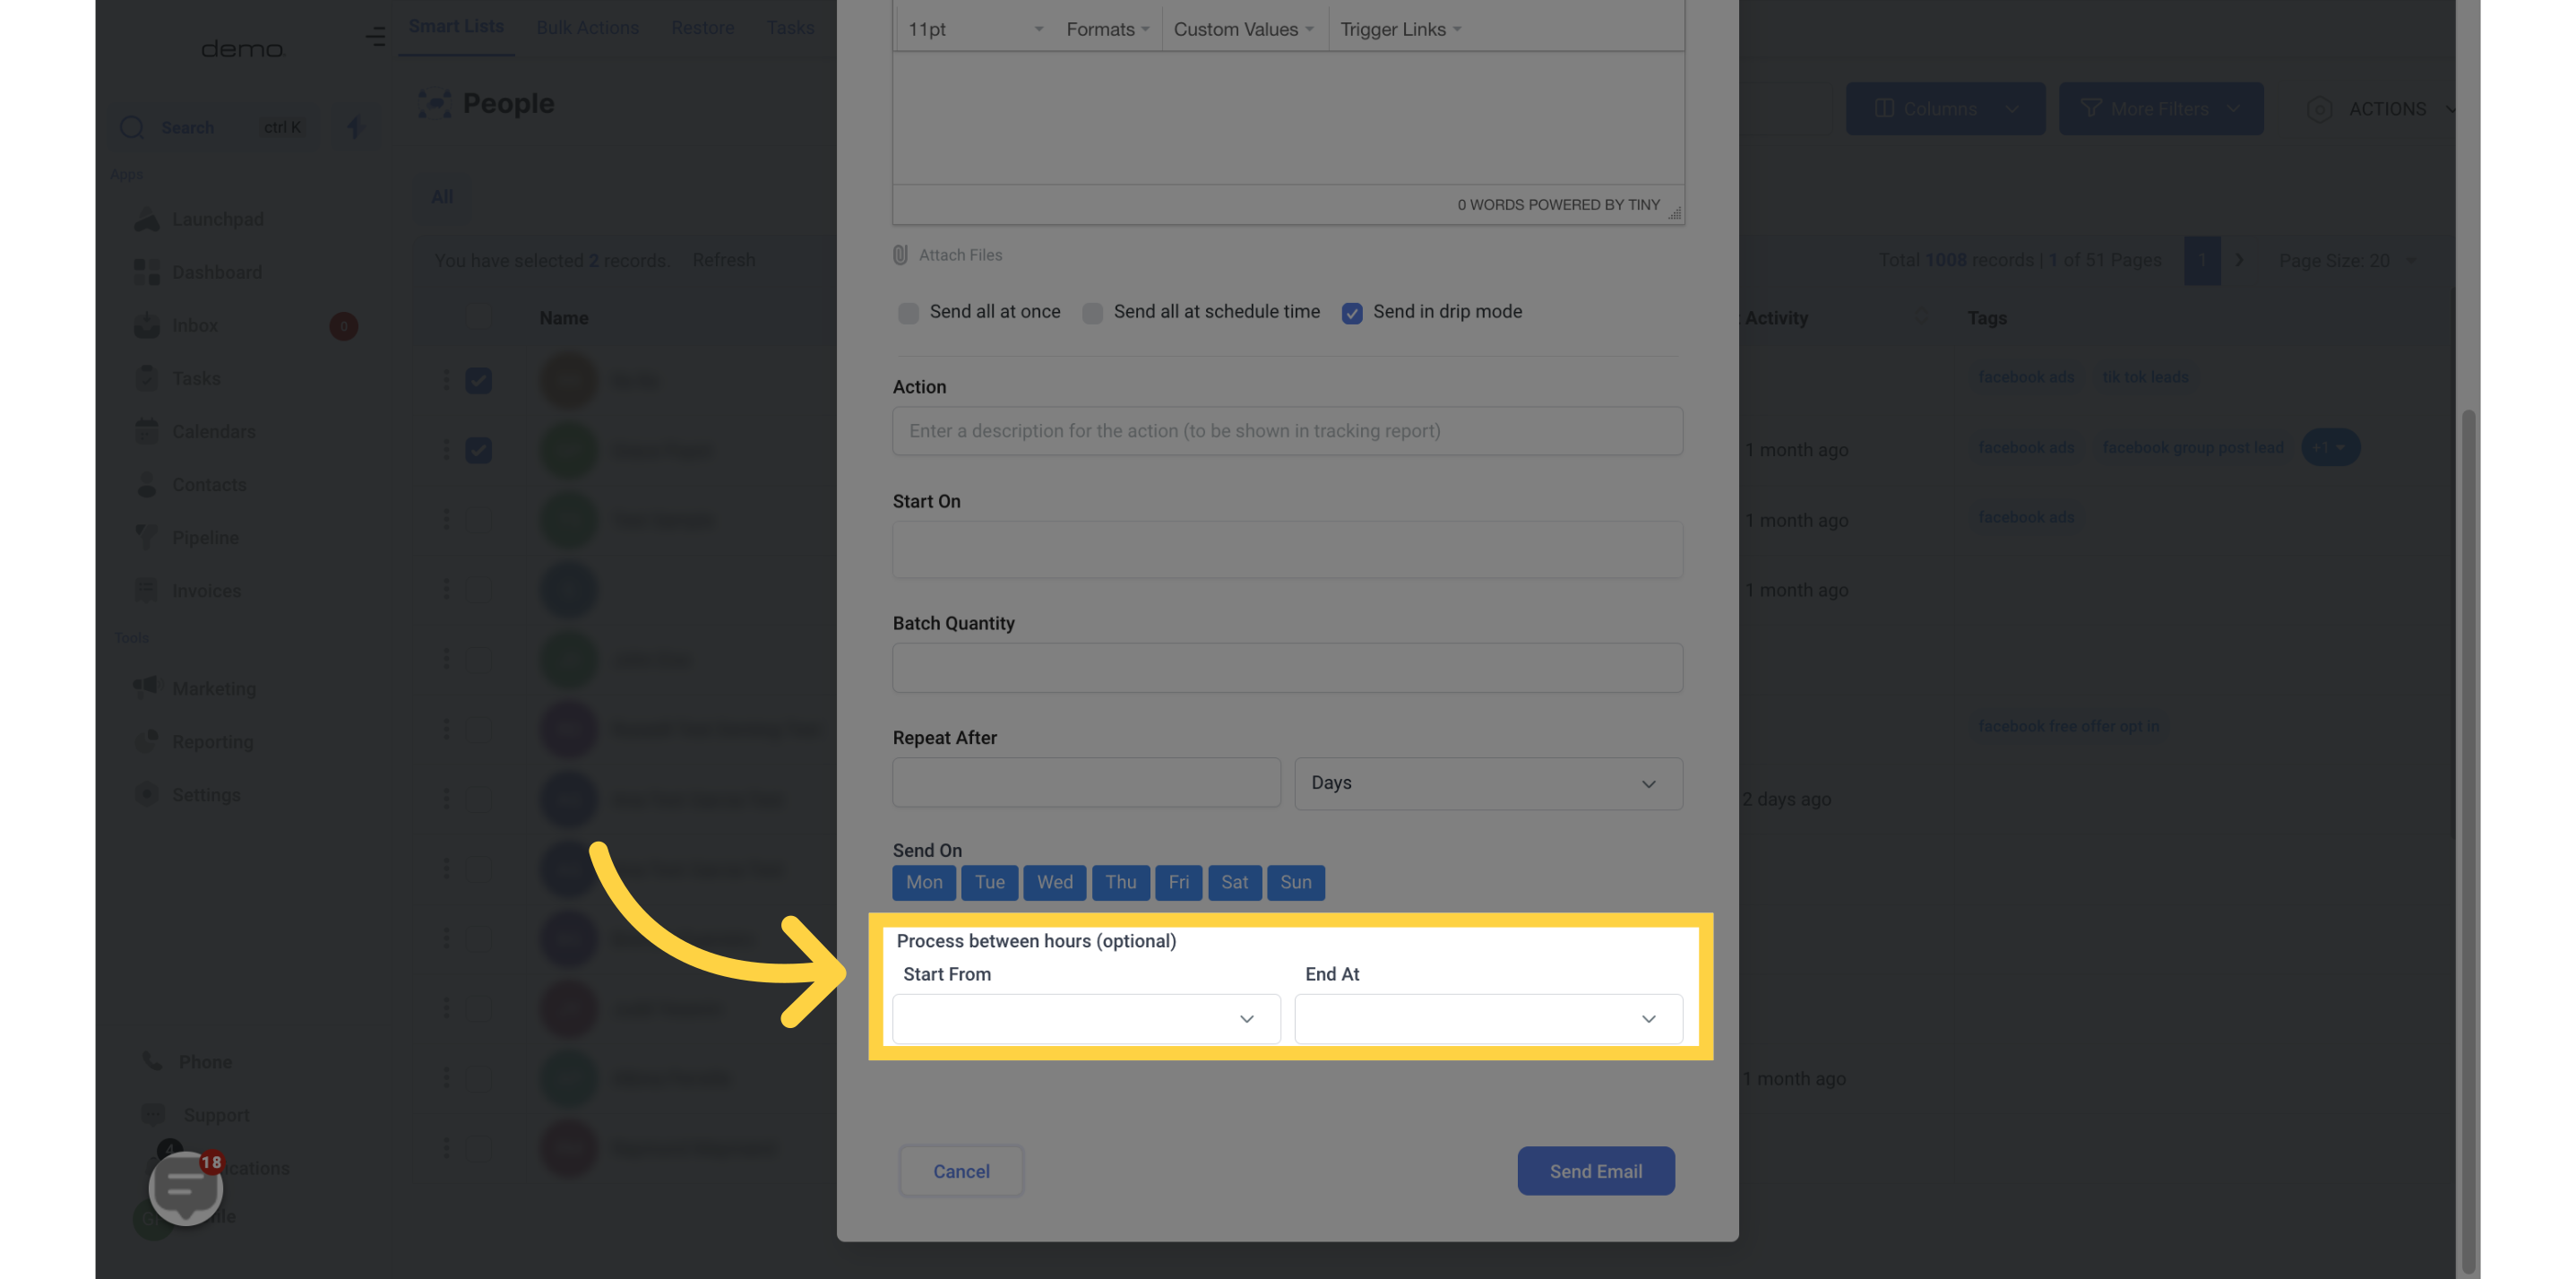
16. Process between hours (optional)
The process can also be set between specific hours if desired.
17. Click "Send Email"
