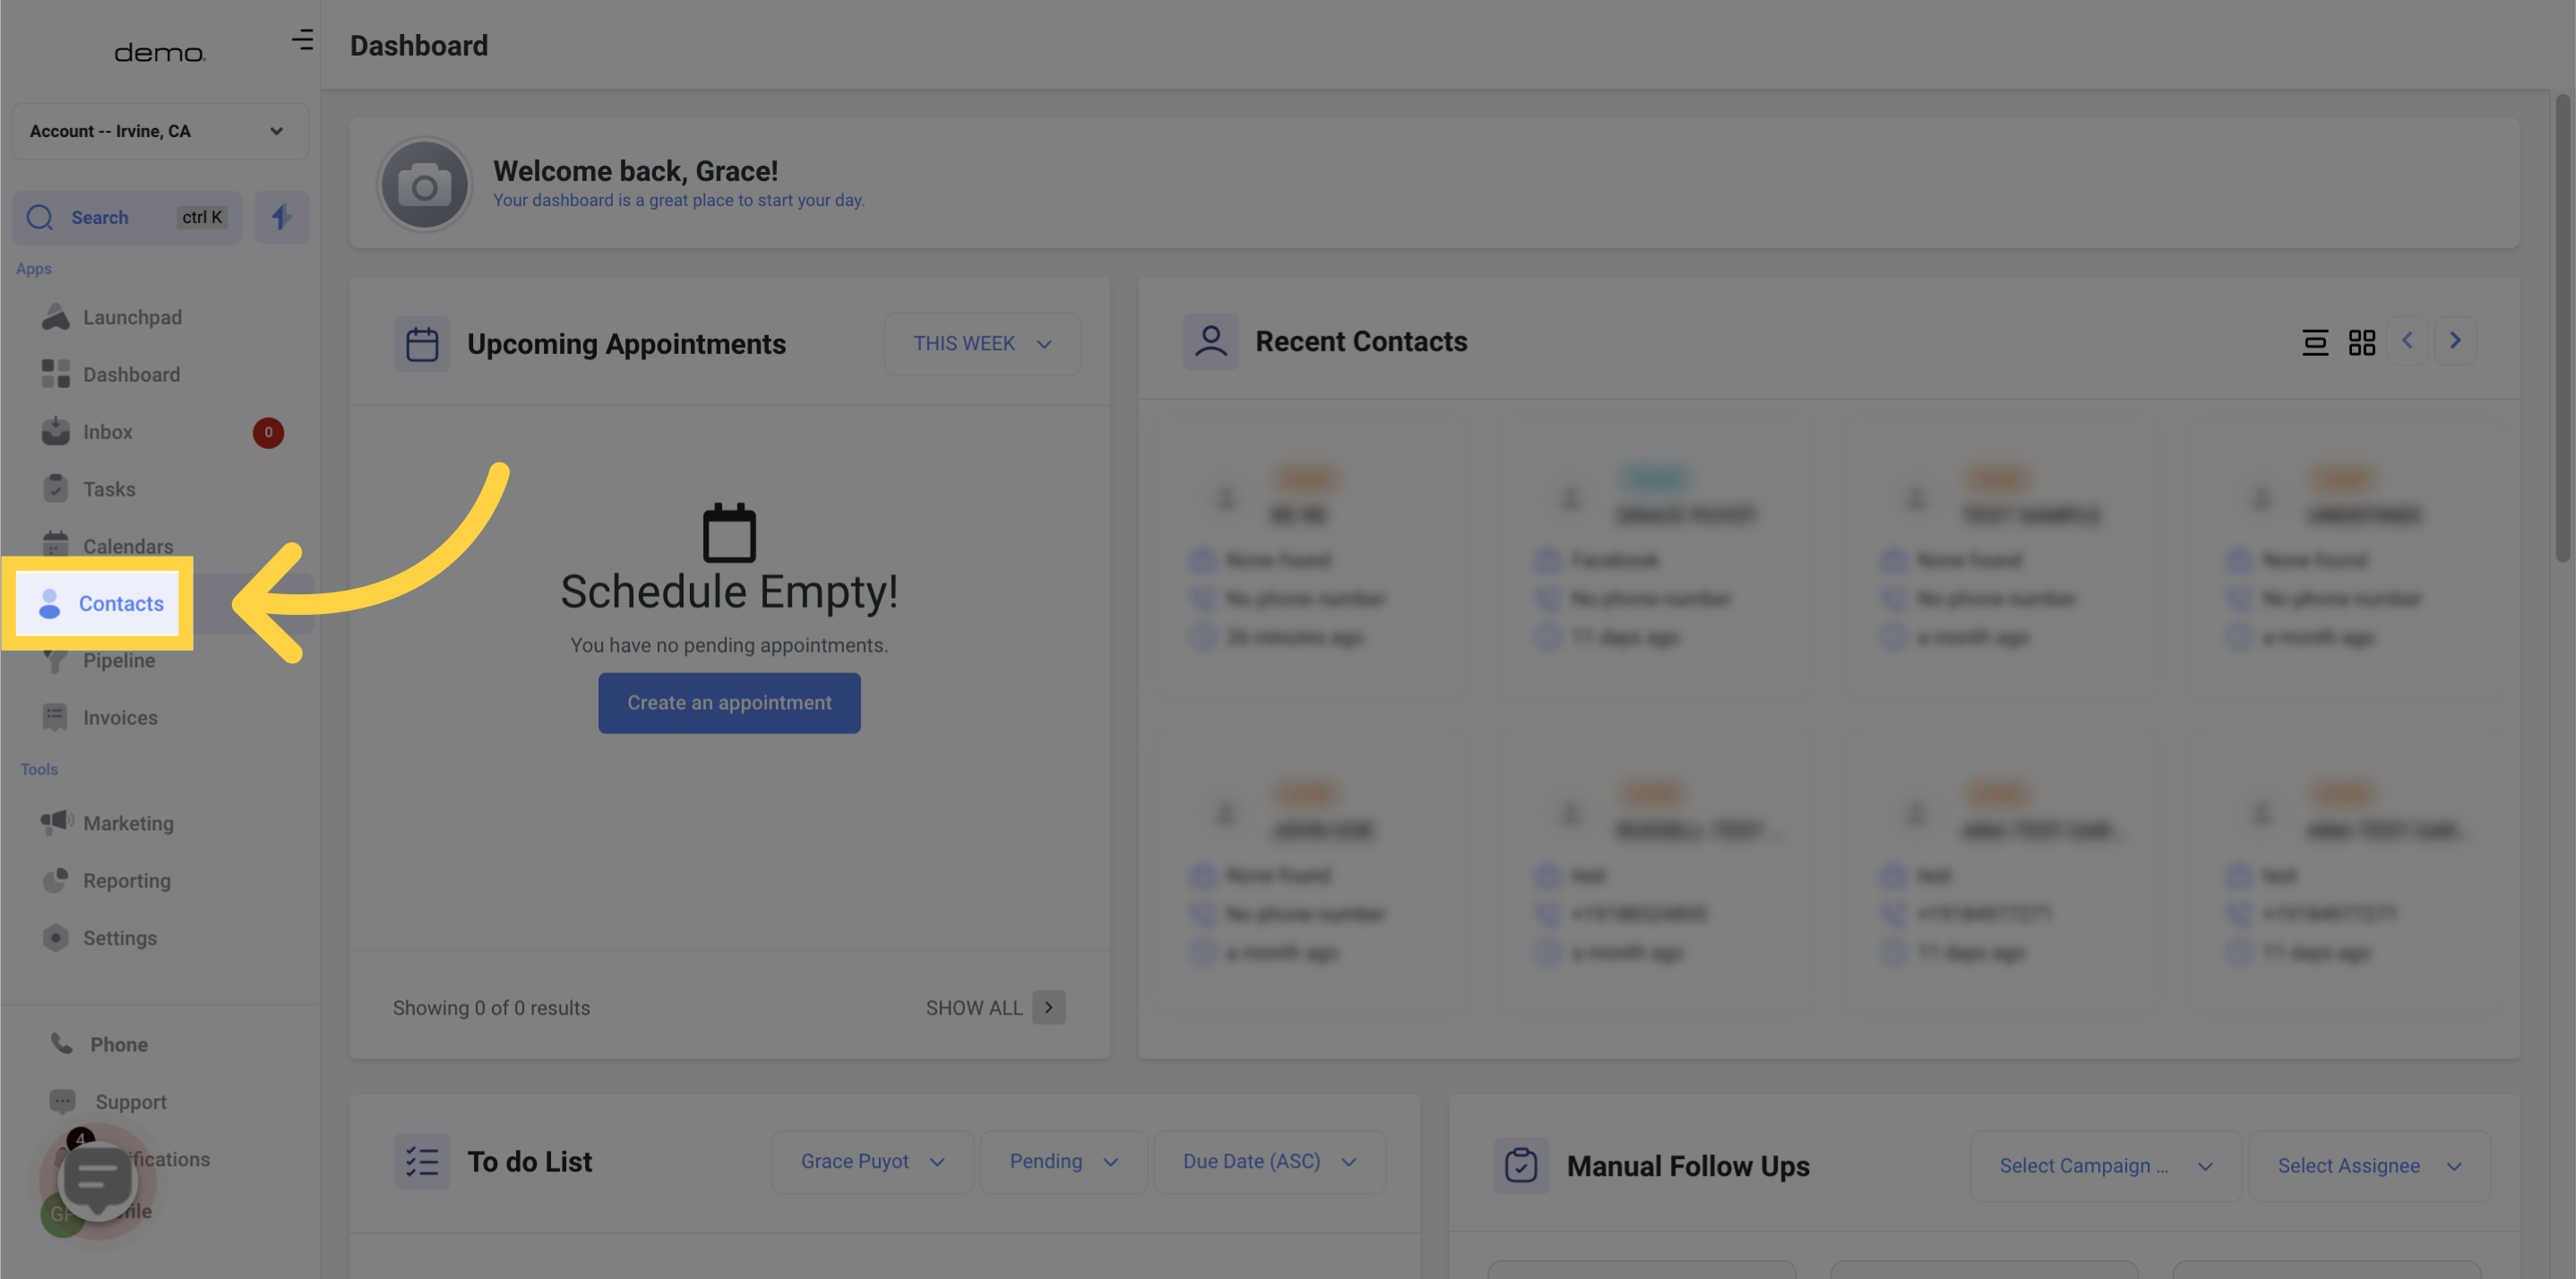
1. Click "Contacts"
Navigate to the Contacts section
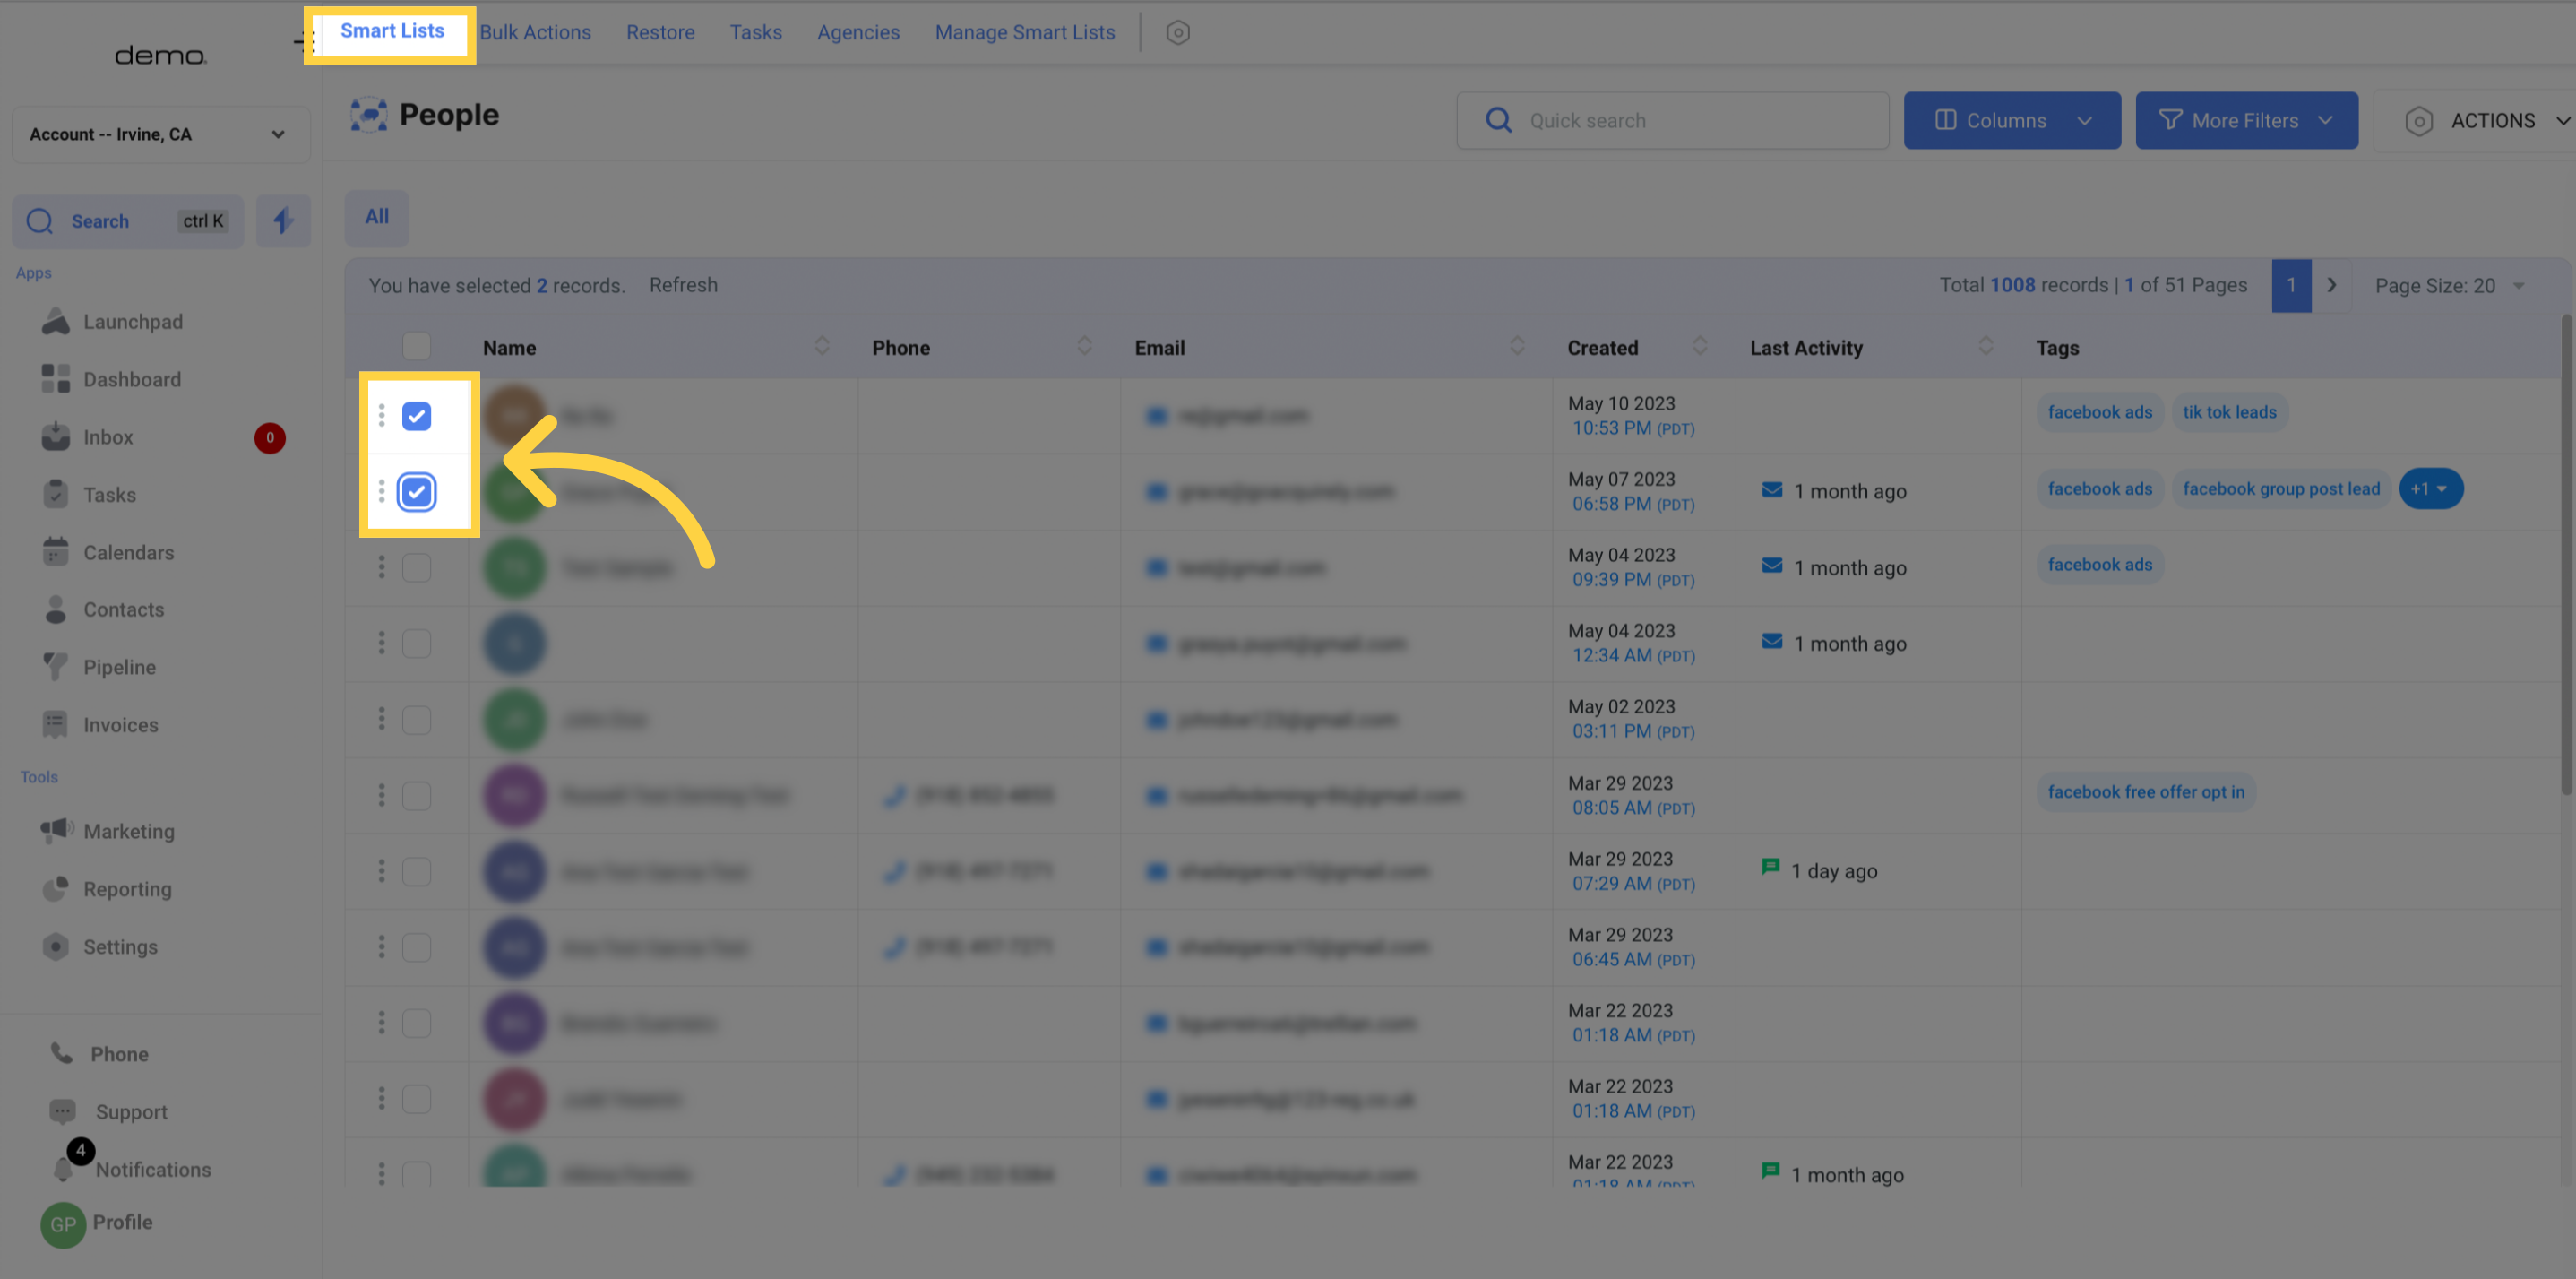
2. Select "Records"
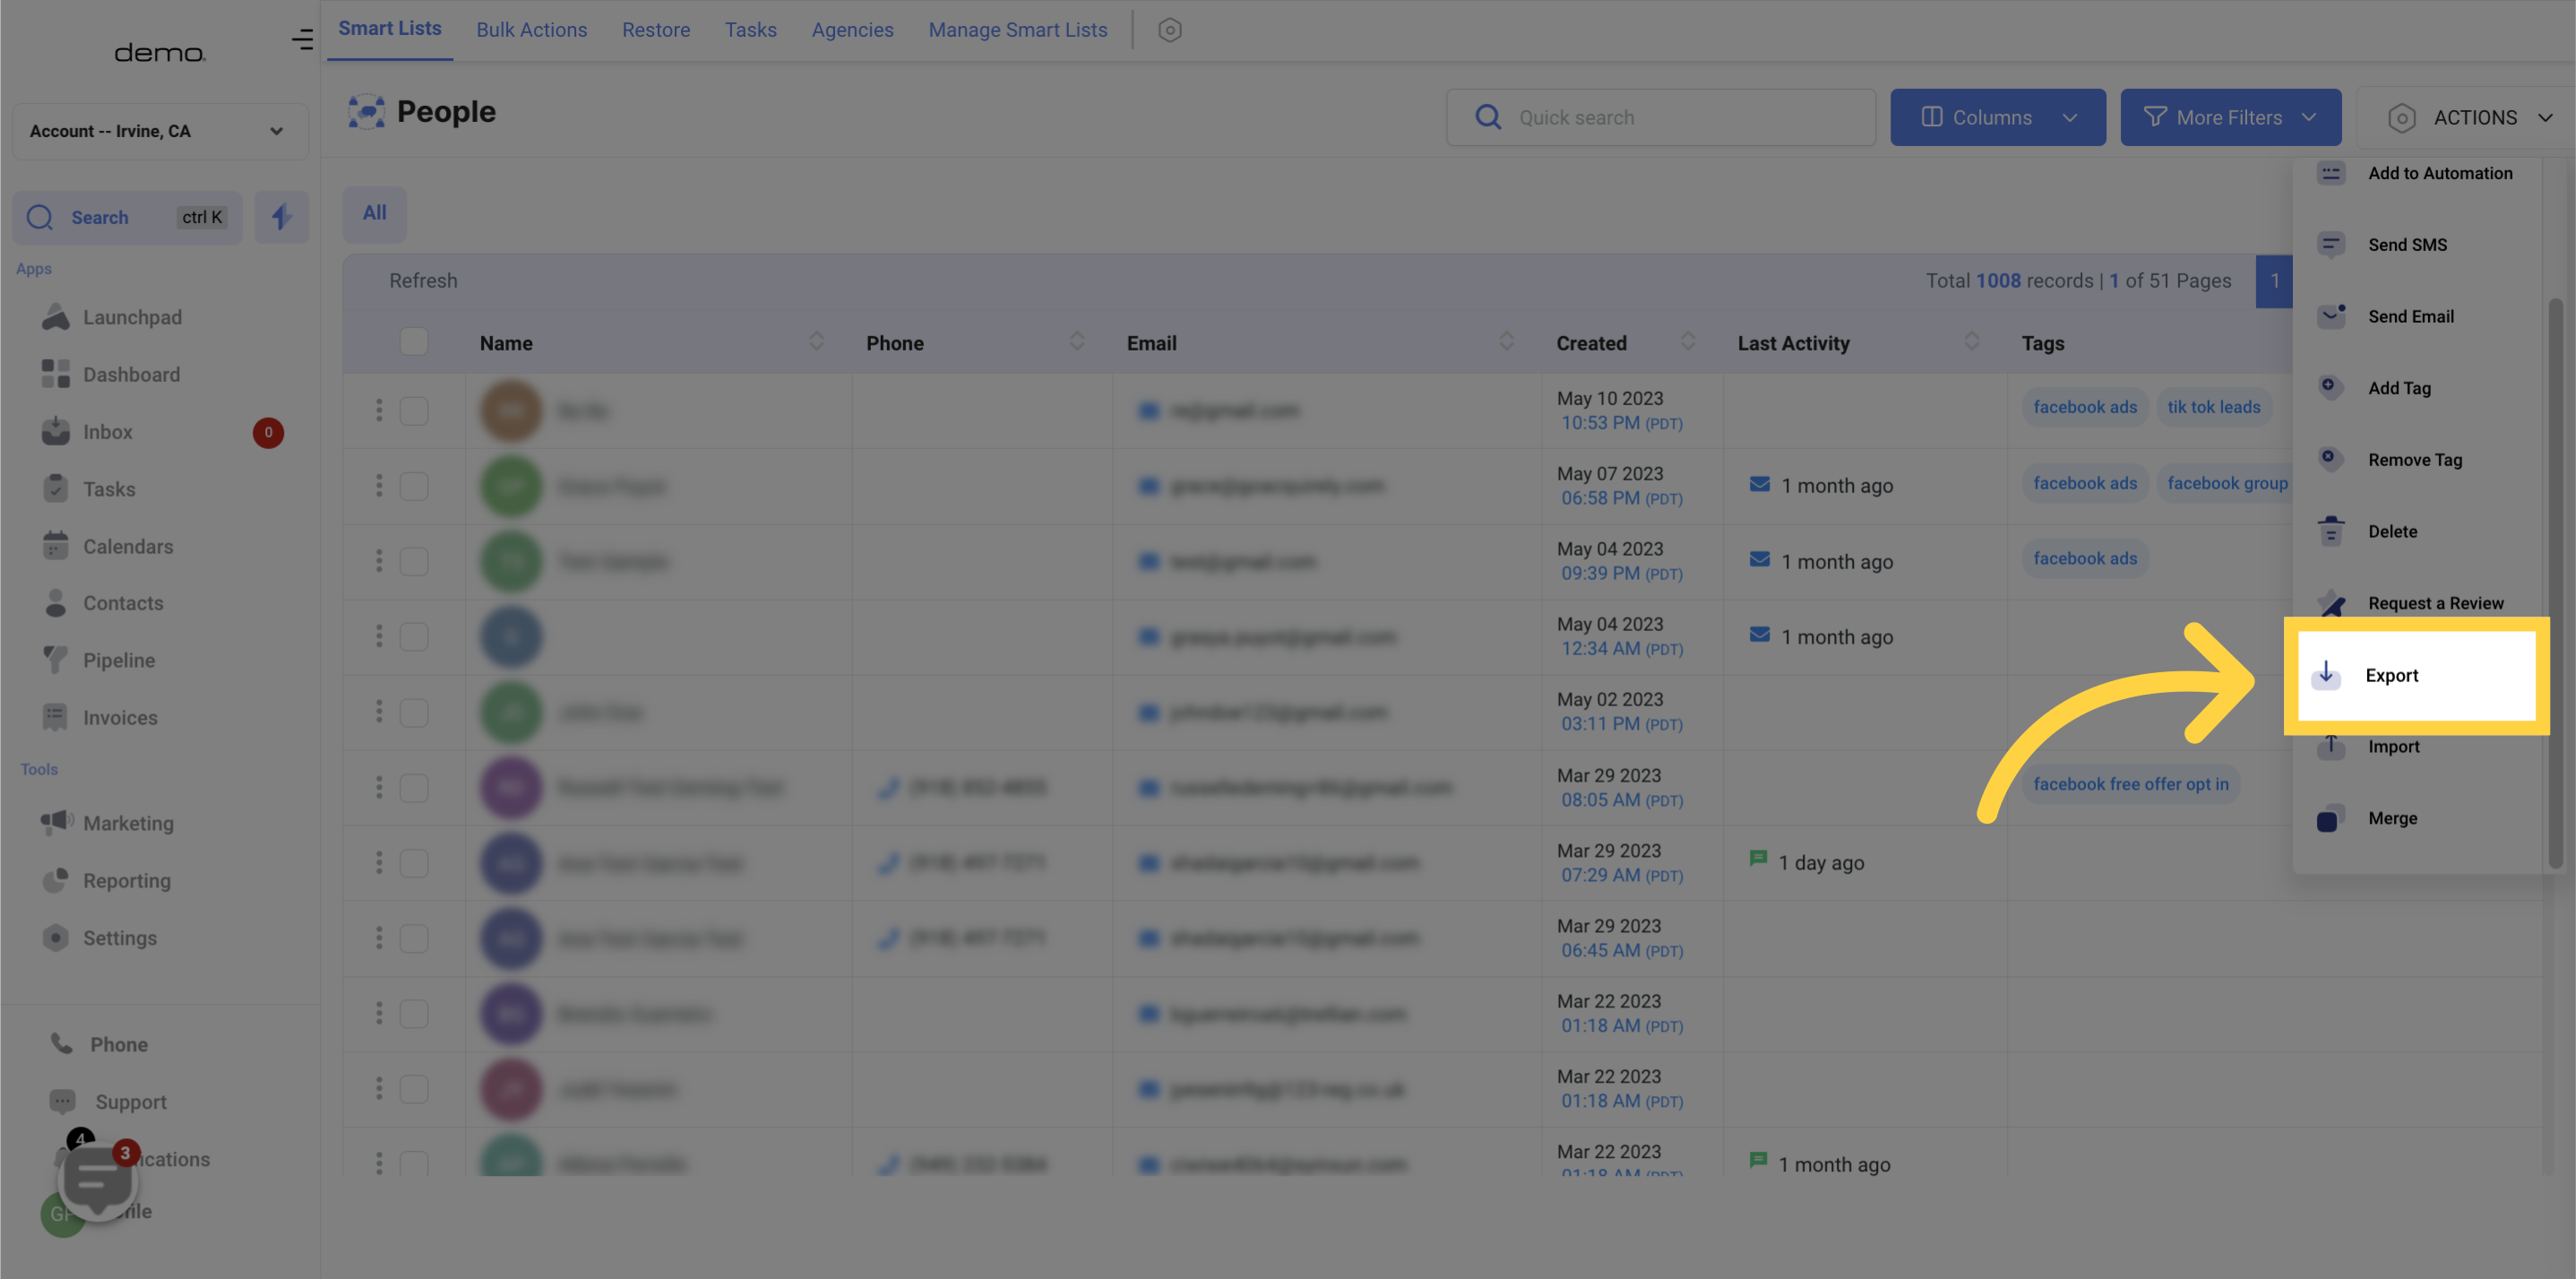
3. Click "Export"
To export either a single contact or a group of contacts from your CRM or marketing campaign, simply click on the designated button. This action will result in a CSV spreadsheet download to your local device.
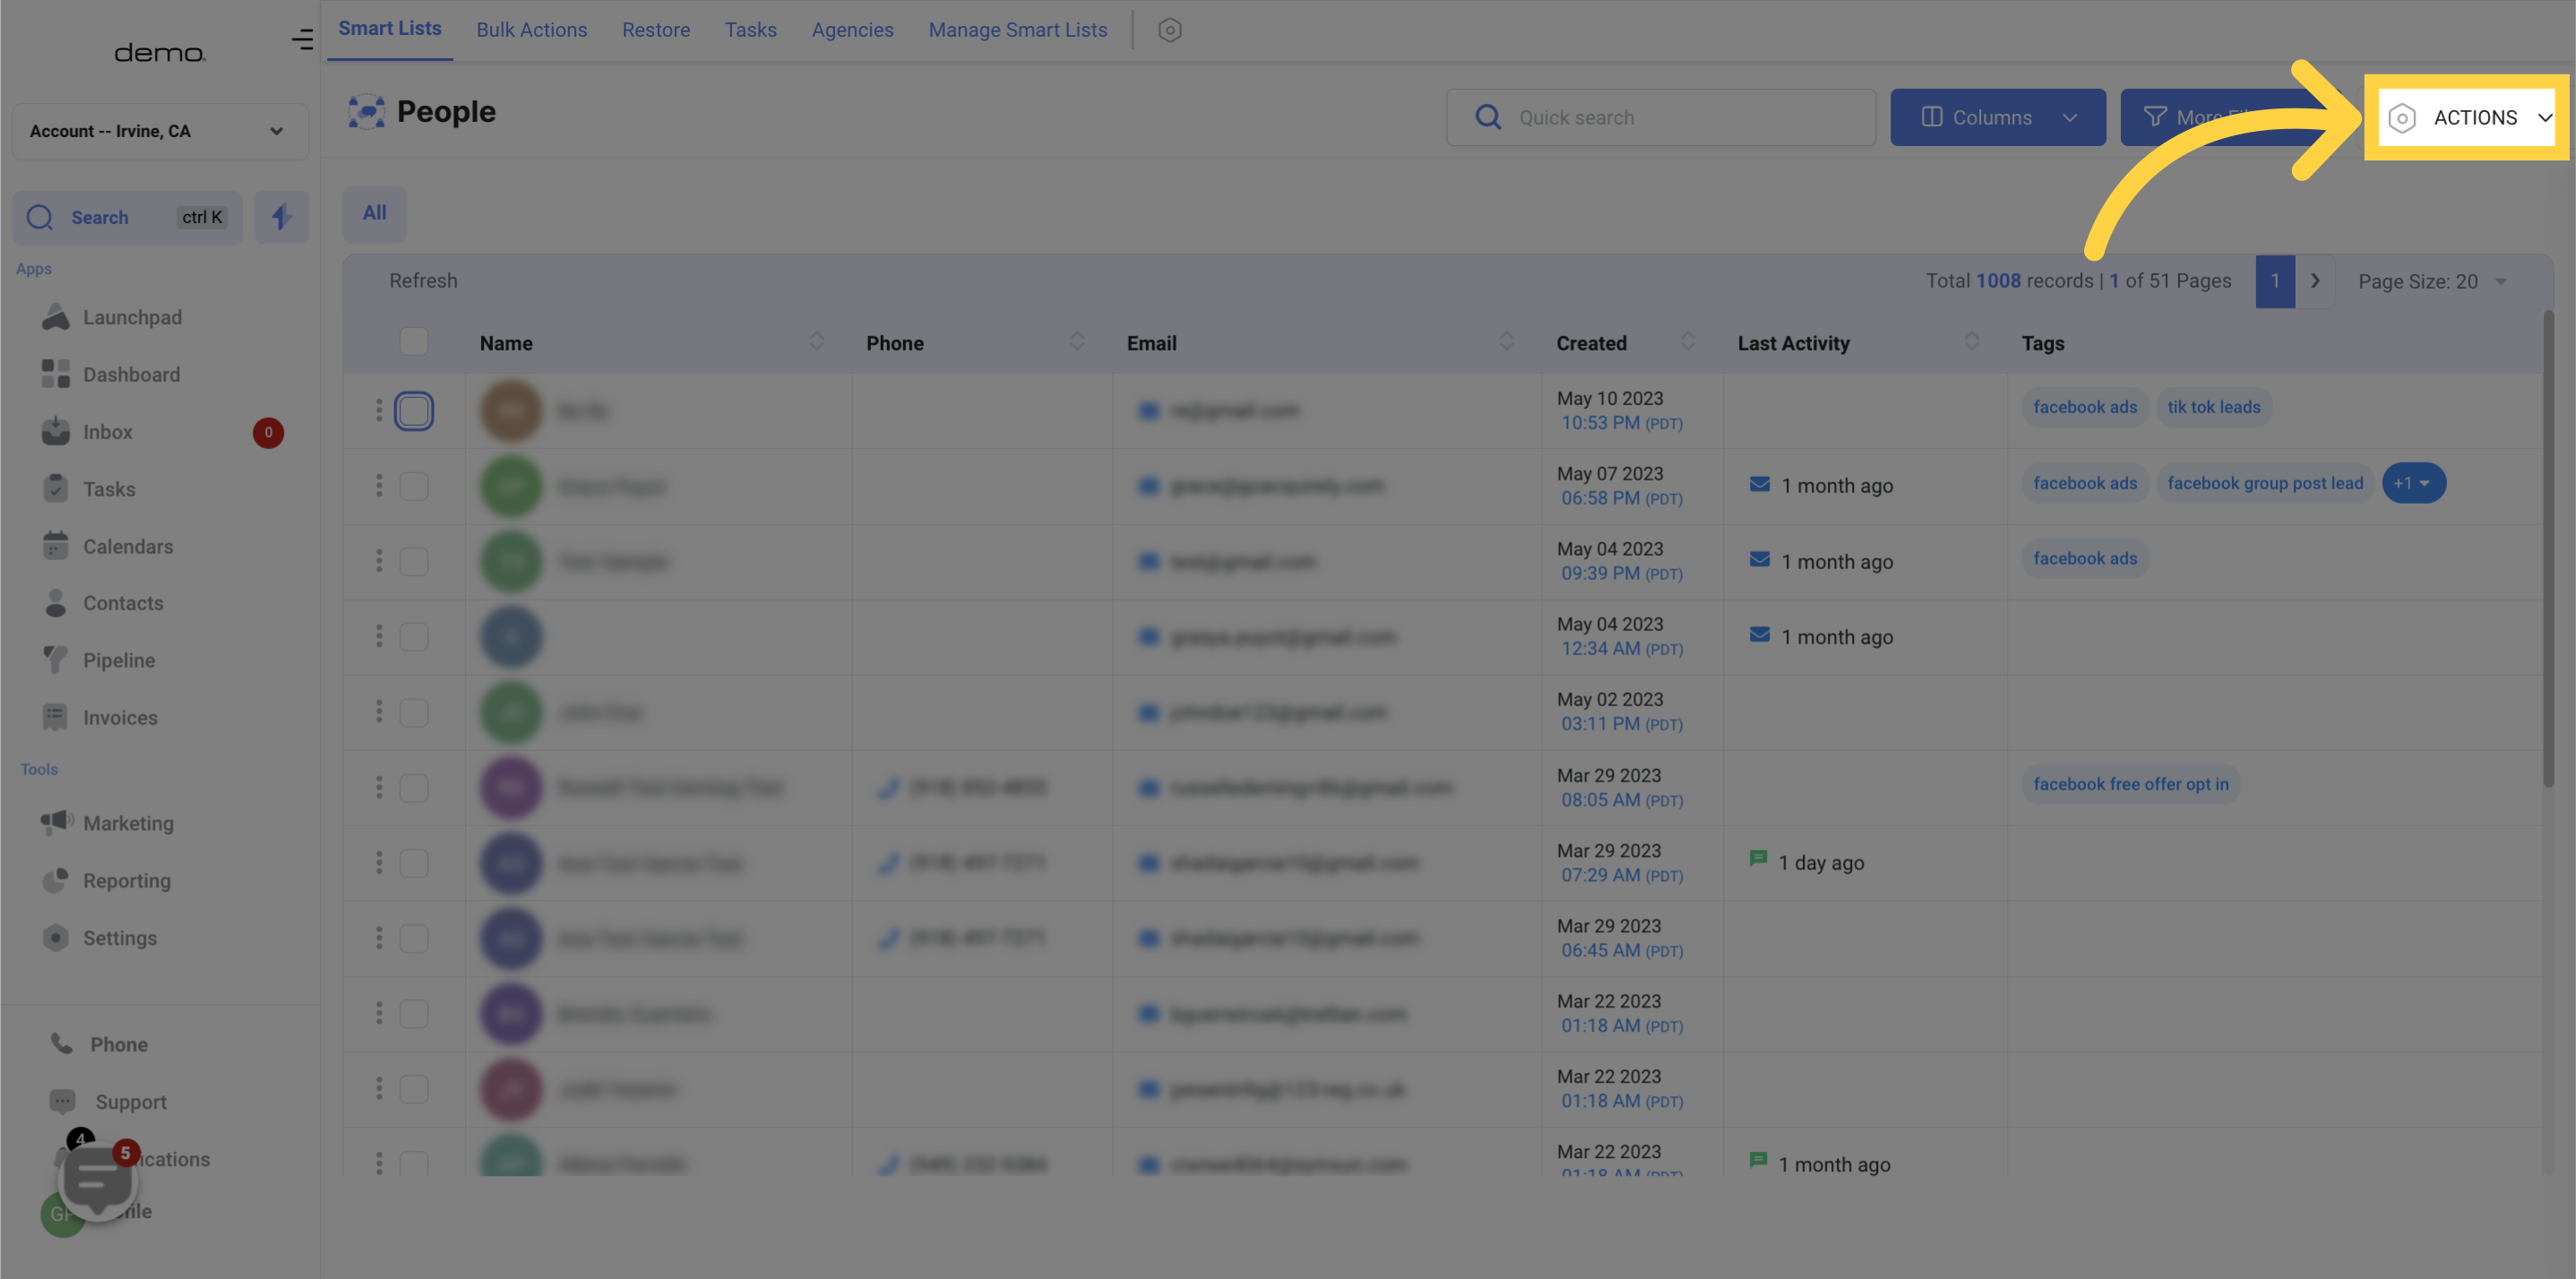
4. Click "Actions"
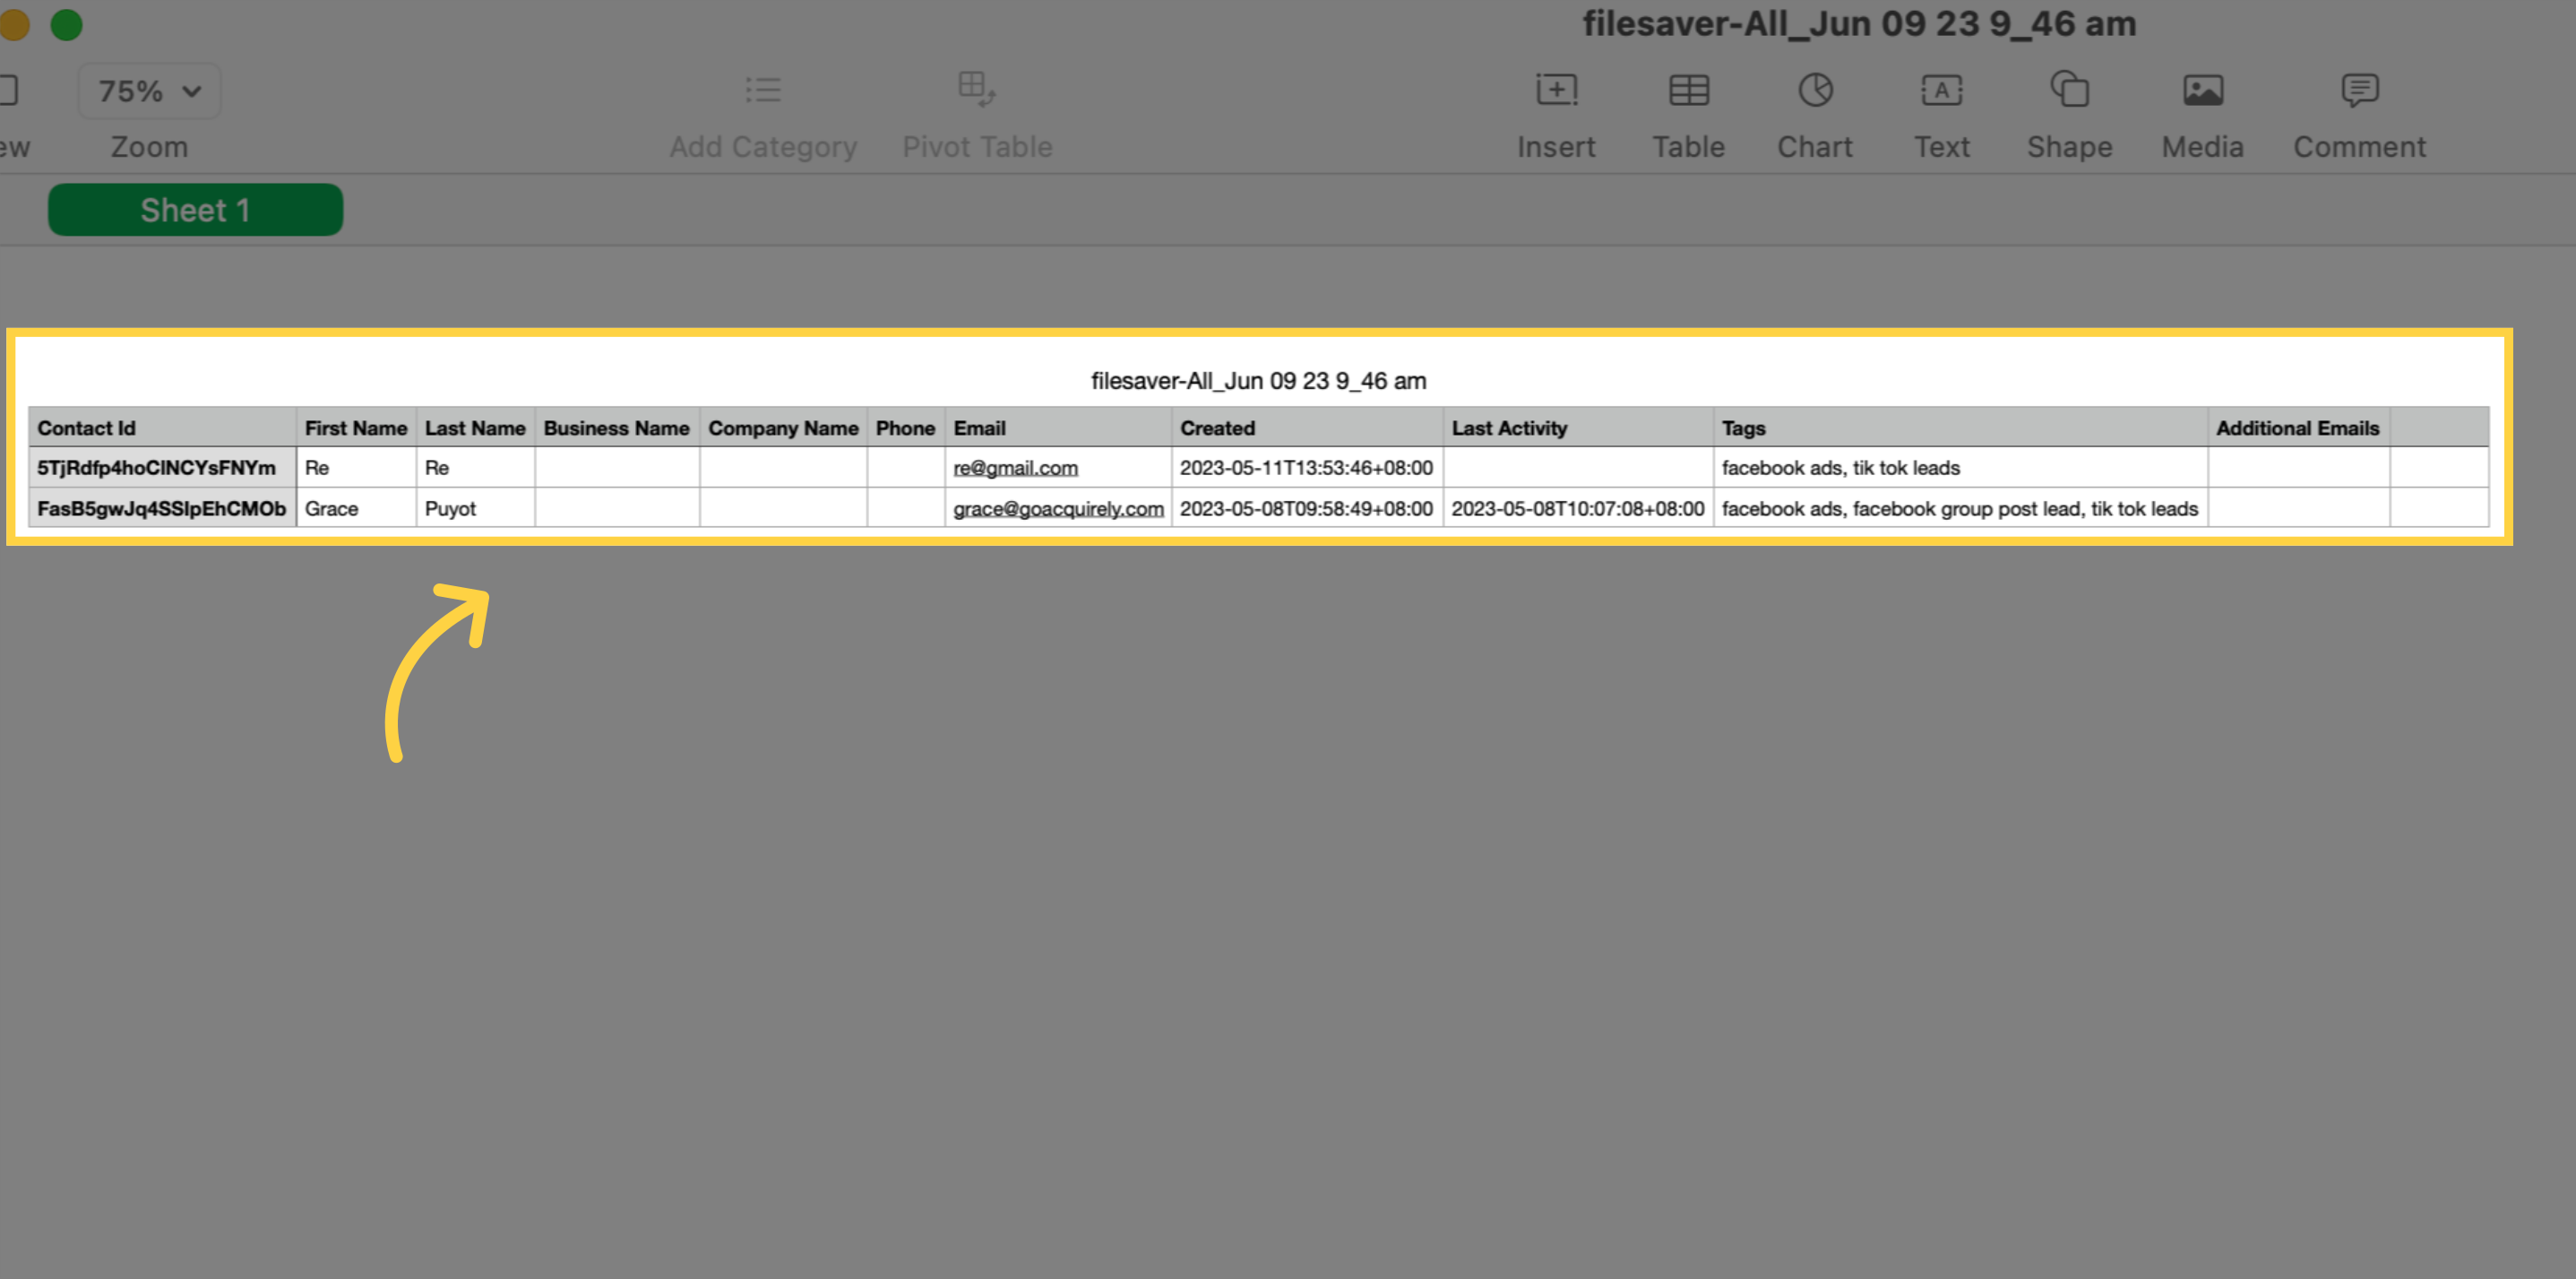
5. Excel
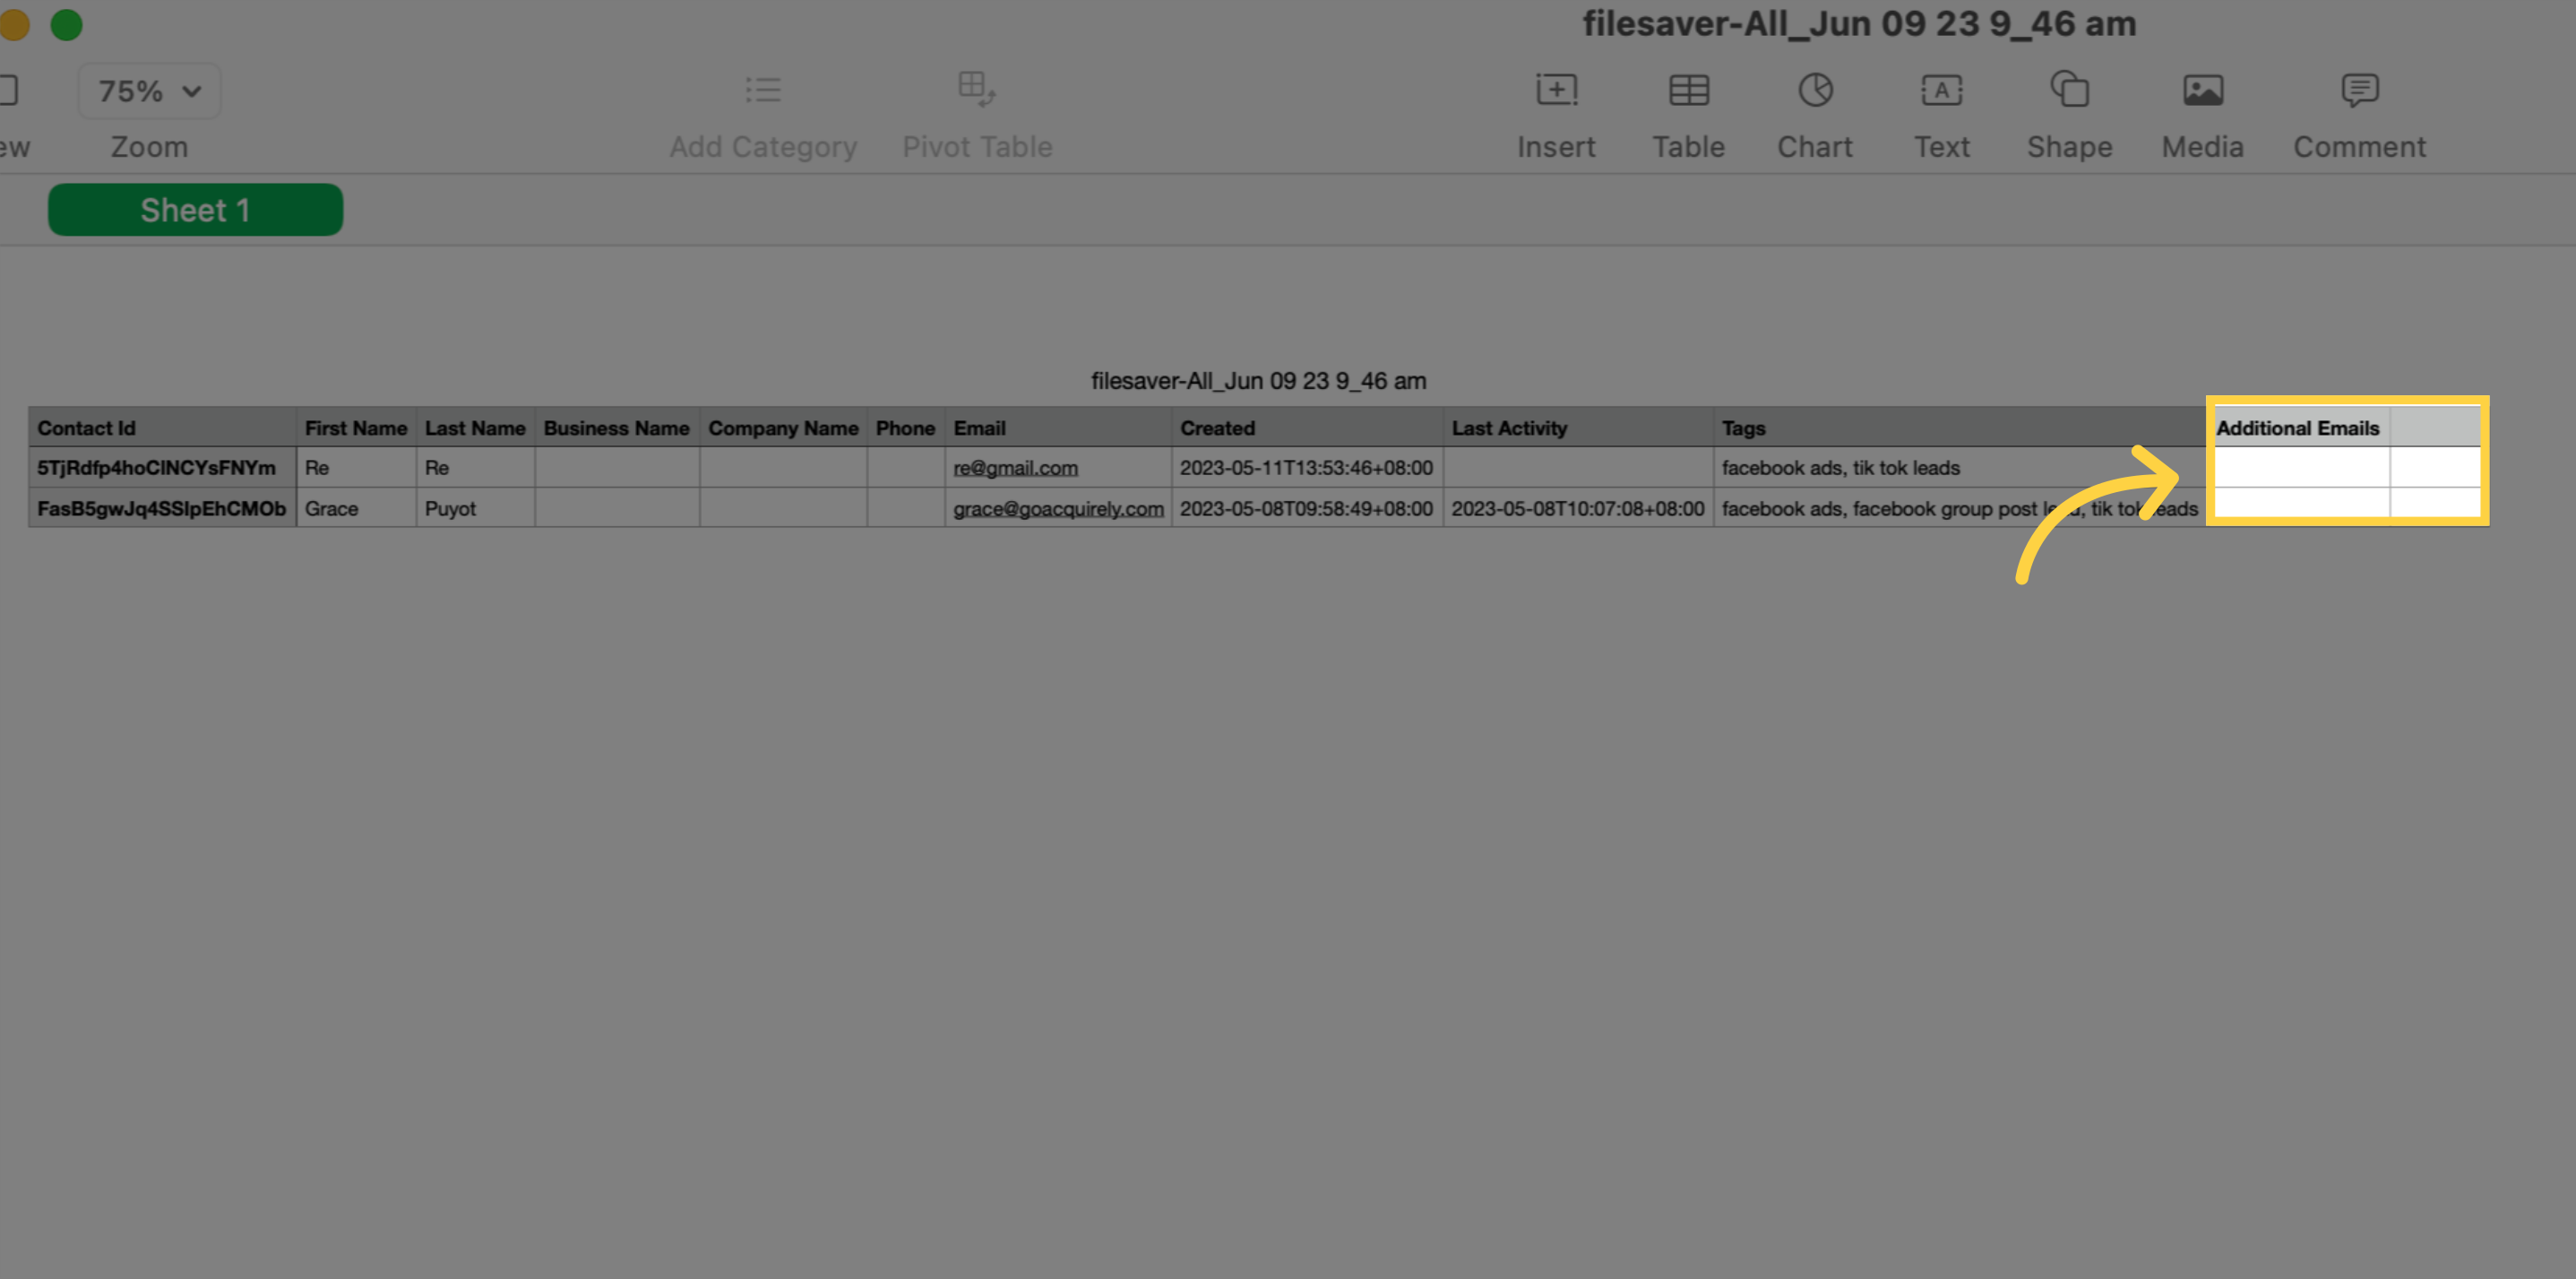
The contact's corresponding information is organized under these column headers in the downloaded spreadsheet.
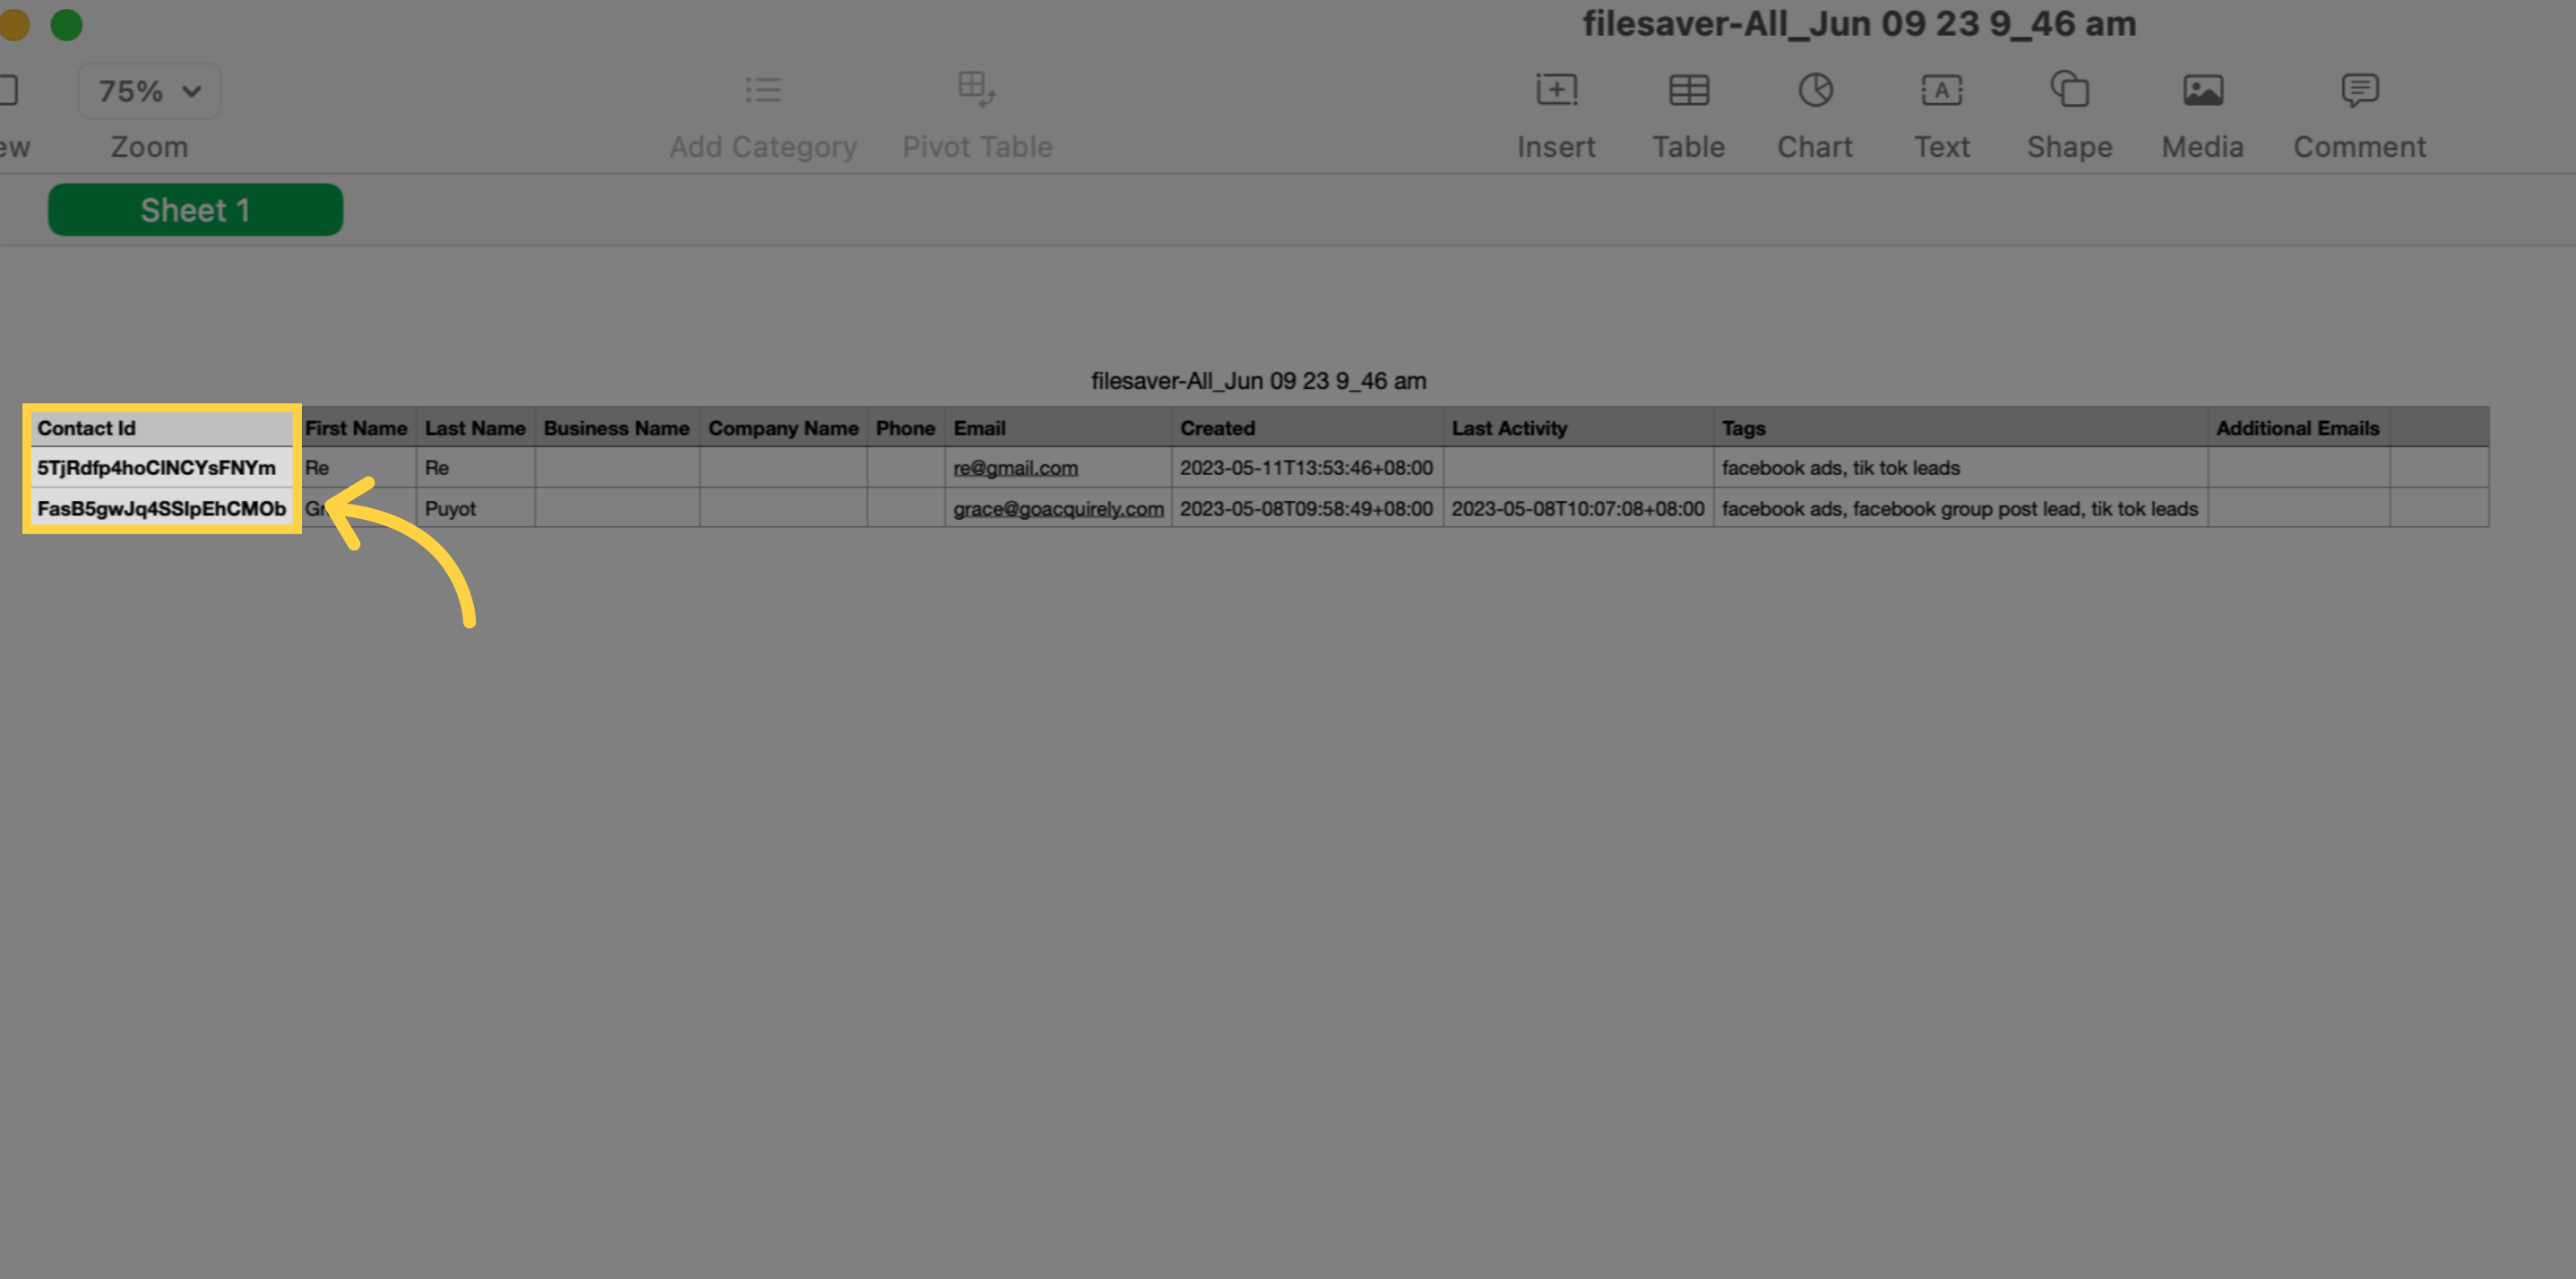
6. Contact ID
The reference number for easy tracking within the CRM will be this ID number.
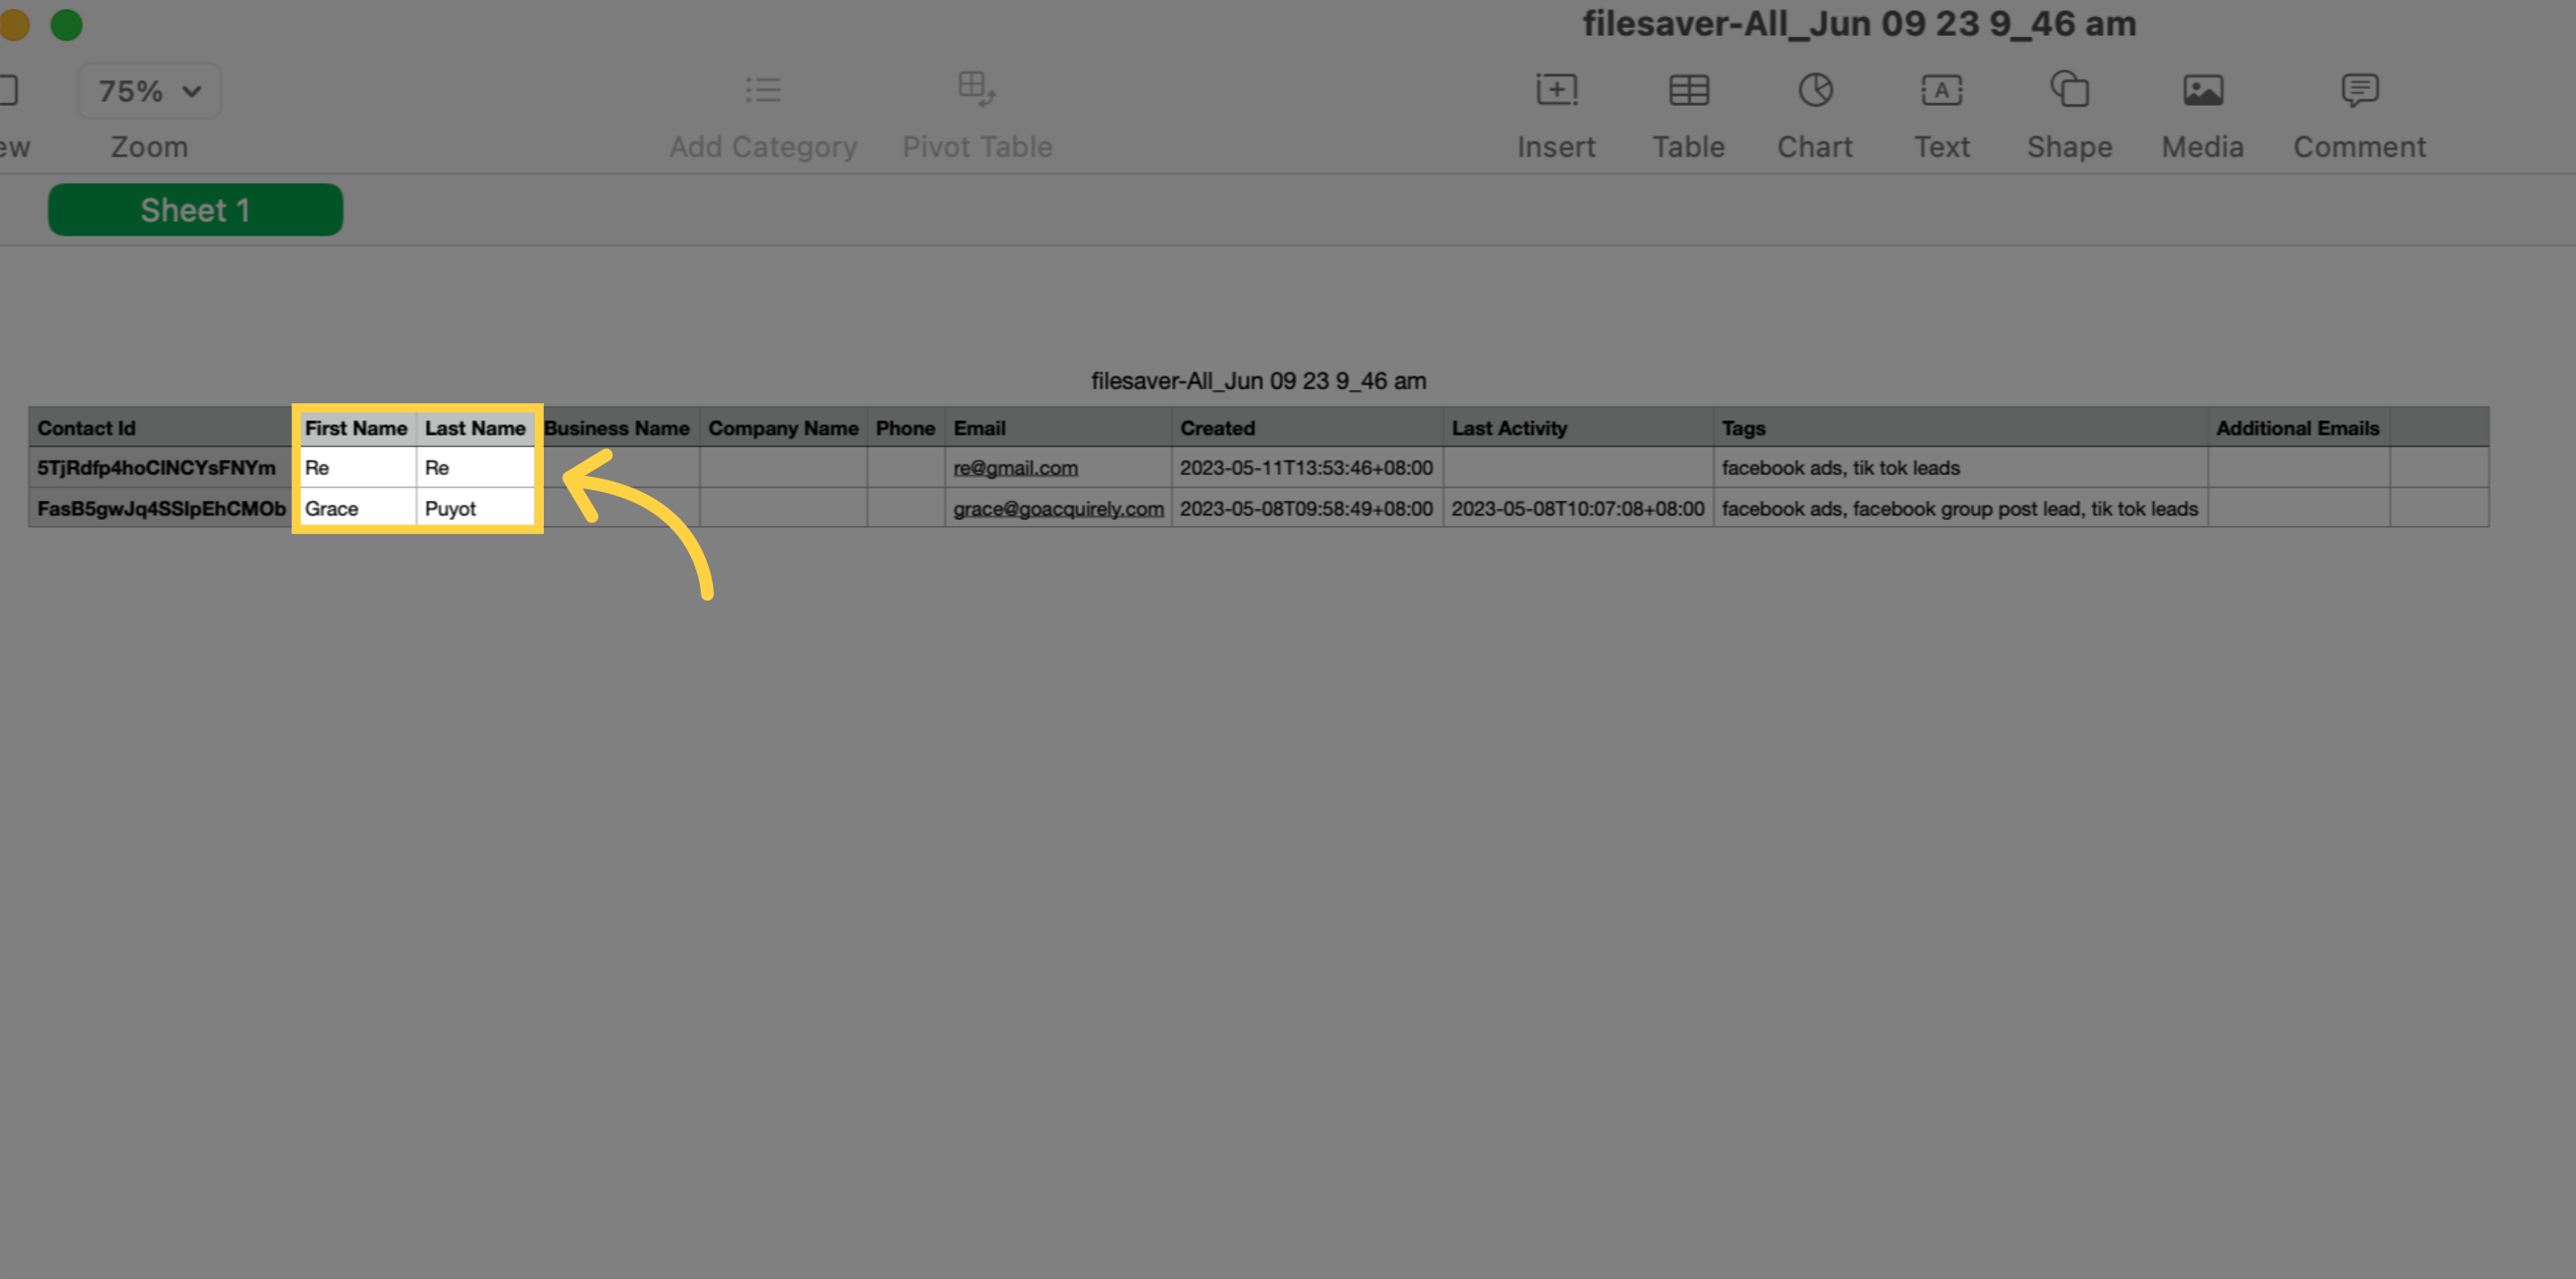
7. First Name & Last Name
When importing contacts, the owner can be assigned using their first and last name, and also the name of the "User".
Formats:
FirstName LastName (e.g. Logan Paul or logan paul).
LastName FirstName (e.g. Paul Logan or paul logan).
Note: Unless the user has both FirstName and Last Name, the system will not recognize it during the upload.
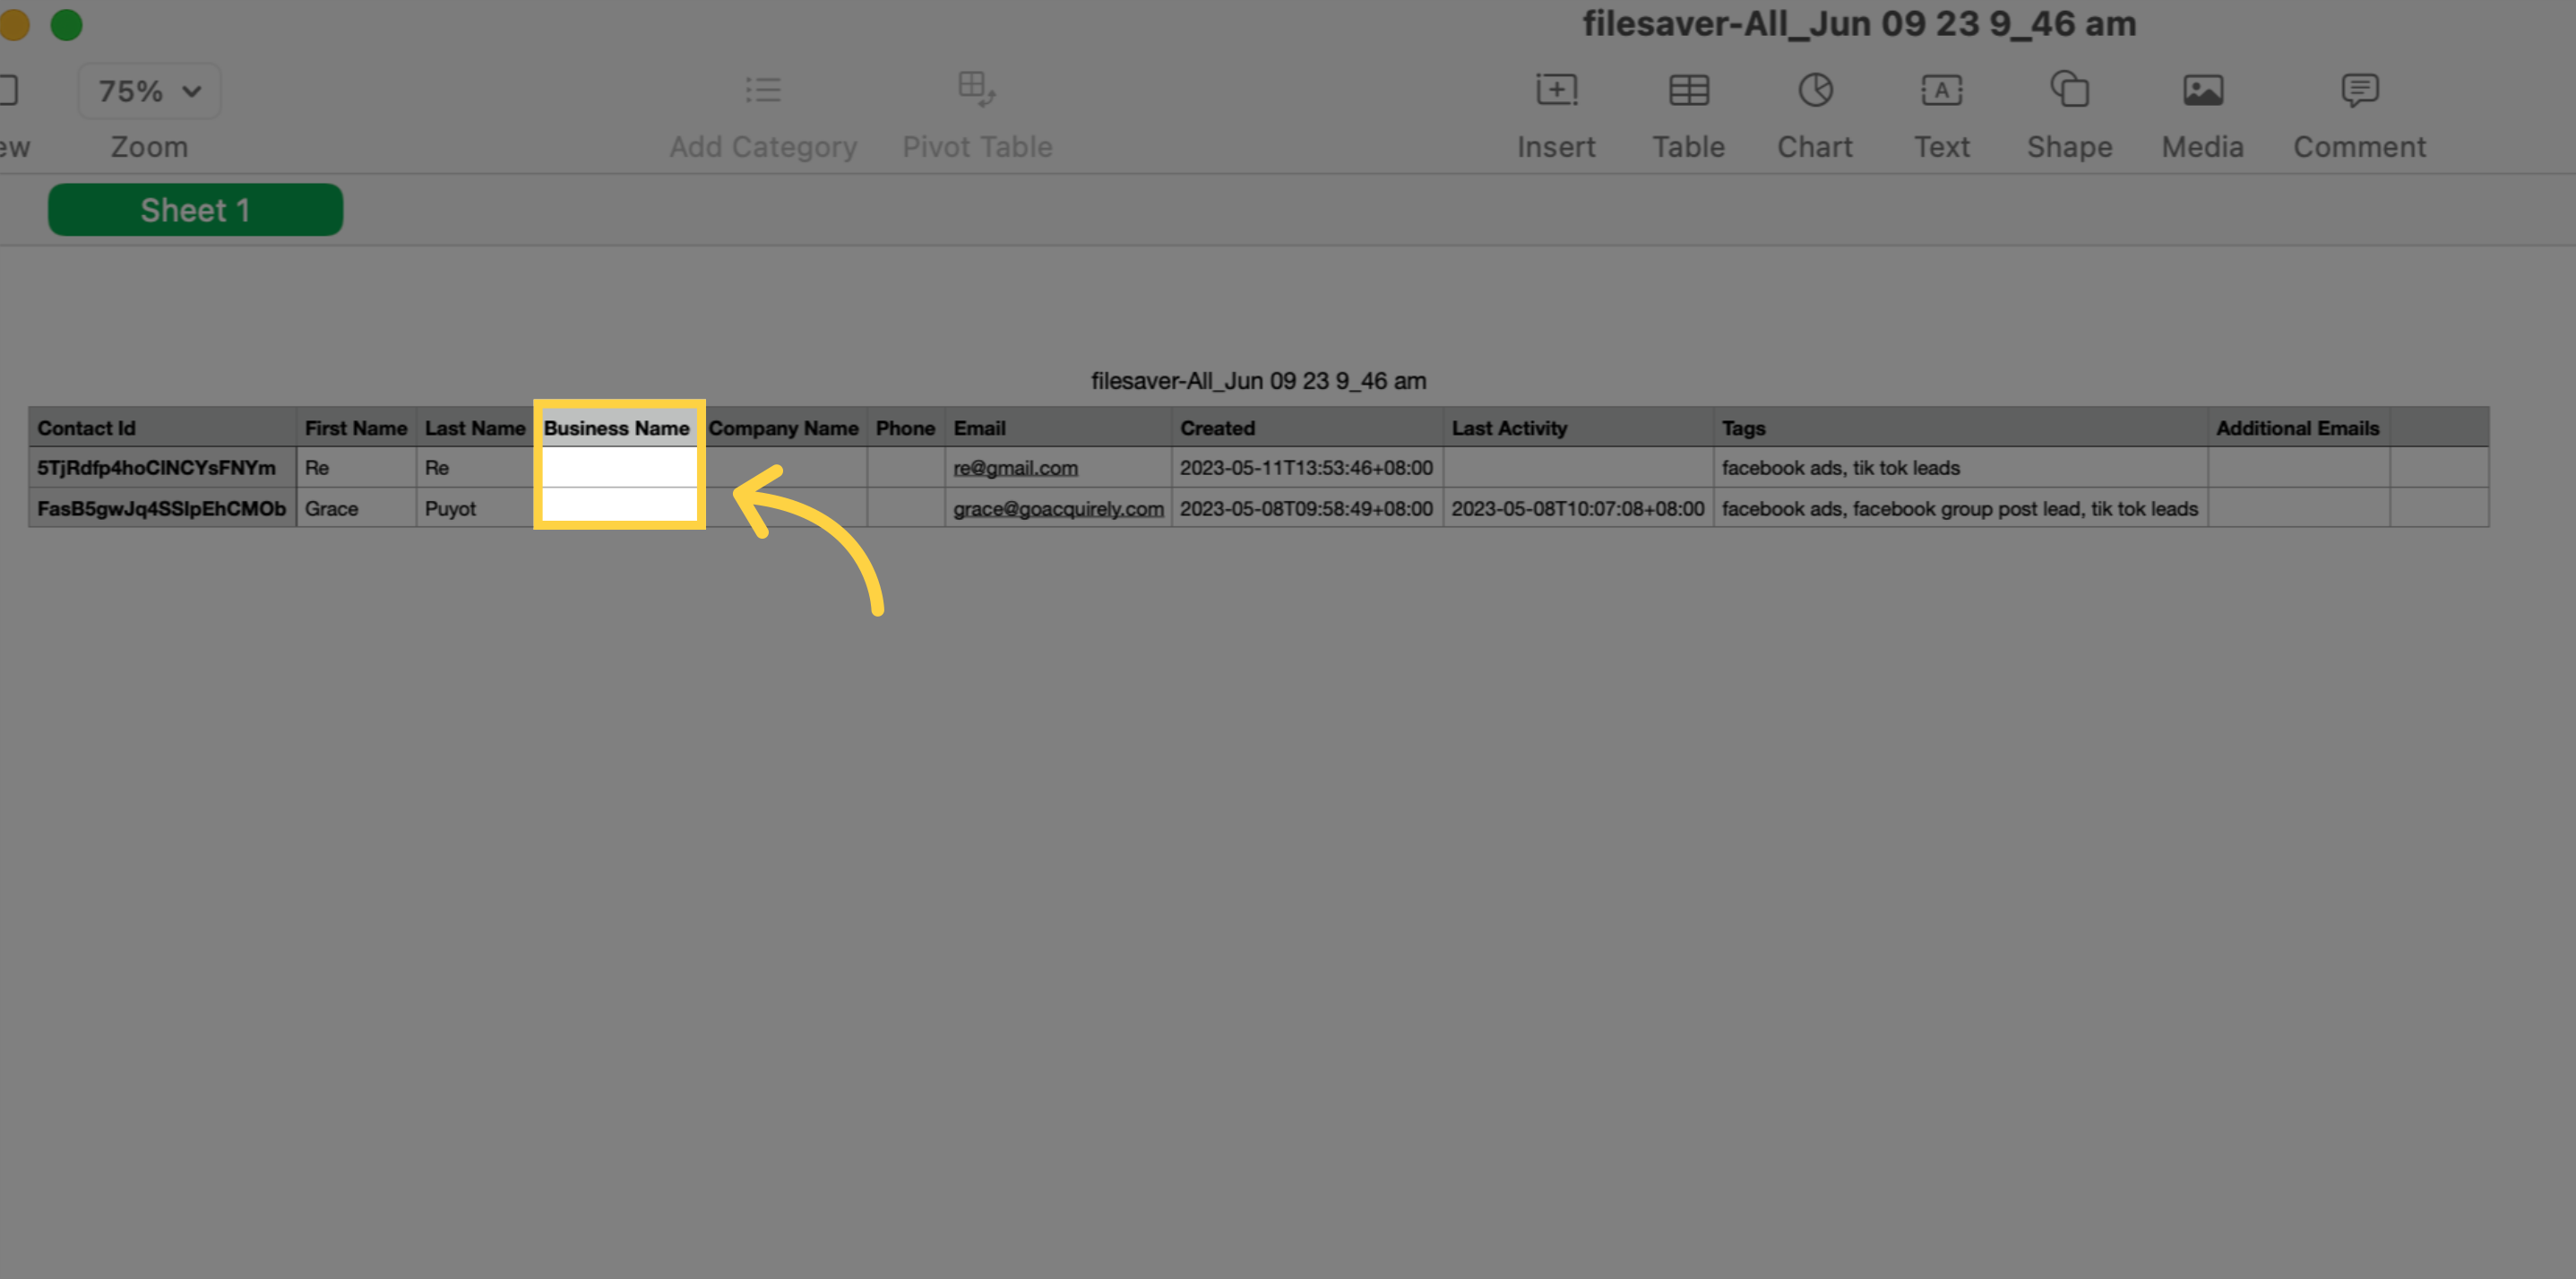
8. Business Name
The displayed information indicates the name of the business associated with the contact.
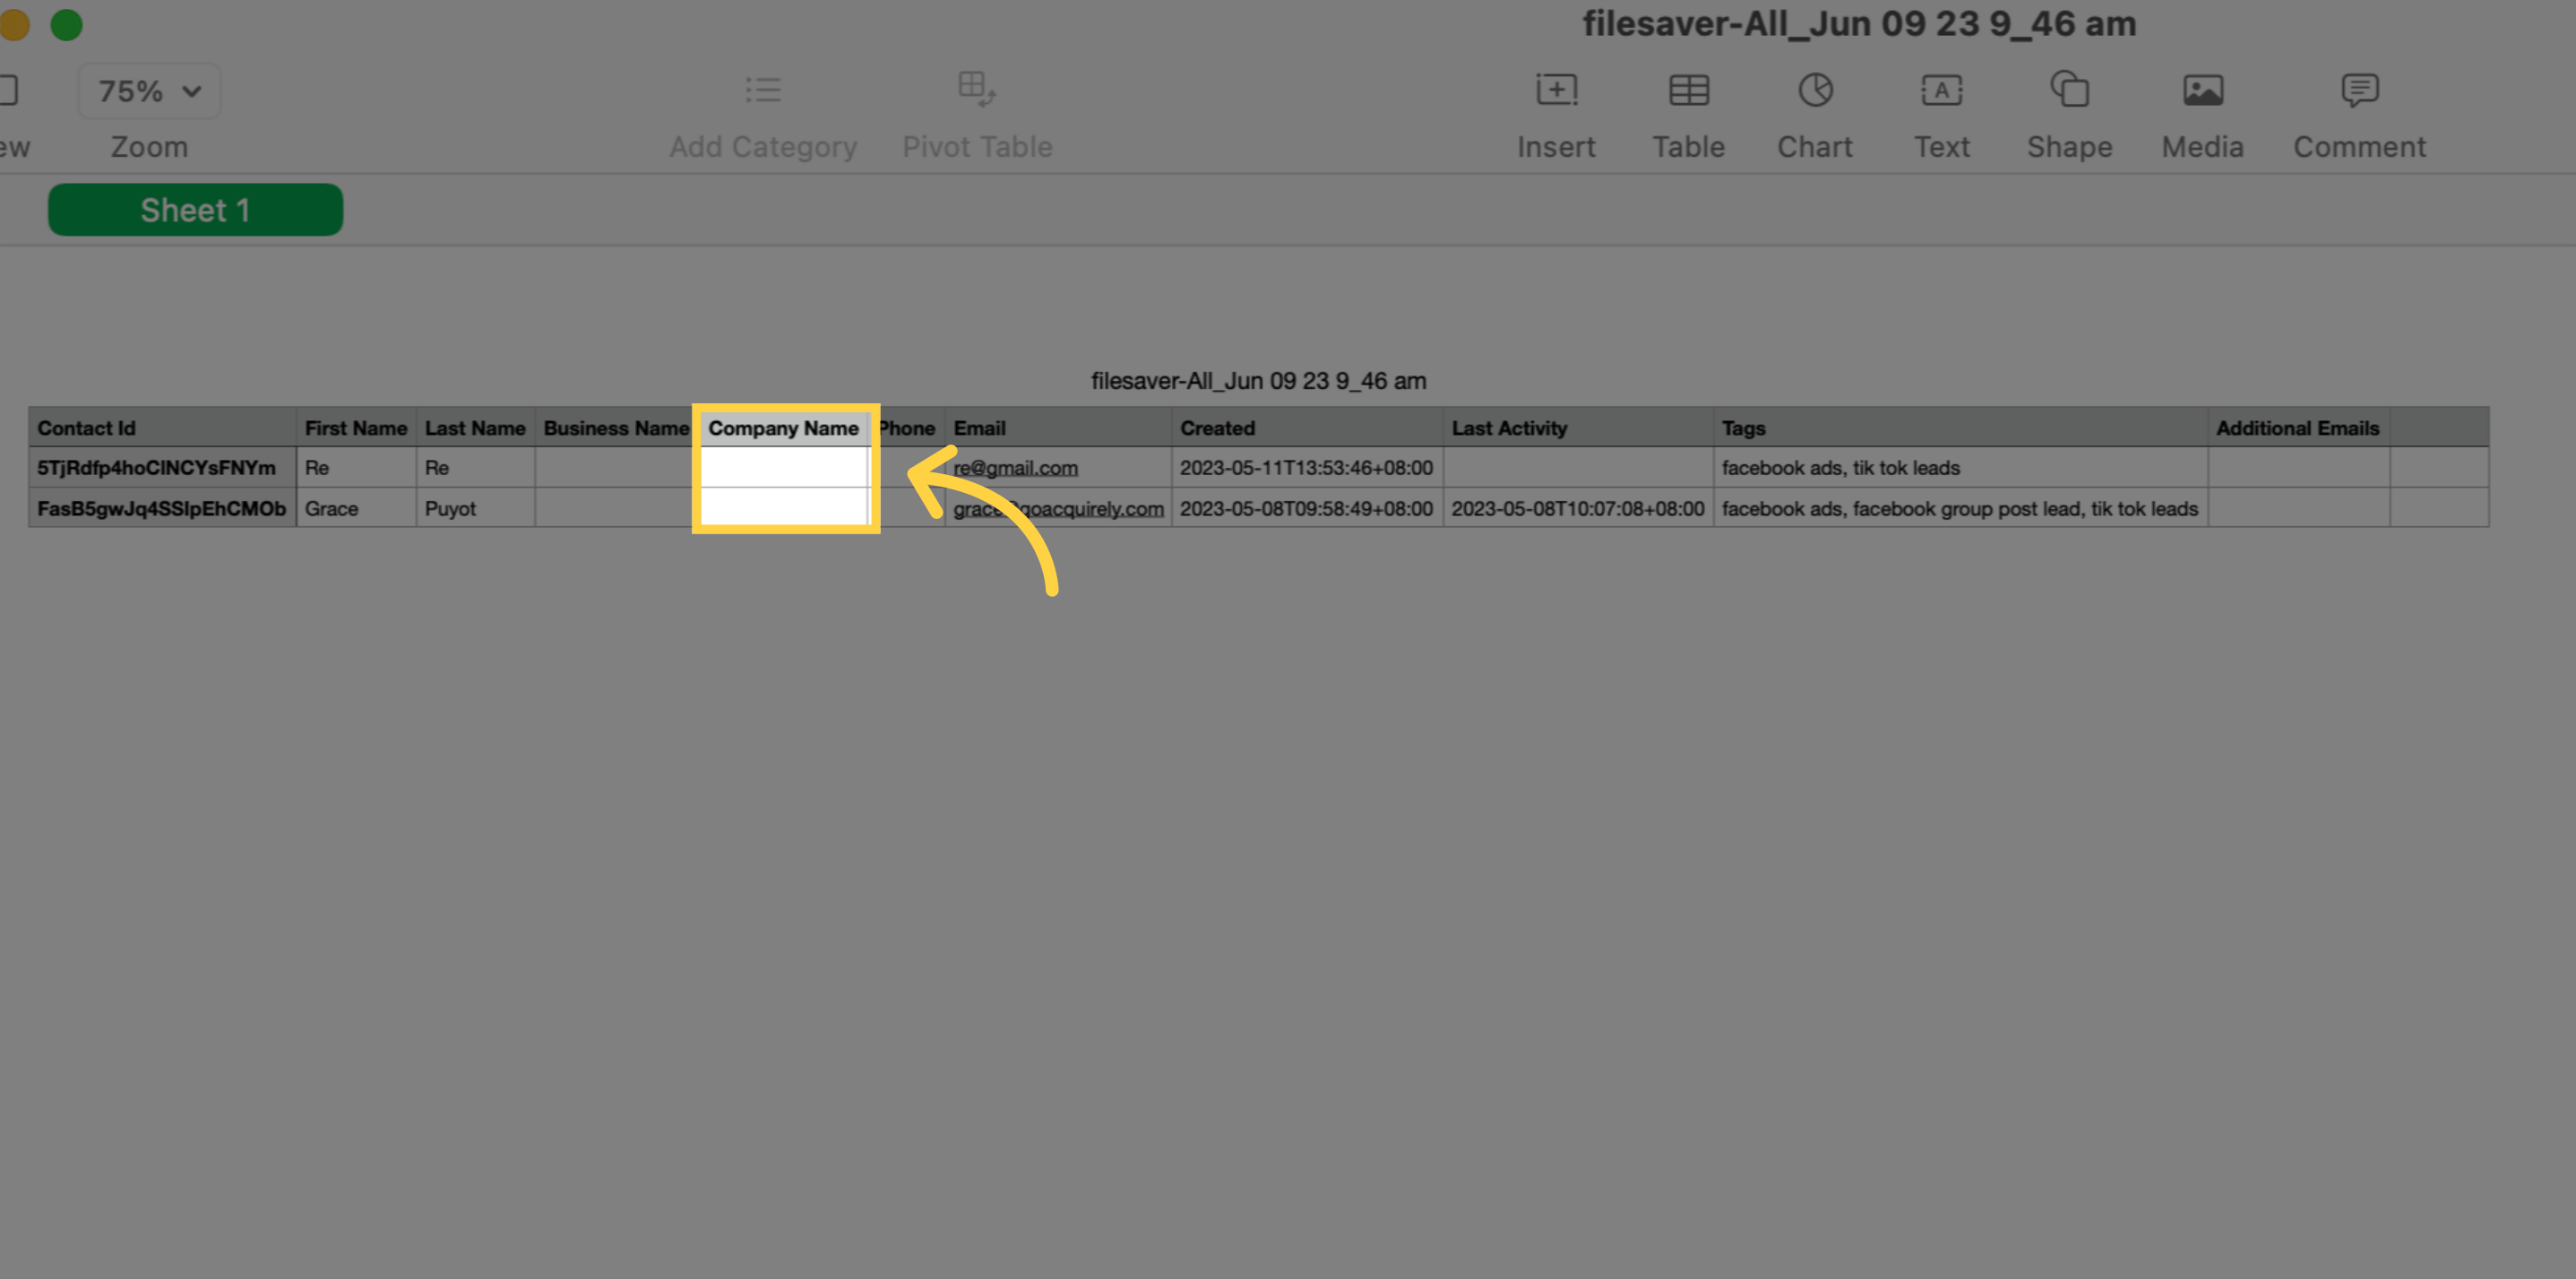
9. Company Name
The displayed information indicates the name of the company associated with the contact.
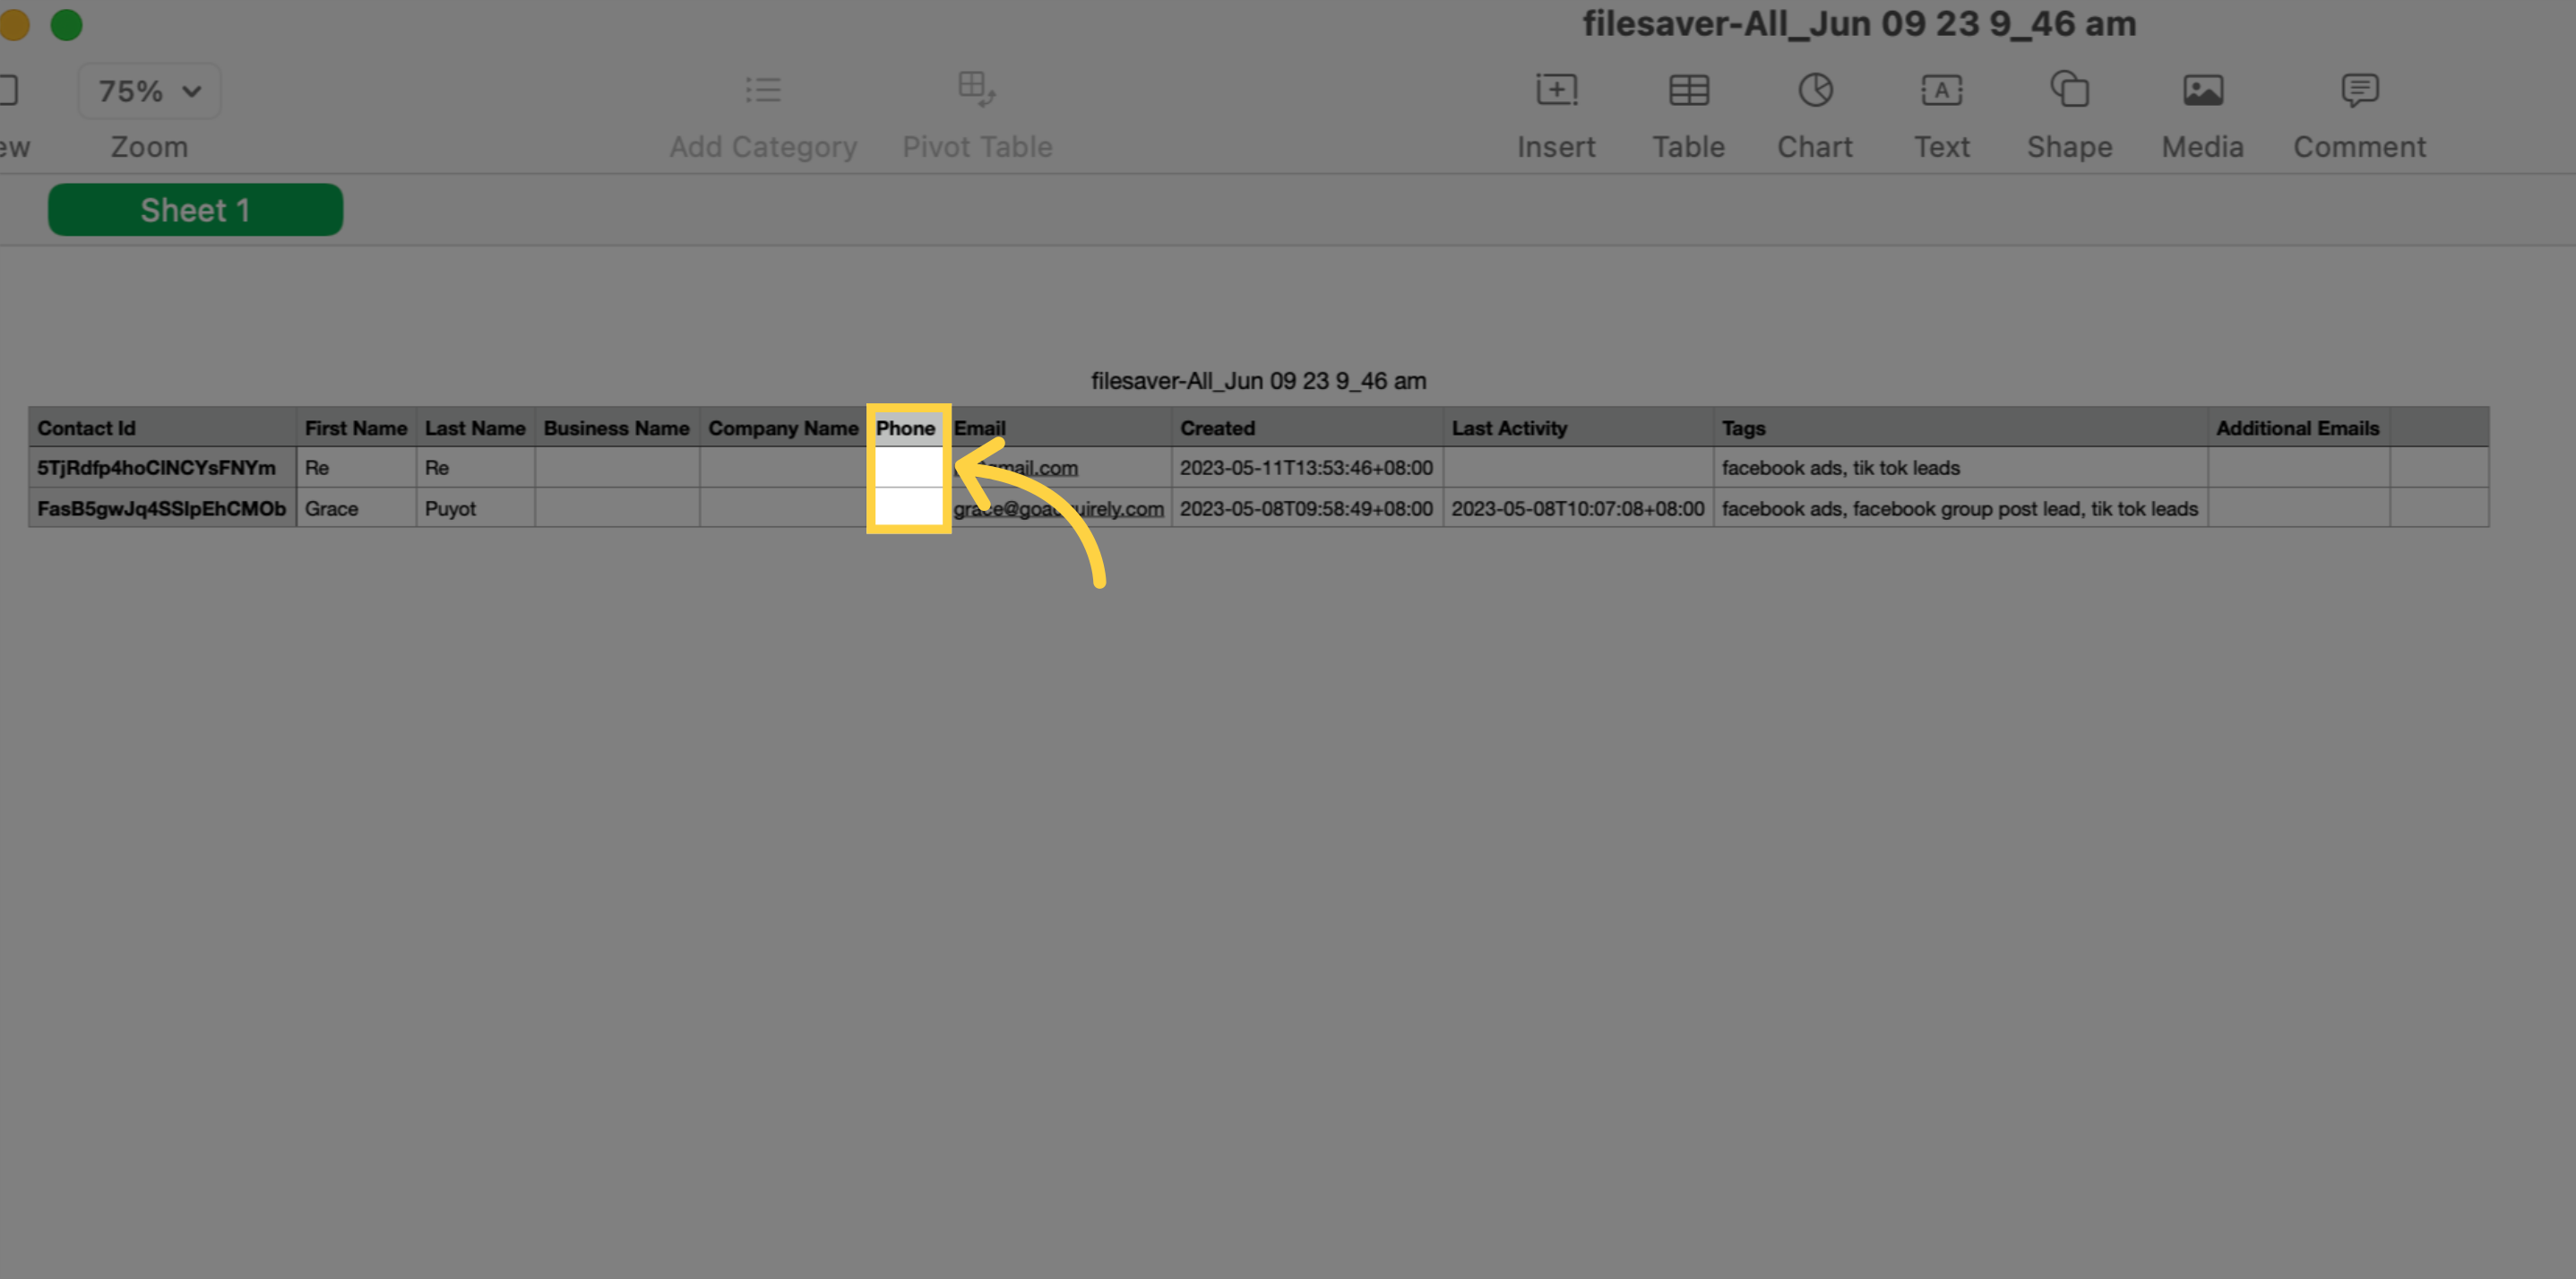
10. Phone
In most instances, formatting phone numbers in E.164 (such as +1 1234567890) will be recognized as valid by our system, regardless of the chosen default Country for the sub-account.
Furthermore, if you have designated the United States as your country, the following would function flawlessly too.
123-456-7890
(123) 4567890
1234567890
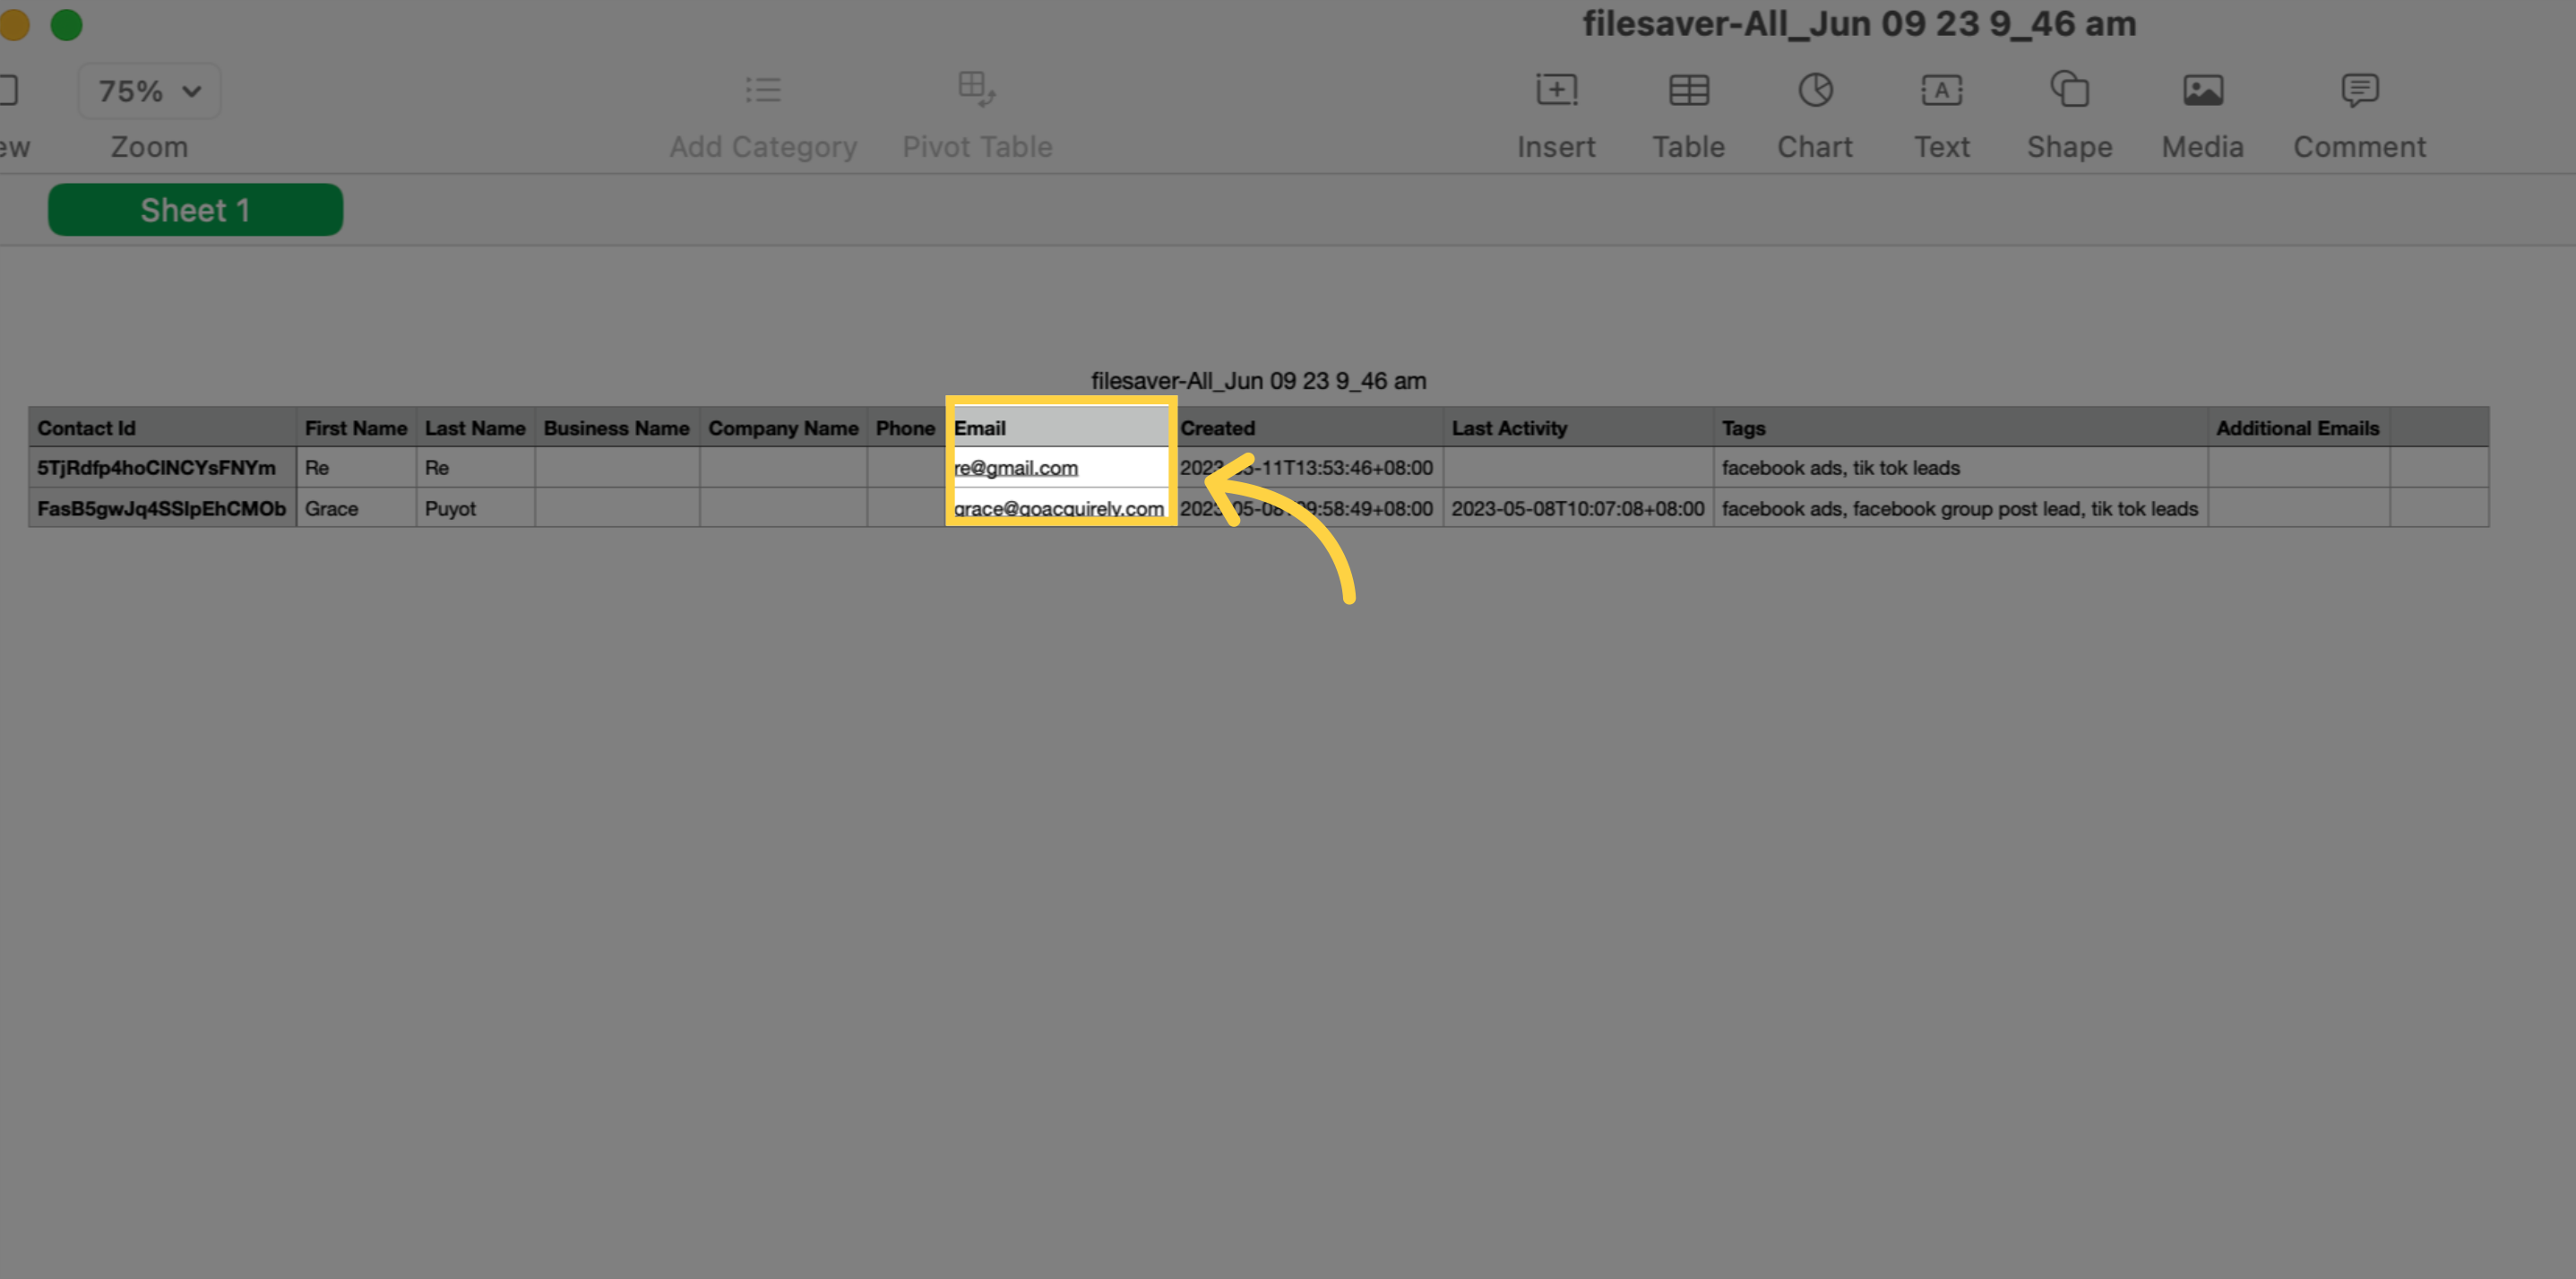
11. Email
The provided column displays the Email address of the contact. However, it is possible to select fields other than Email for de-duplication purposes during the Bulk CSV Upload process, despite Email being the default unique identifier.
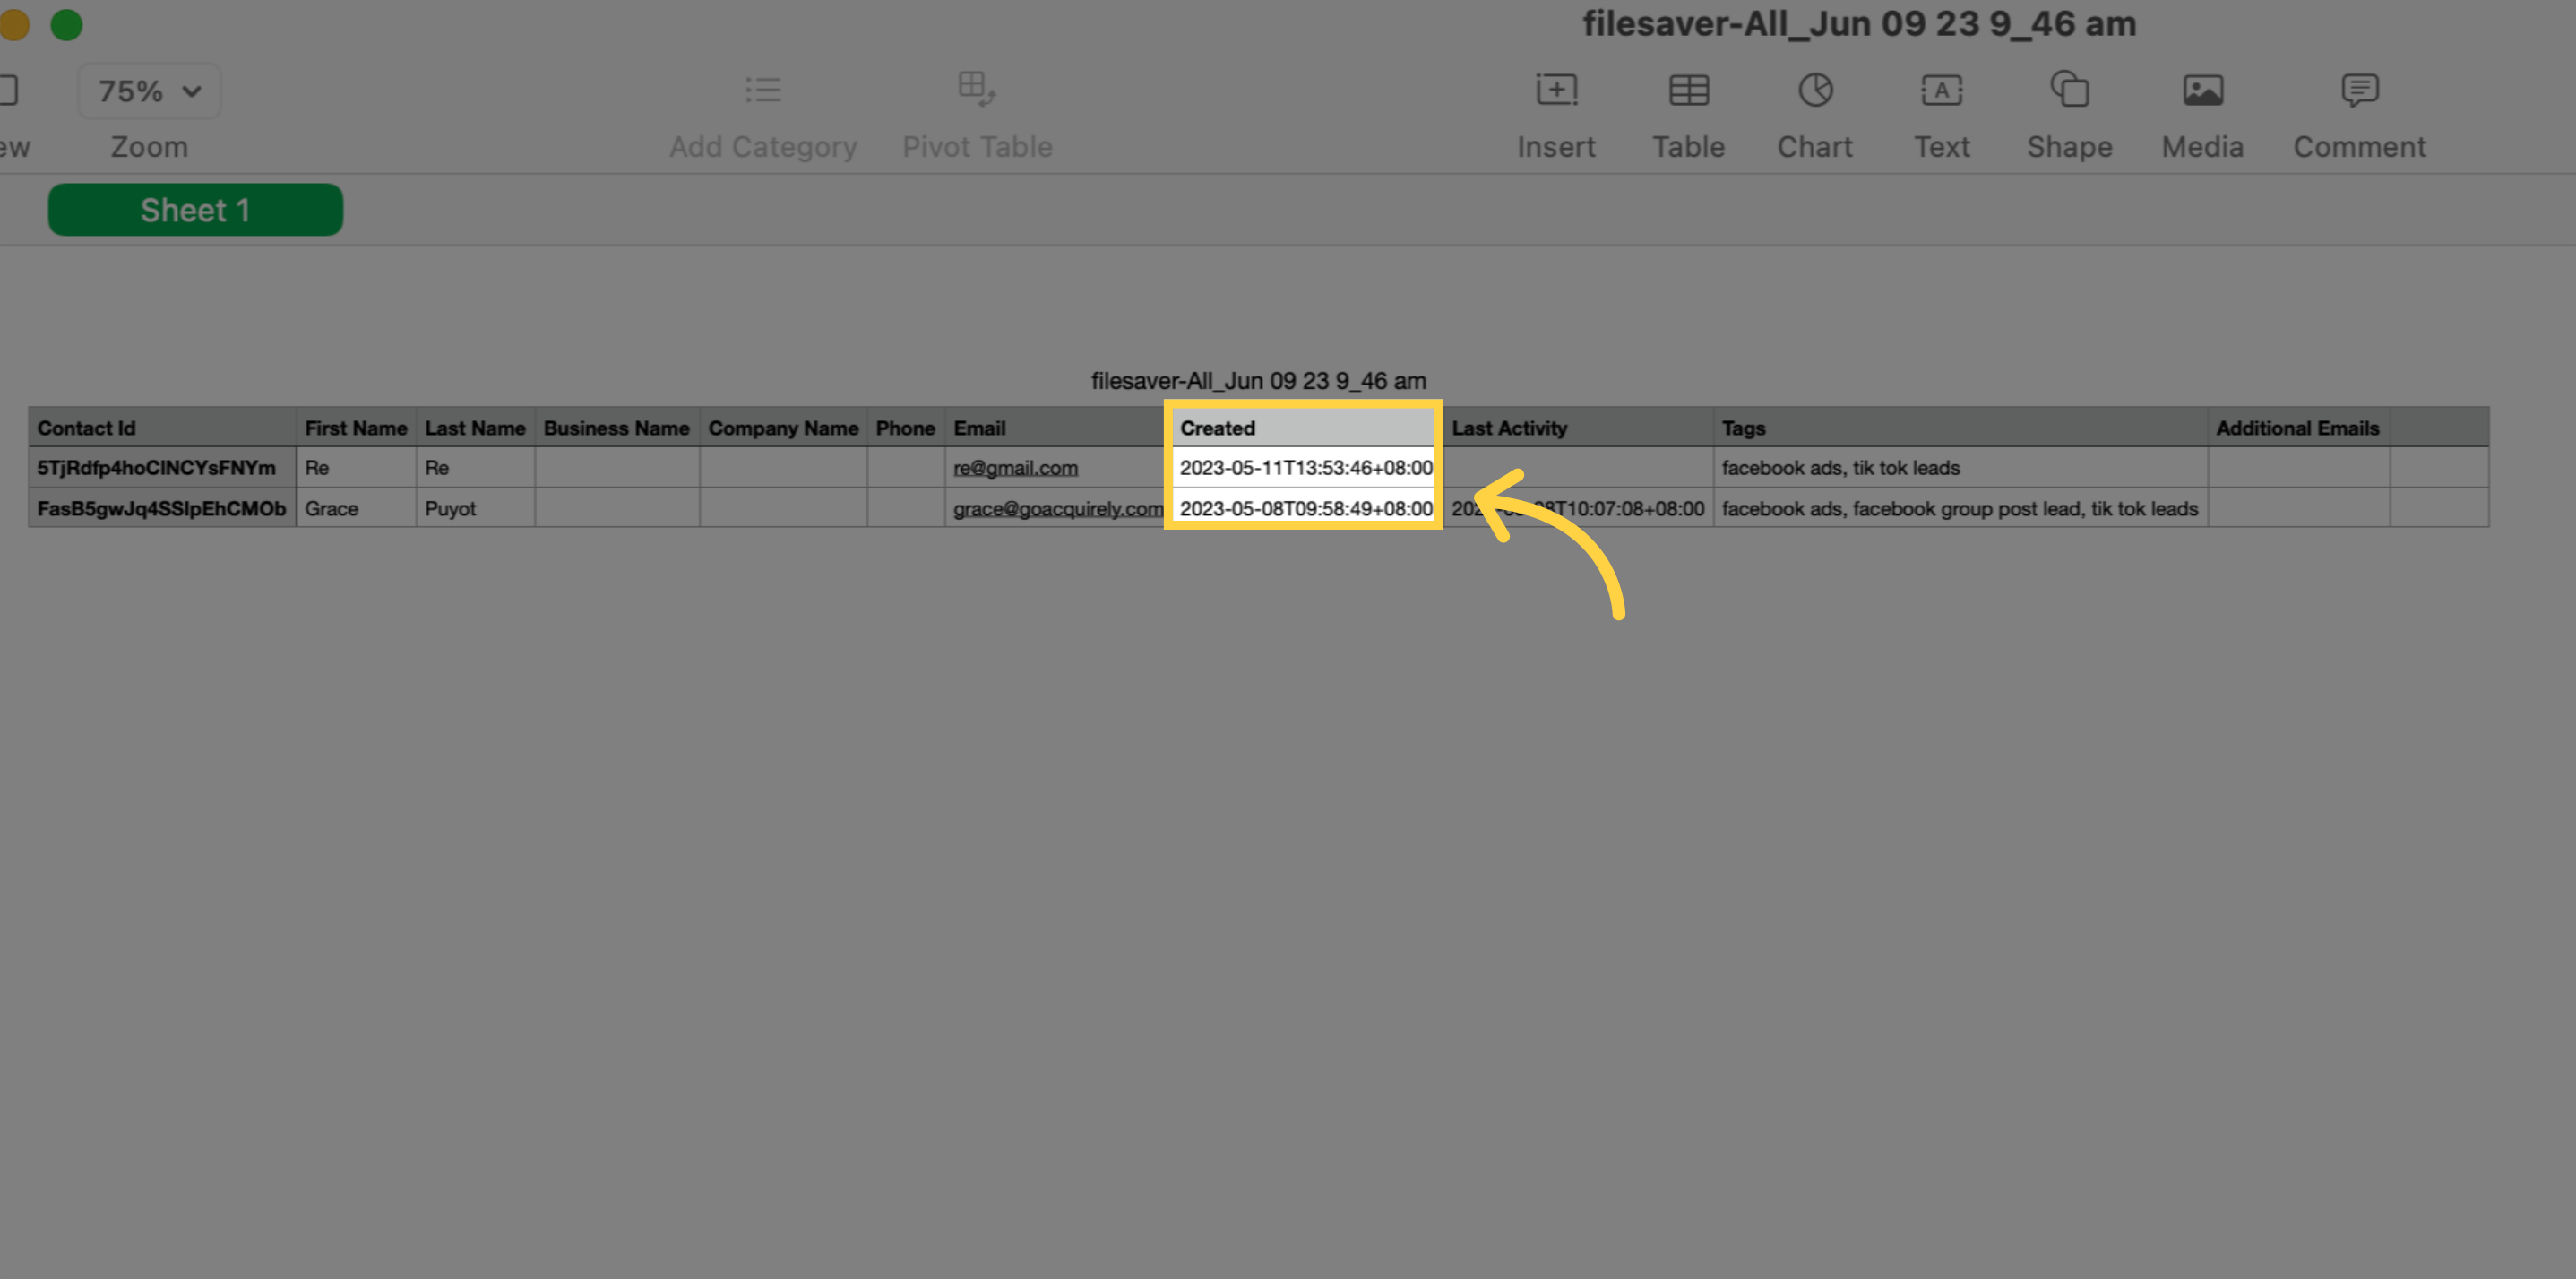
12. Date and Time Created
The displayed information indicates when you included this contact in your CRM system.
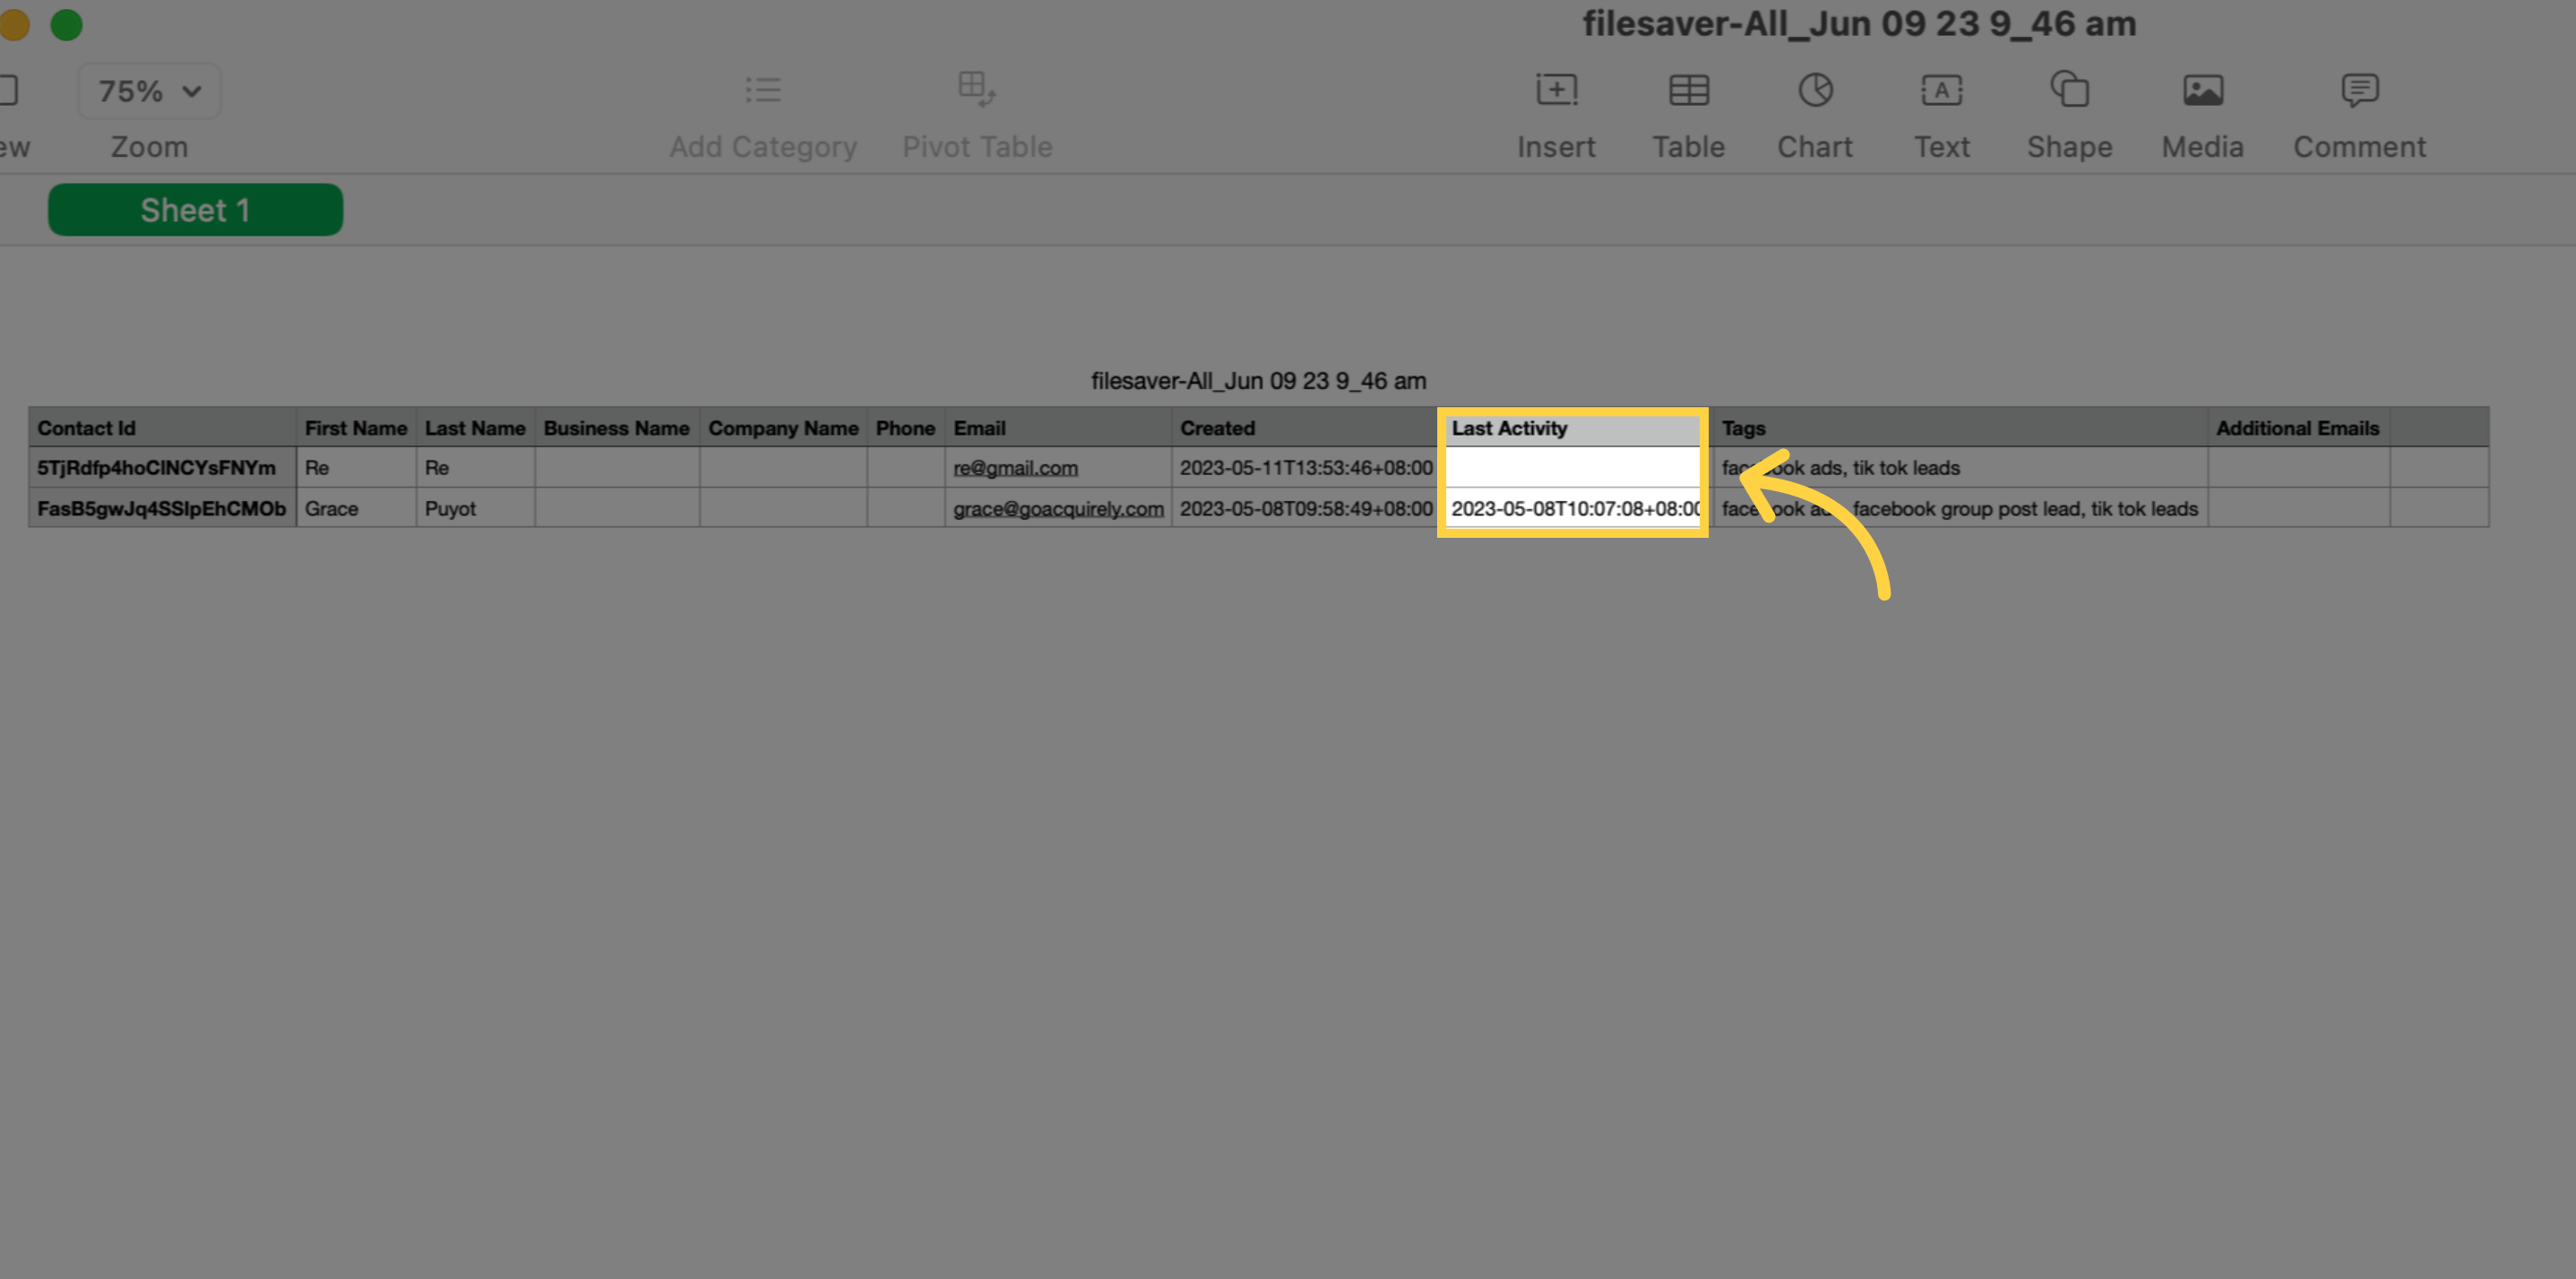
13. Last Activity
The displayed information indicates the precise moment when a modification was done to a specific contact.
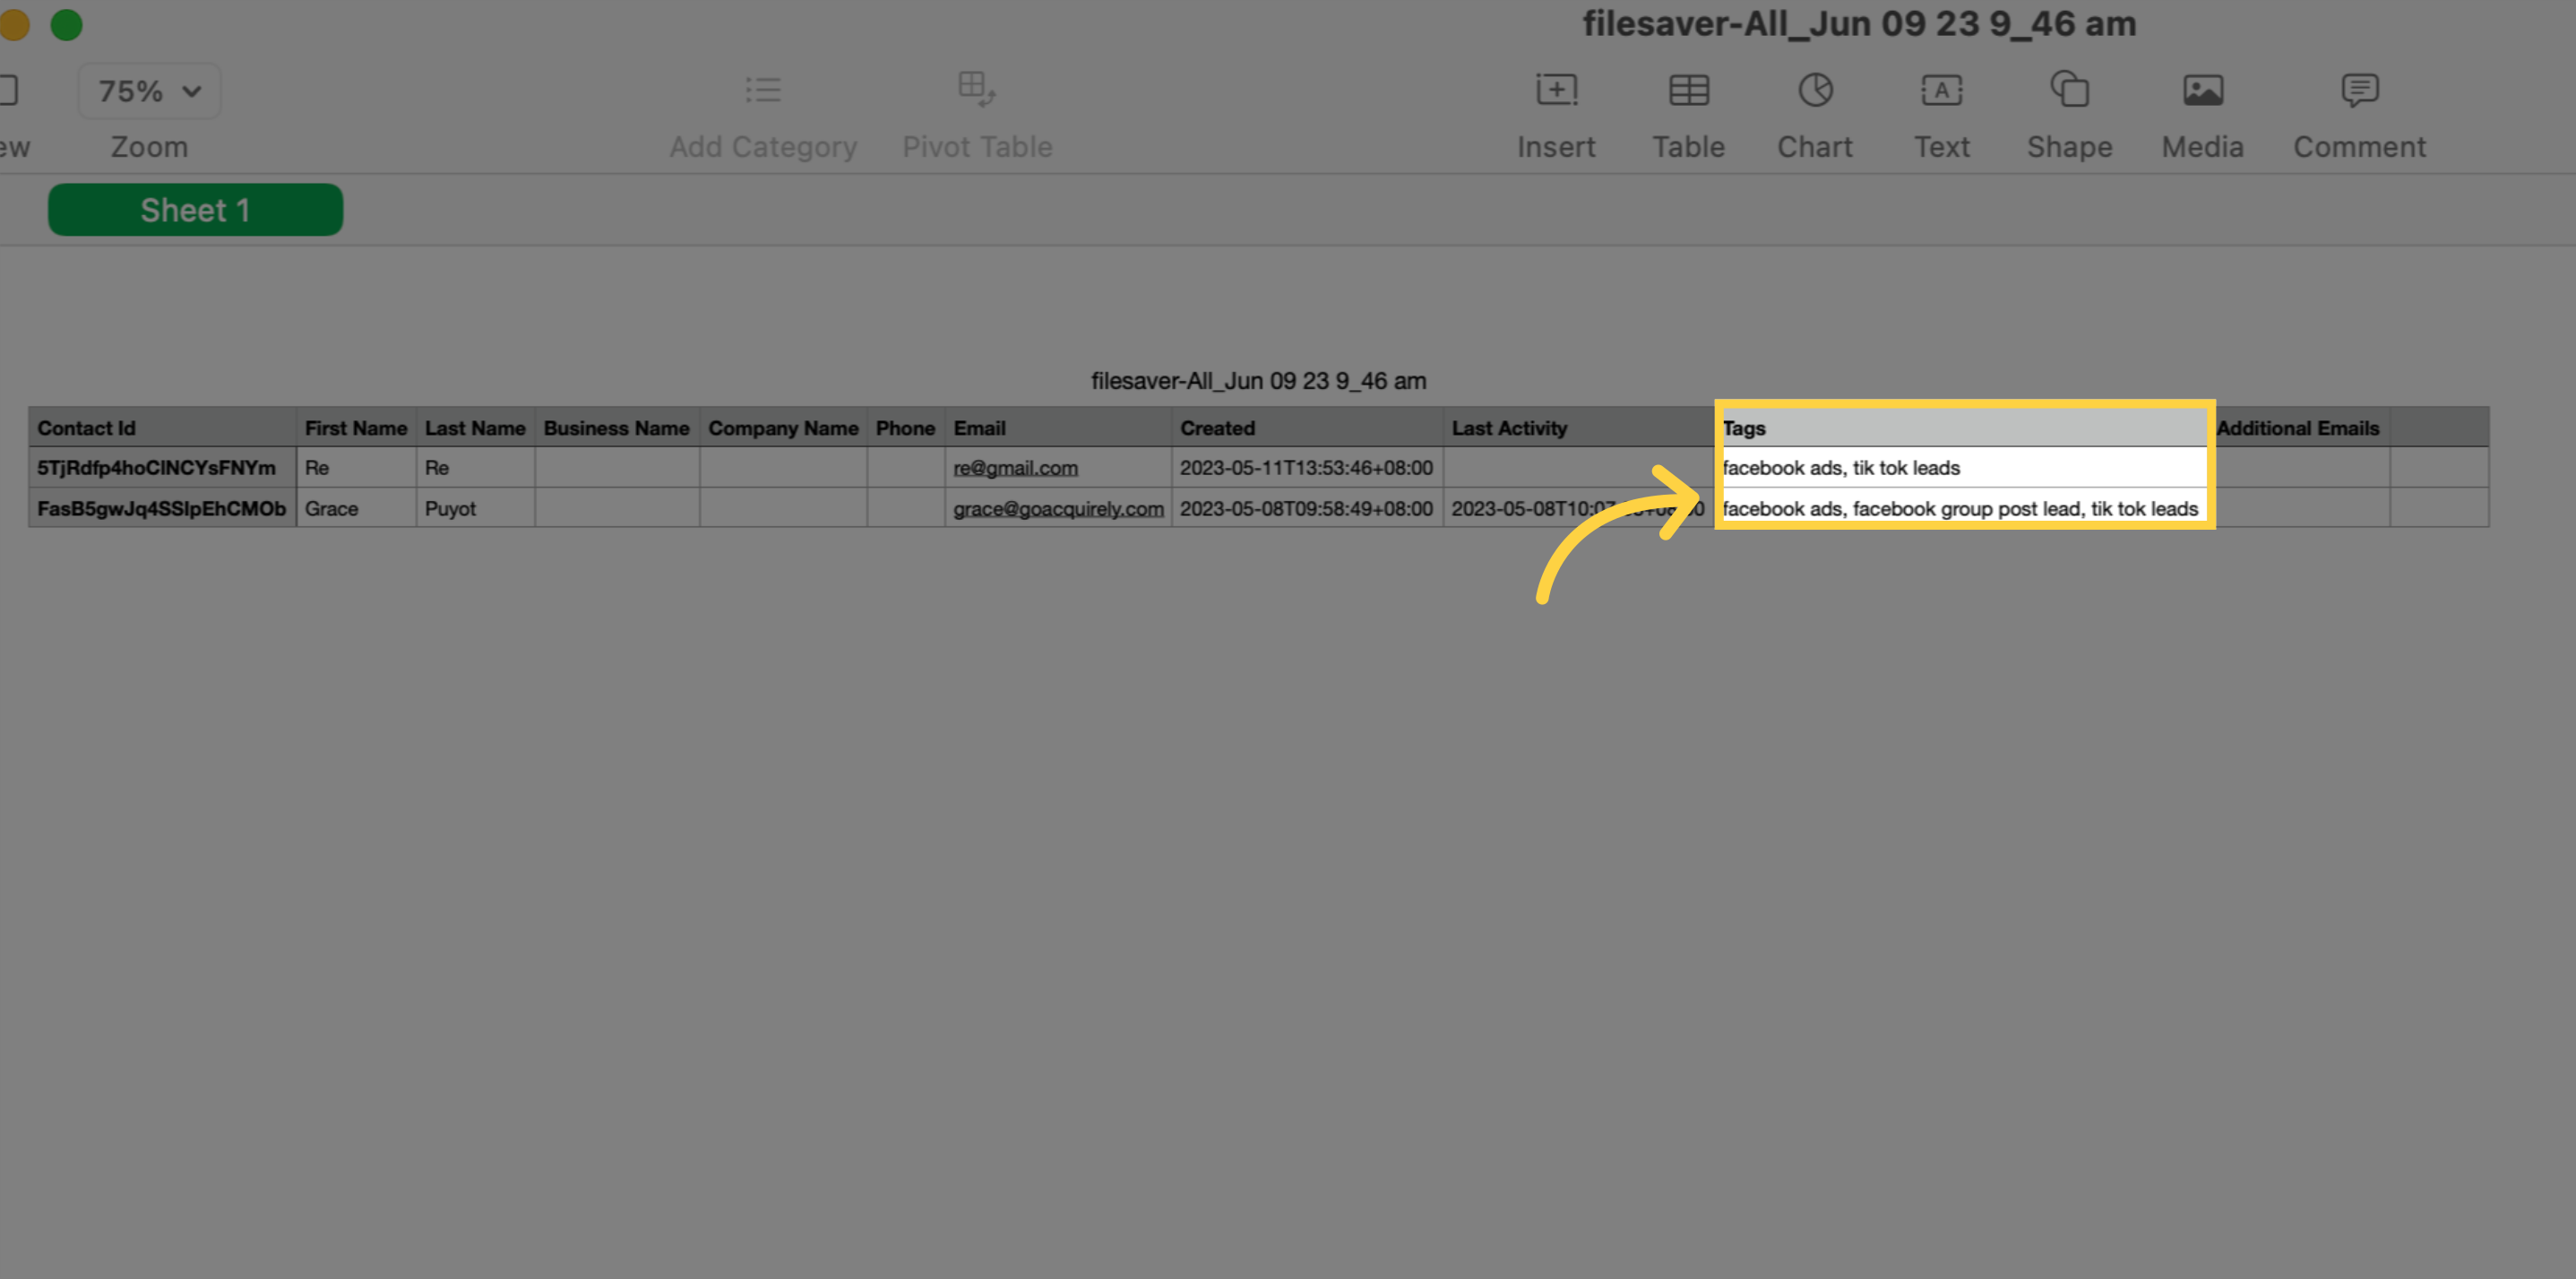
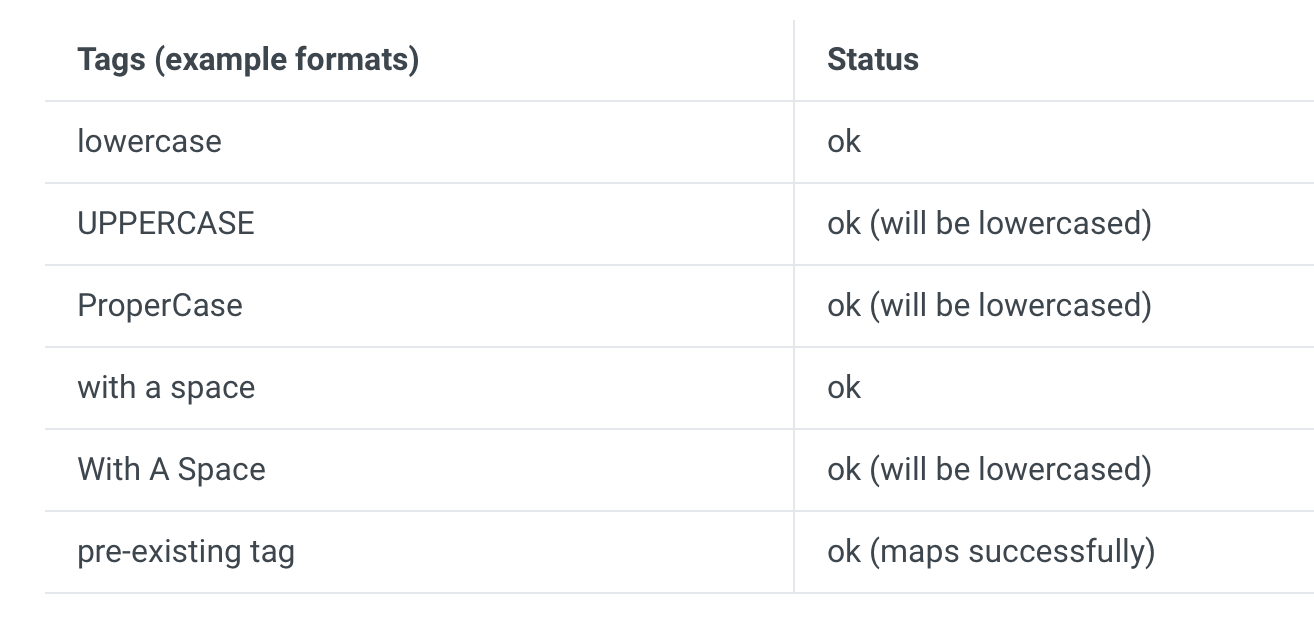
14. Tags
By adding the contact to the CRM, any tag(s) added to the contact info will be displayed.
Formats:
Value 1, Value 2, Value 3 ...... (e.g. Blue, Yellow, Green or Blue, Yellow, Green or Blue, Yellow, Green)
You can also replace ' , ' with ' ; ' or ' . ' and it'll recognize the uploaded fields as the aforementioned field
15. Additional Emails
