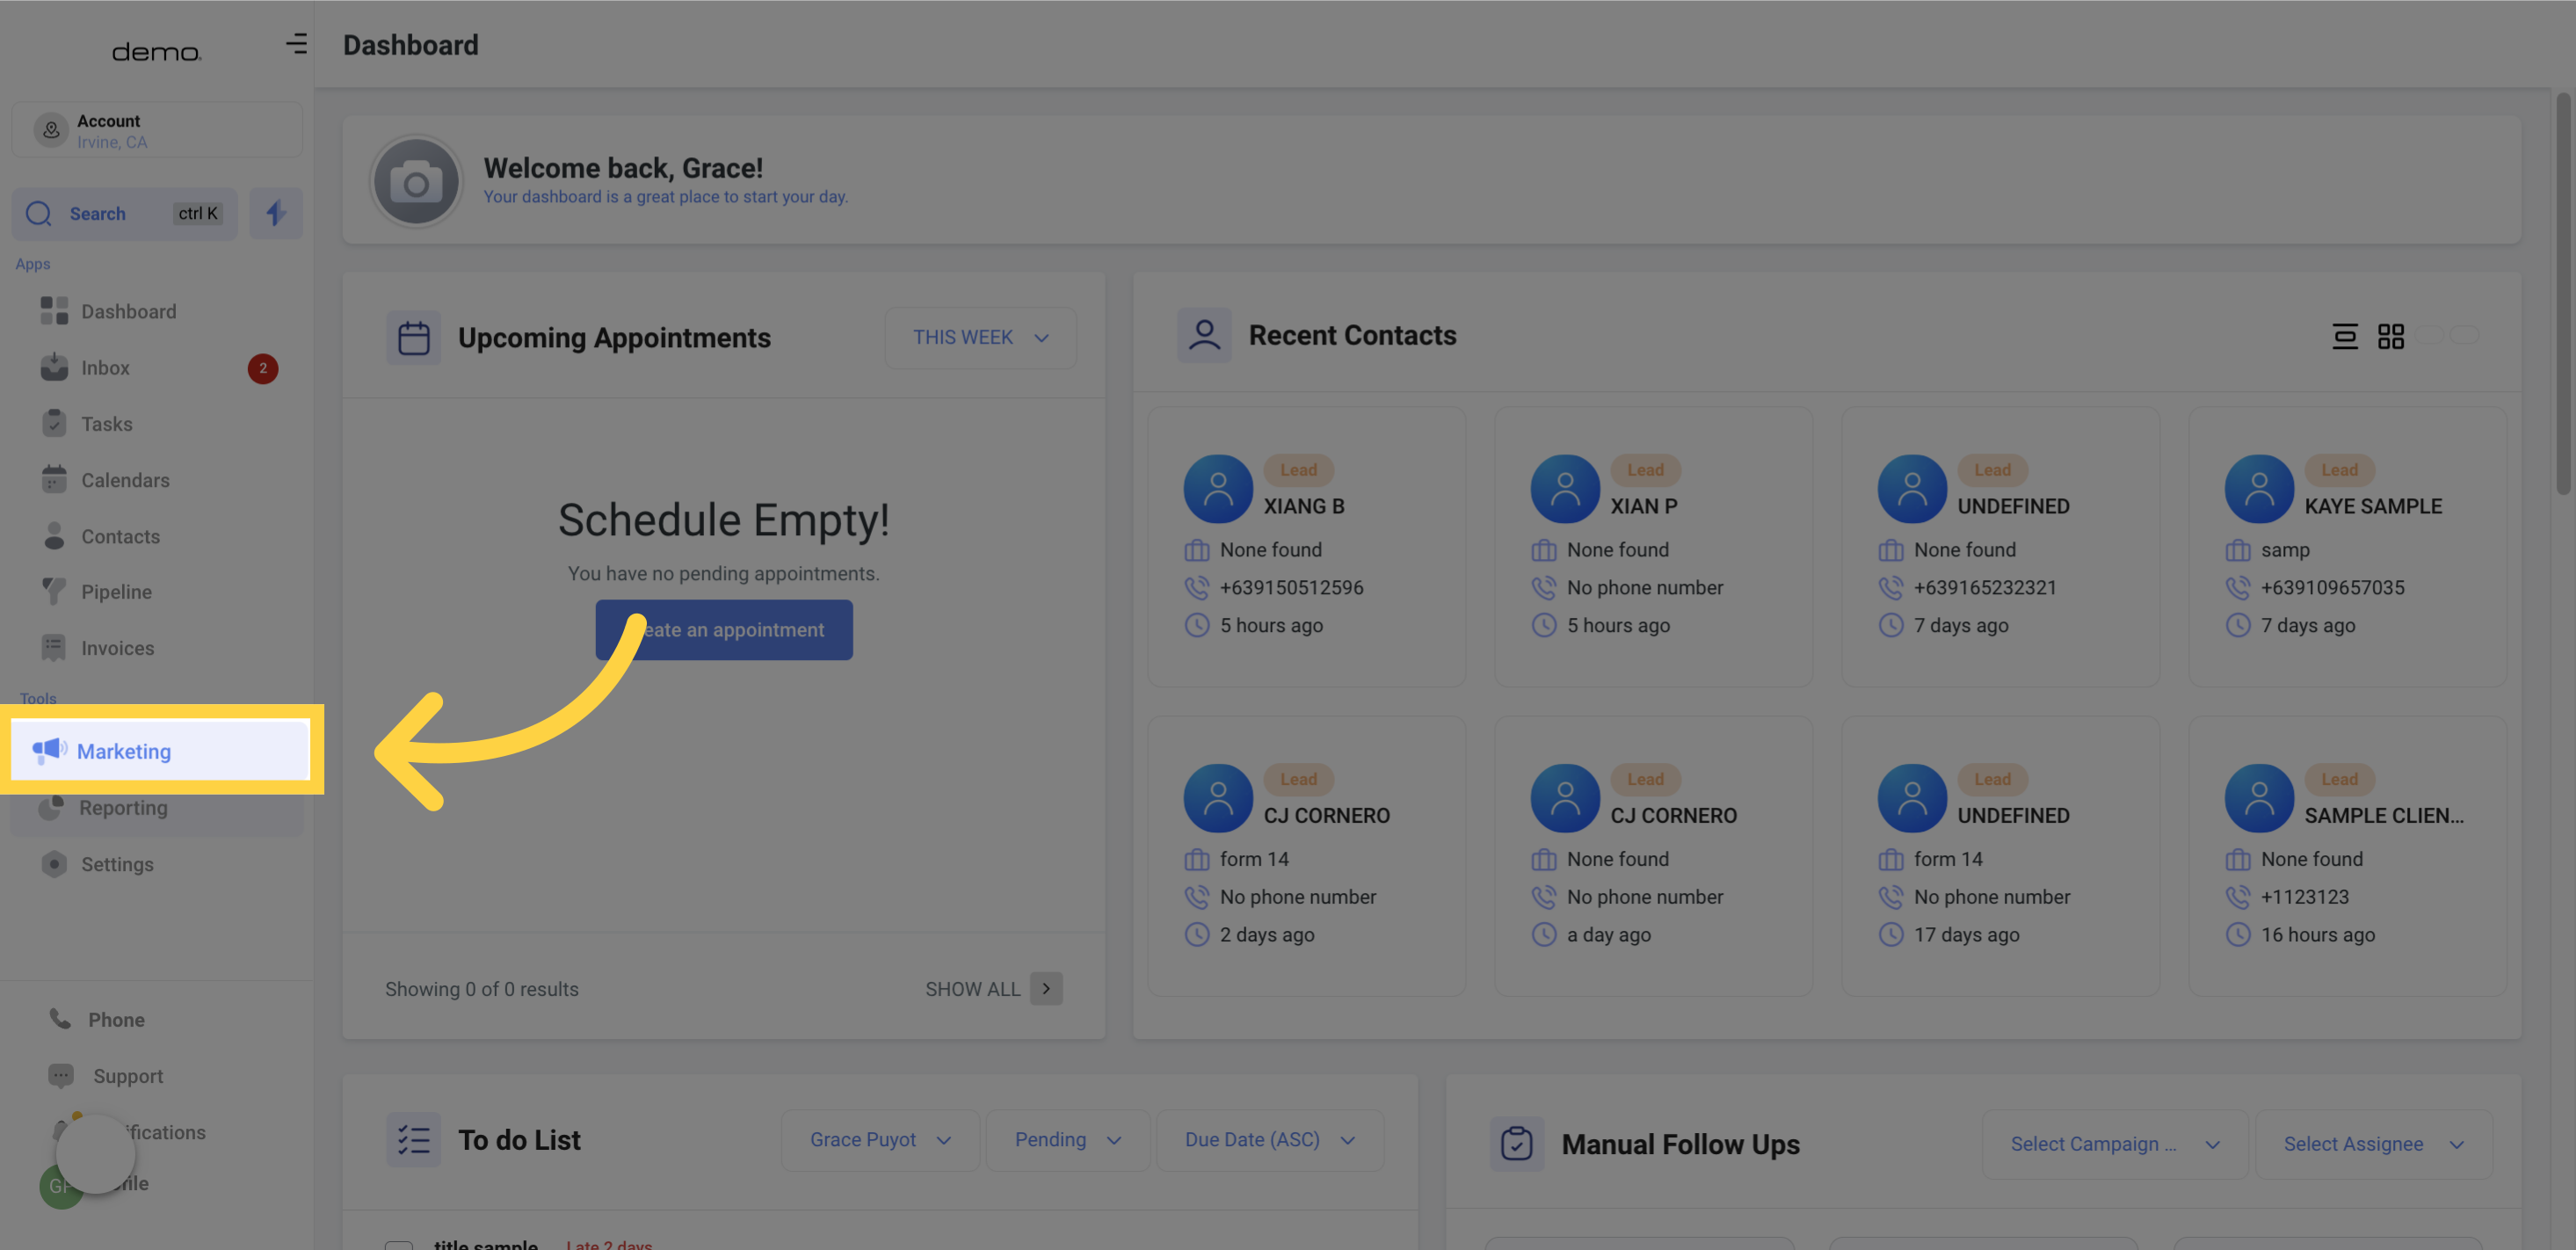
1. Click "Marketing"
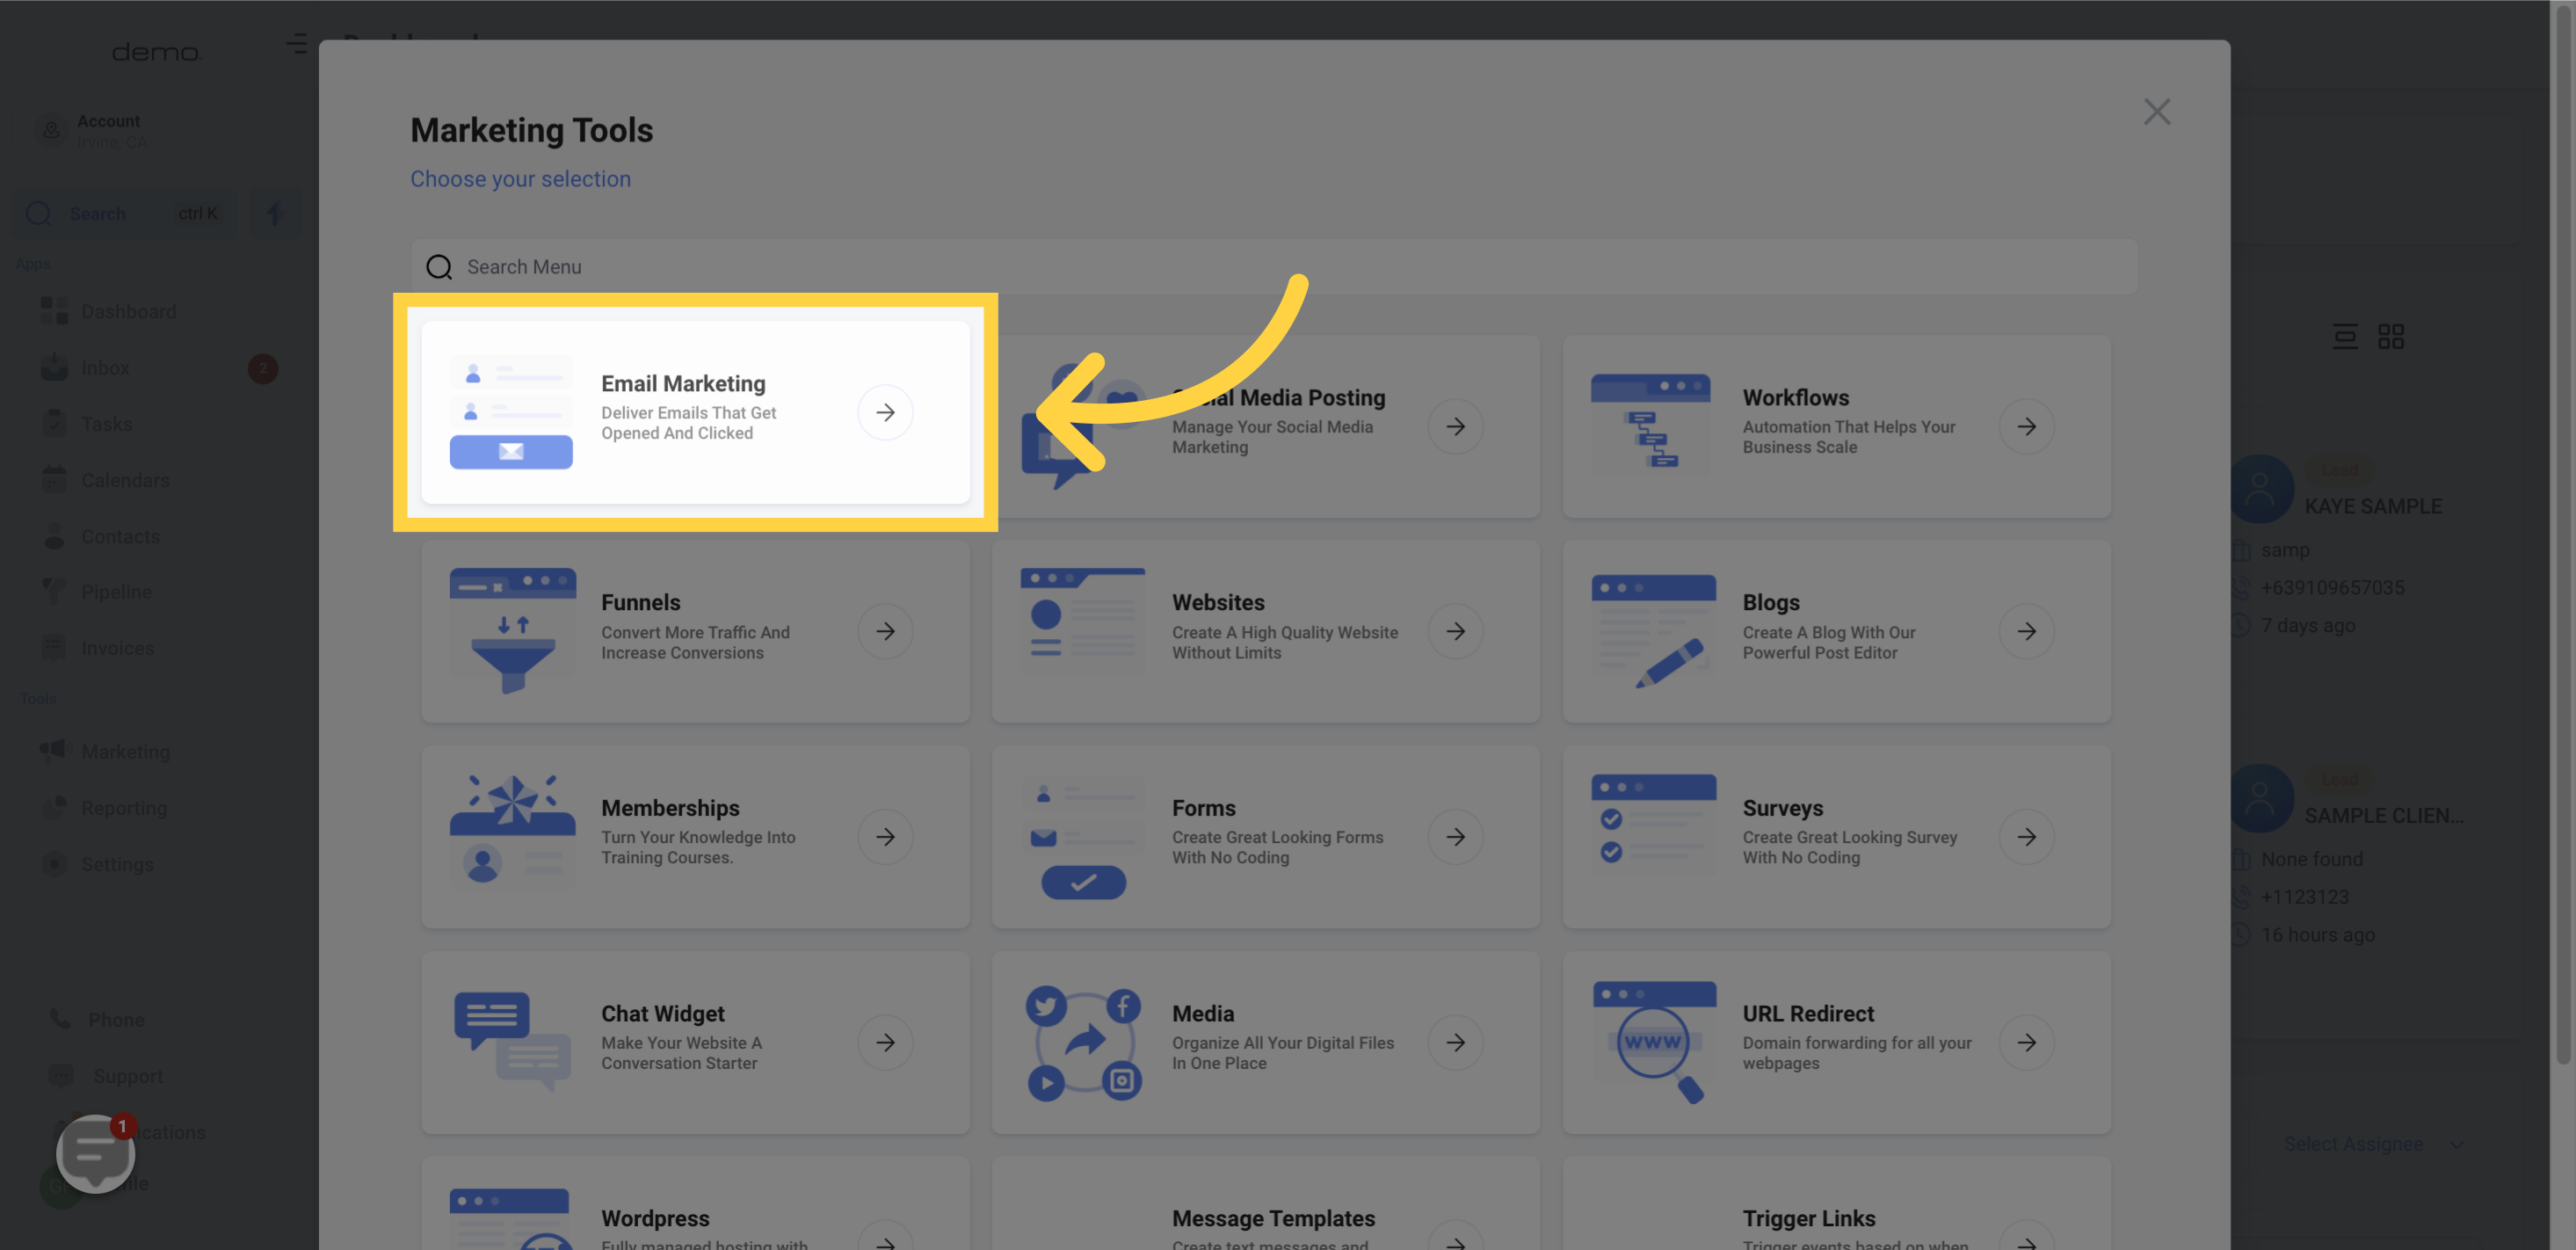
2. Click "email marketing"
3. Click "Create Campaign"

To customize your social media element, follow these steps:
4. Click "Social" under elements"
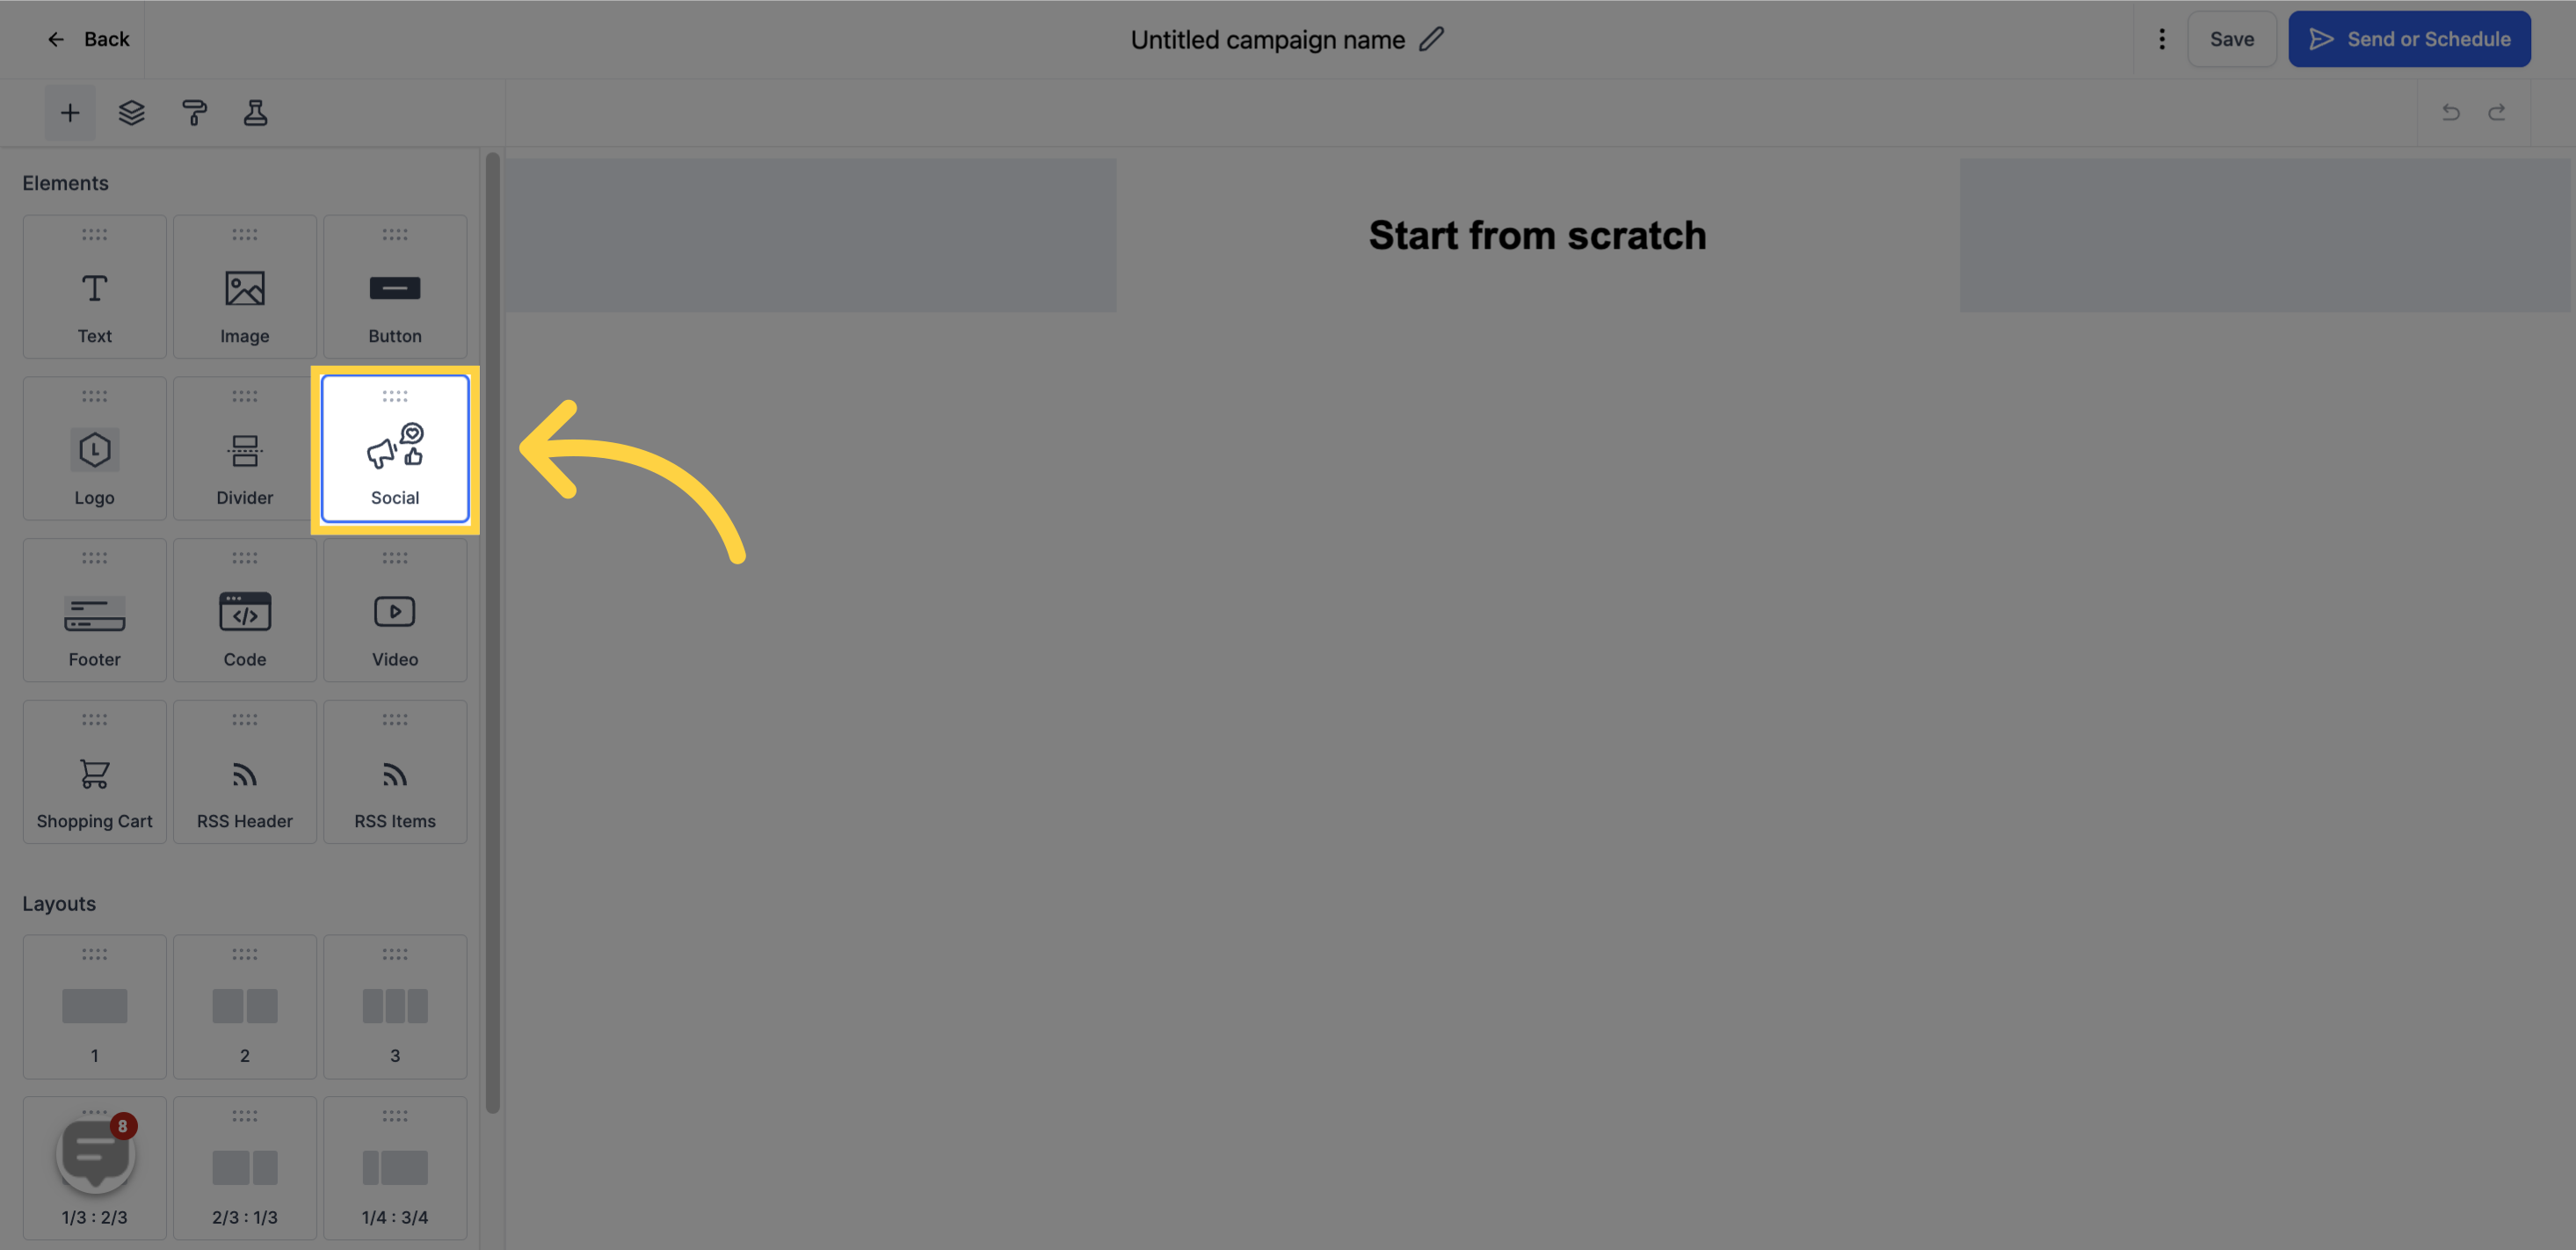
5. Drag the element
To position the social media element, simply drag and drop it into your desired location.
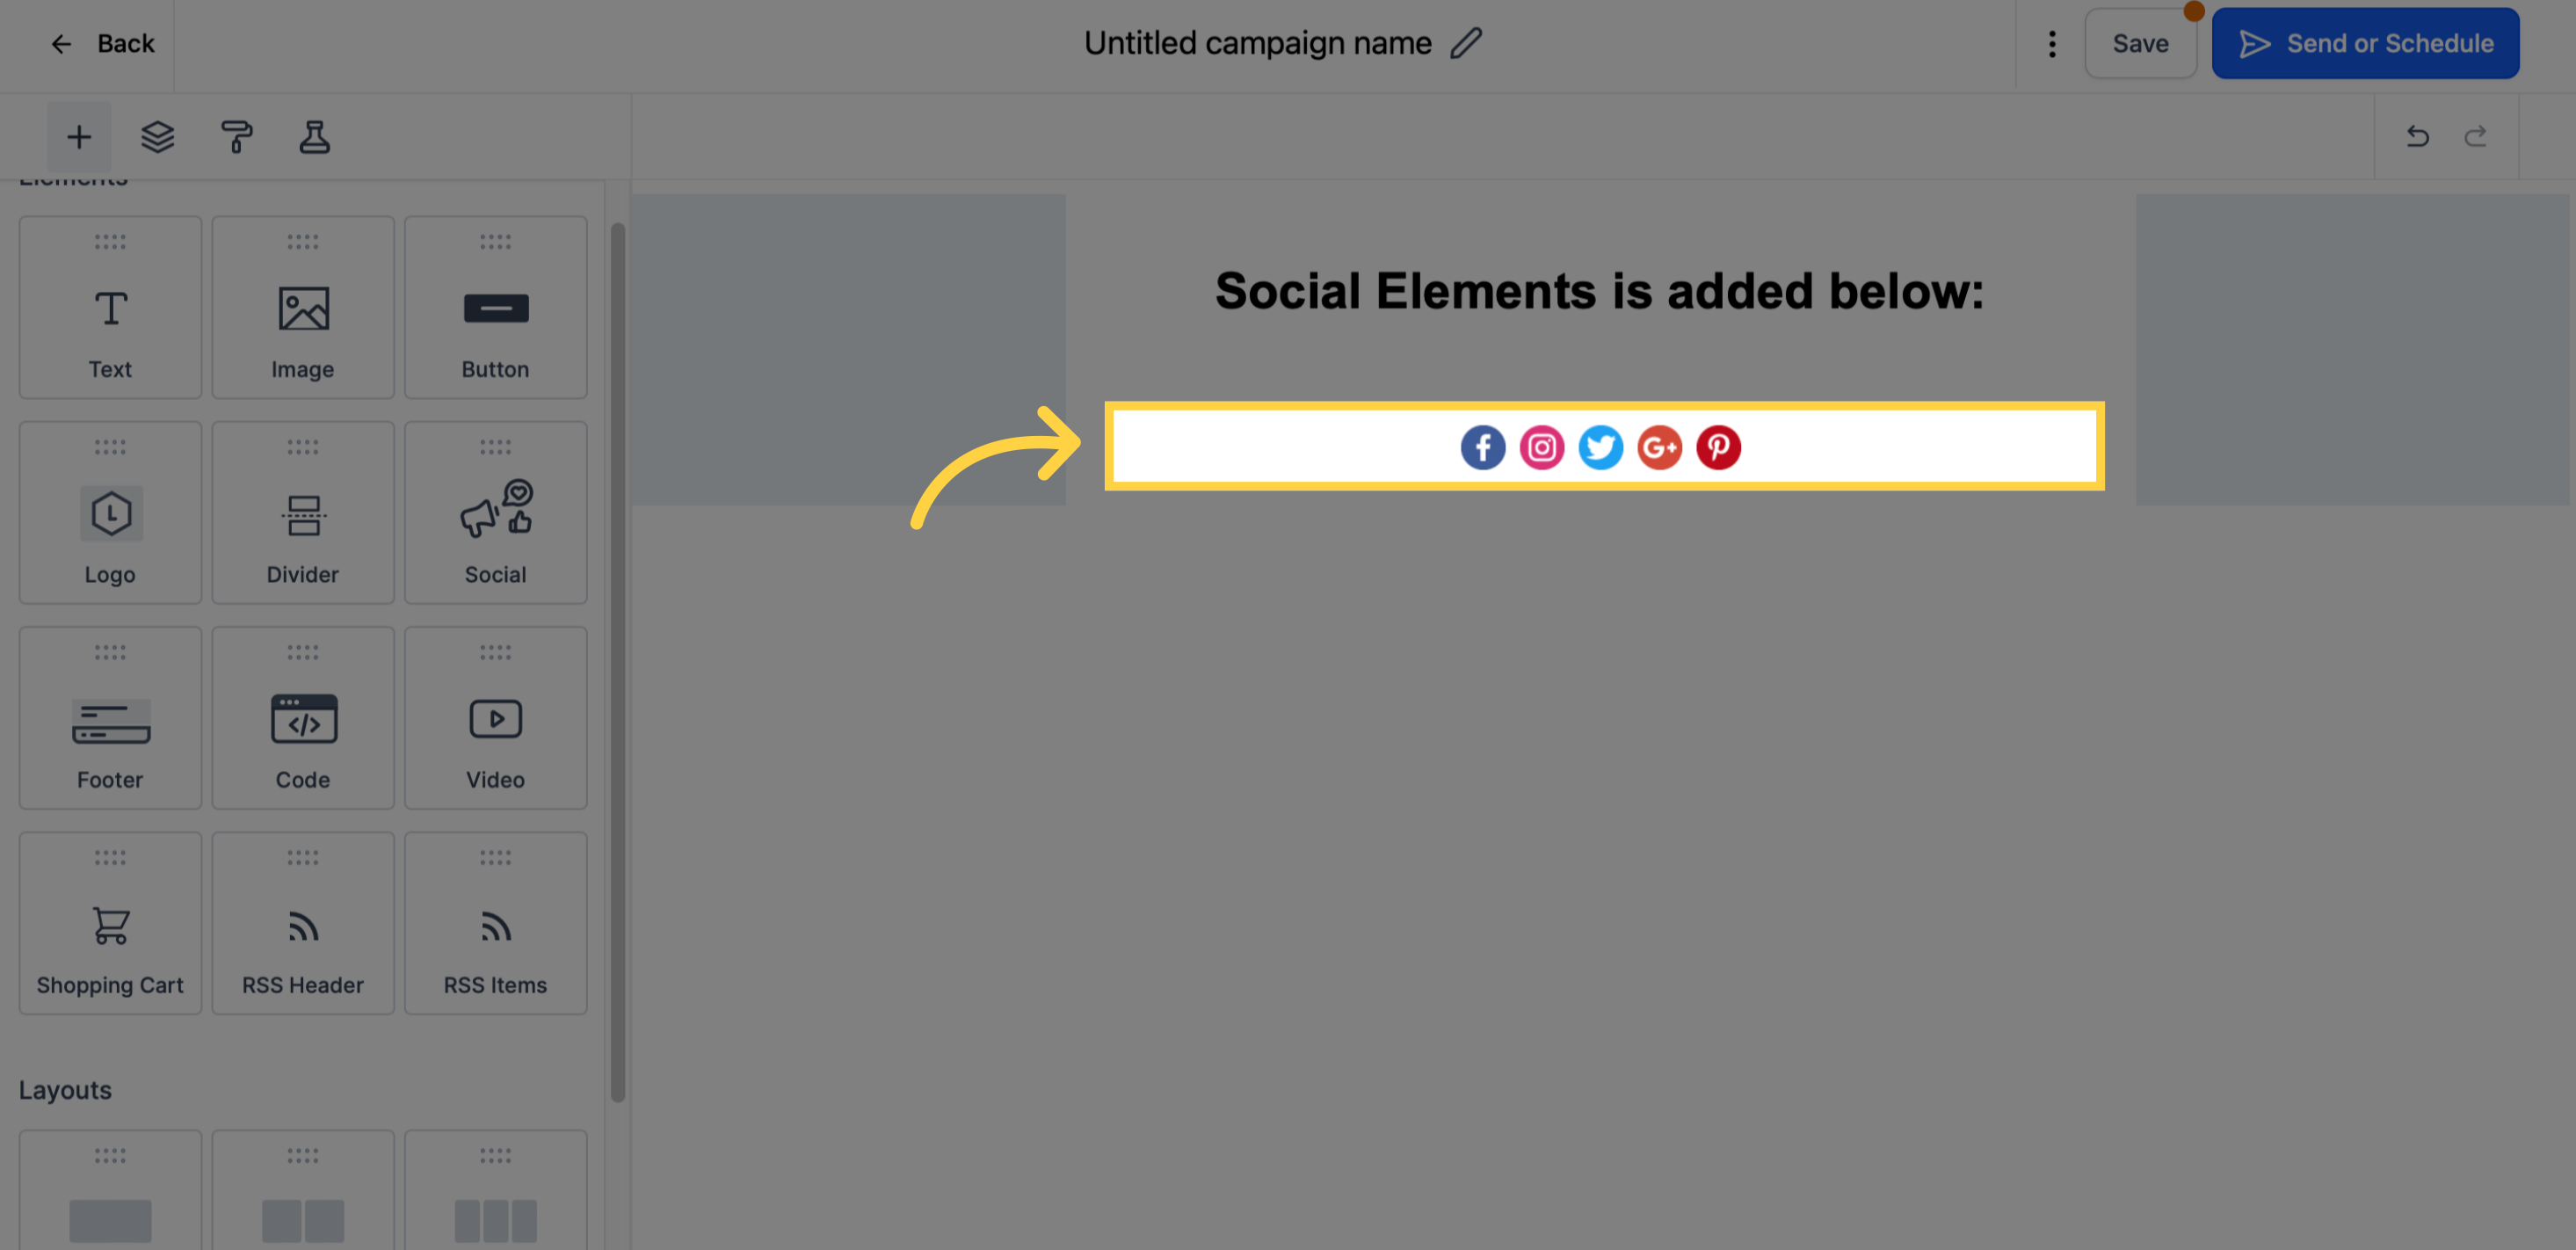
6. Click here to edit "Social elements"
When hovering over the social media boxes, you'll see an edit icon. Click on it to change the name of the social network, add a URL, and choose a social icon.

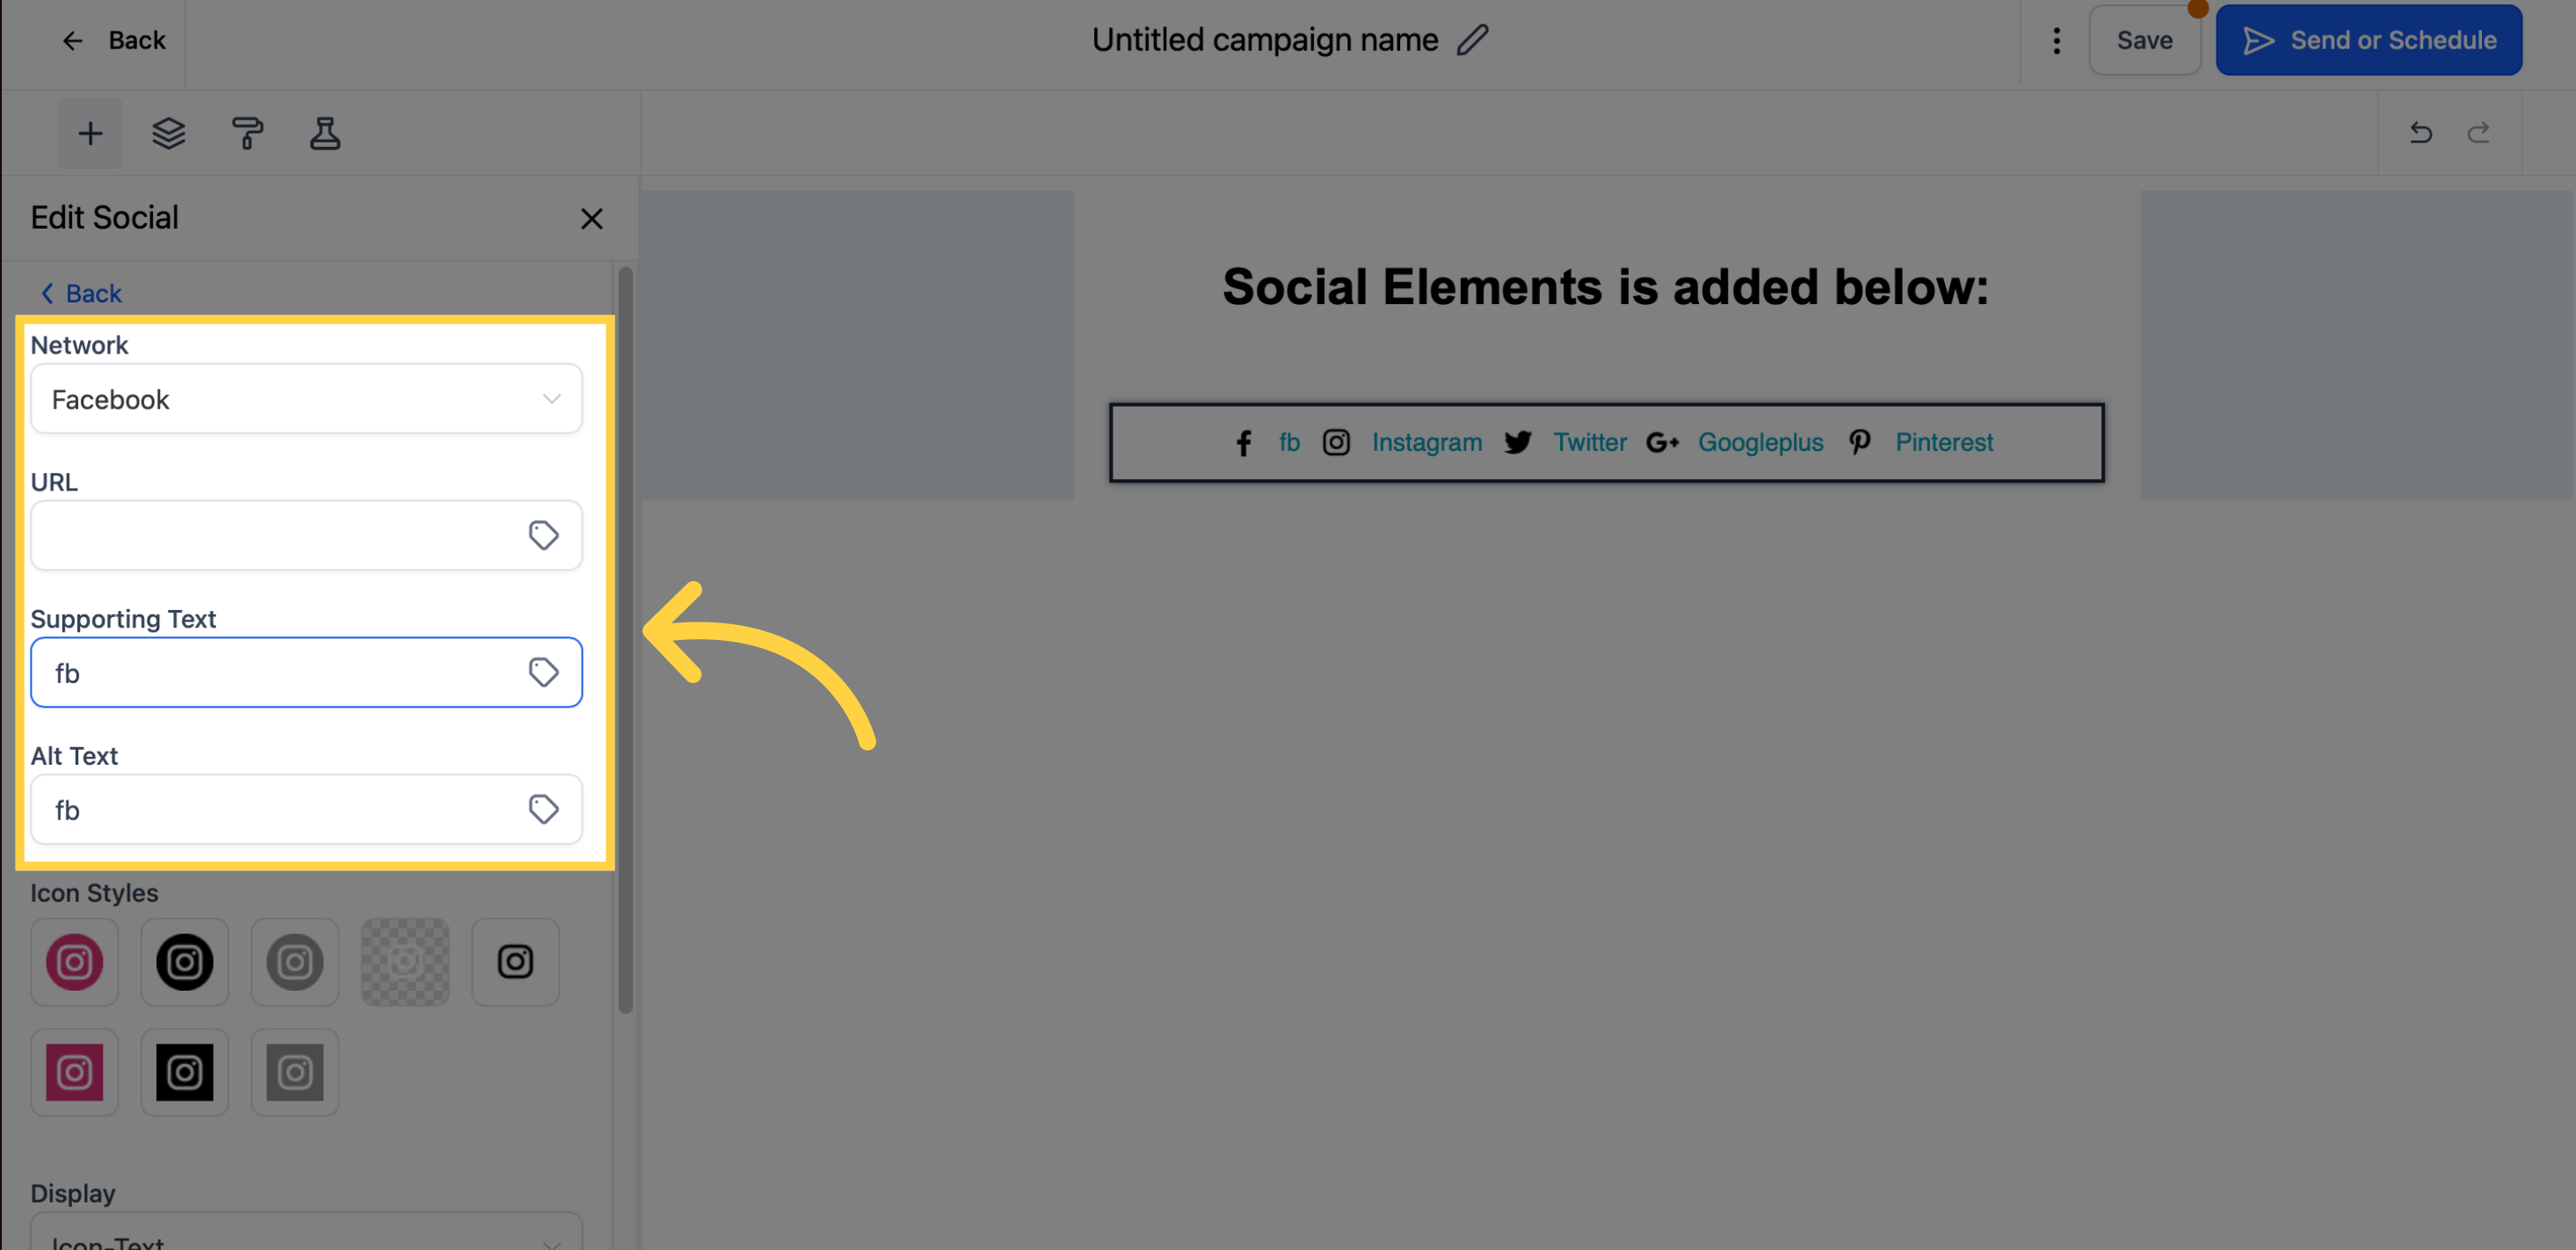
You can edit social details here
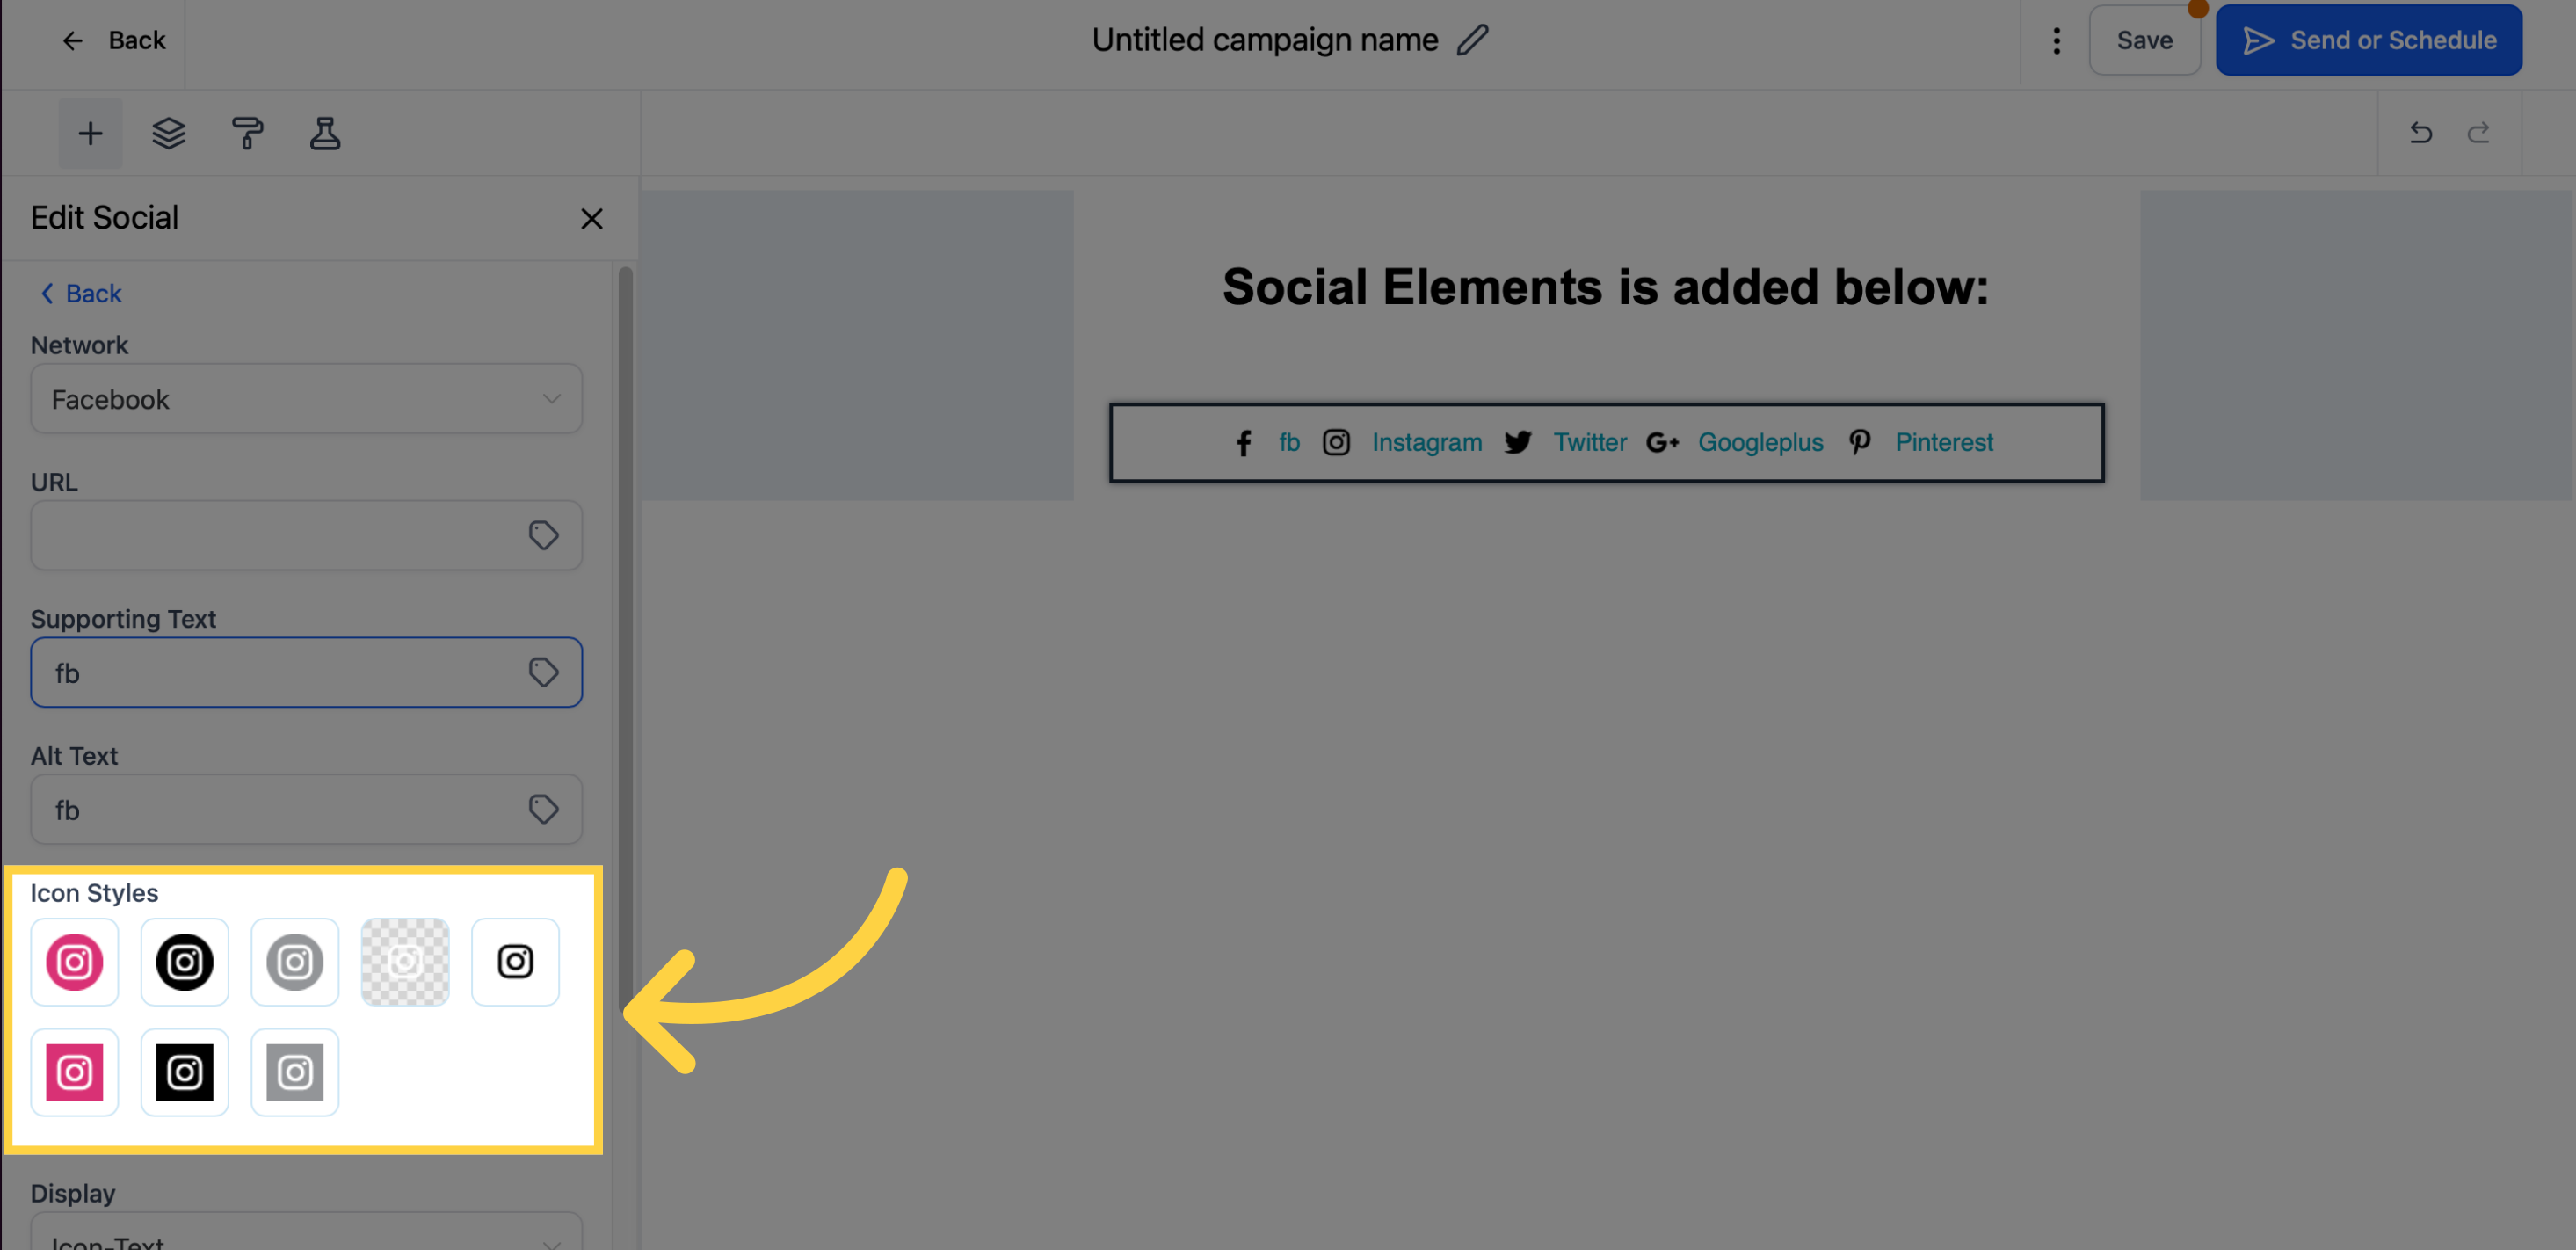
Select "Icon styles" here
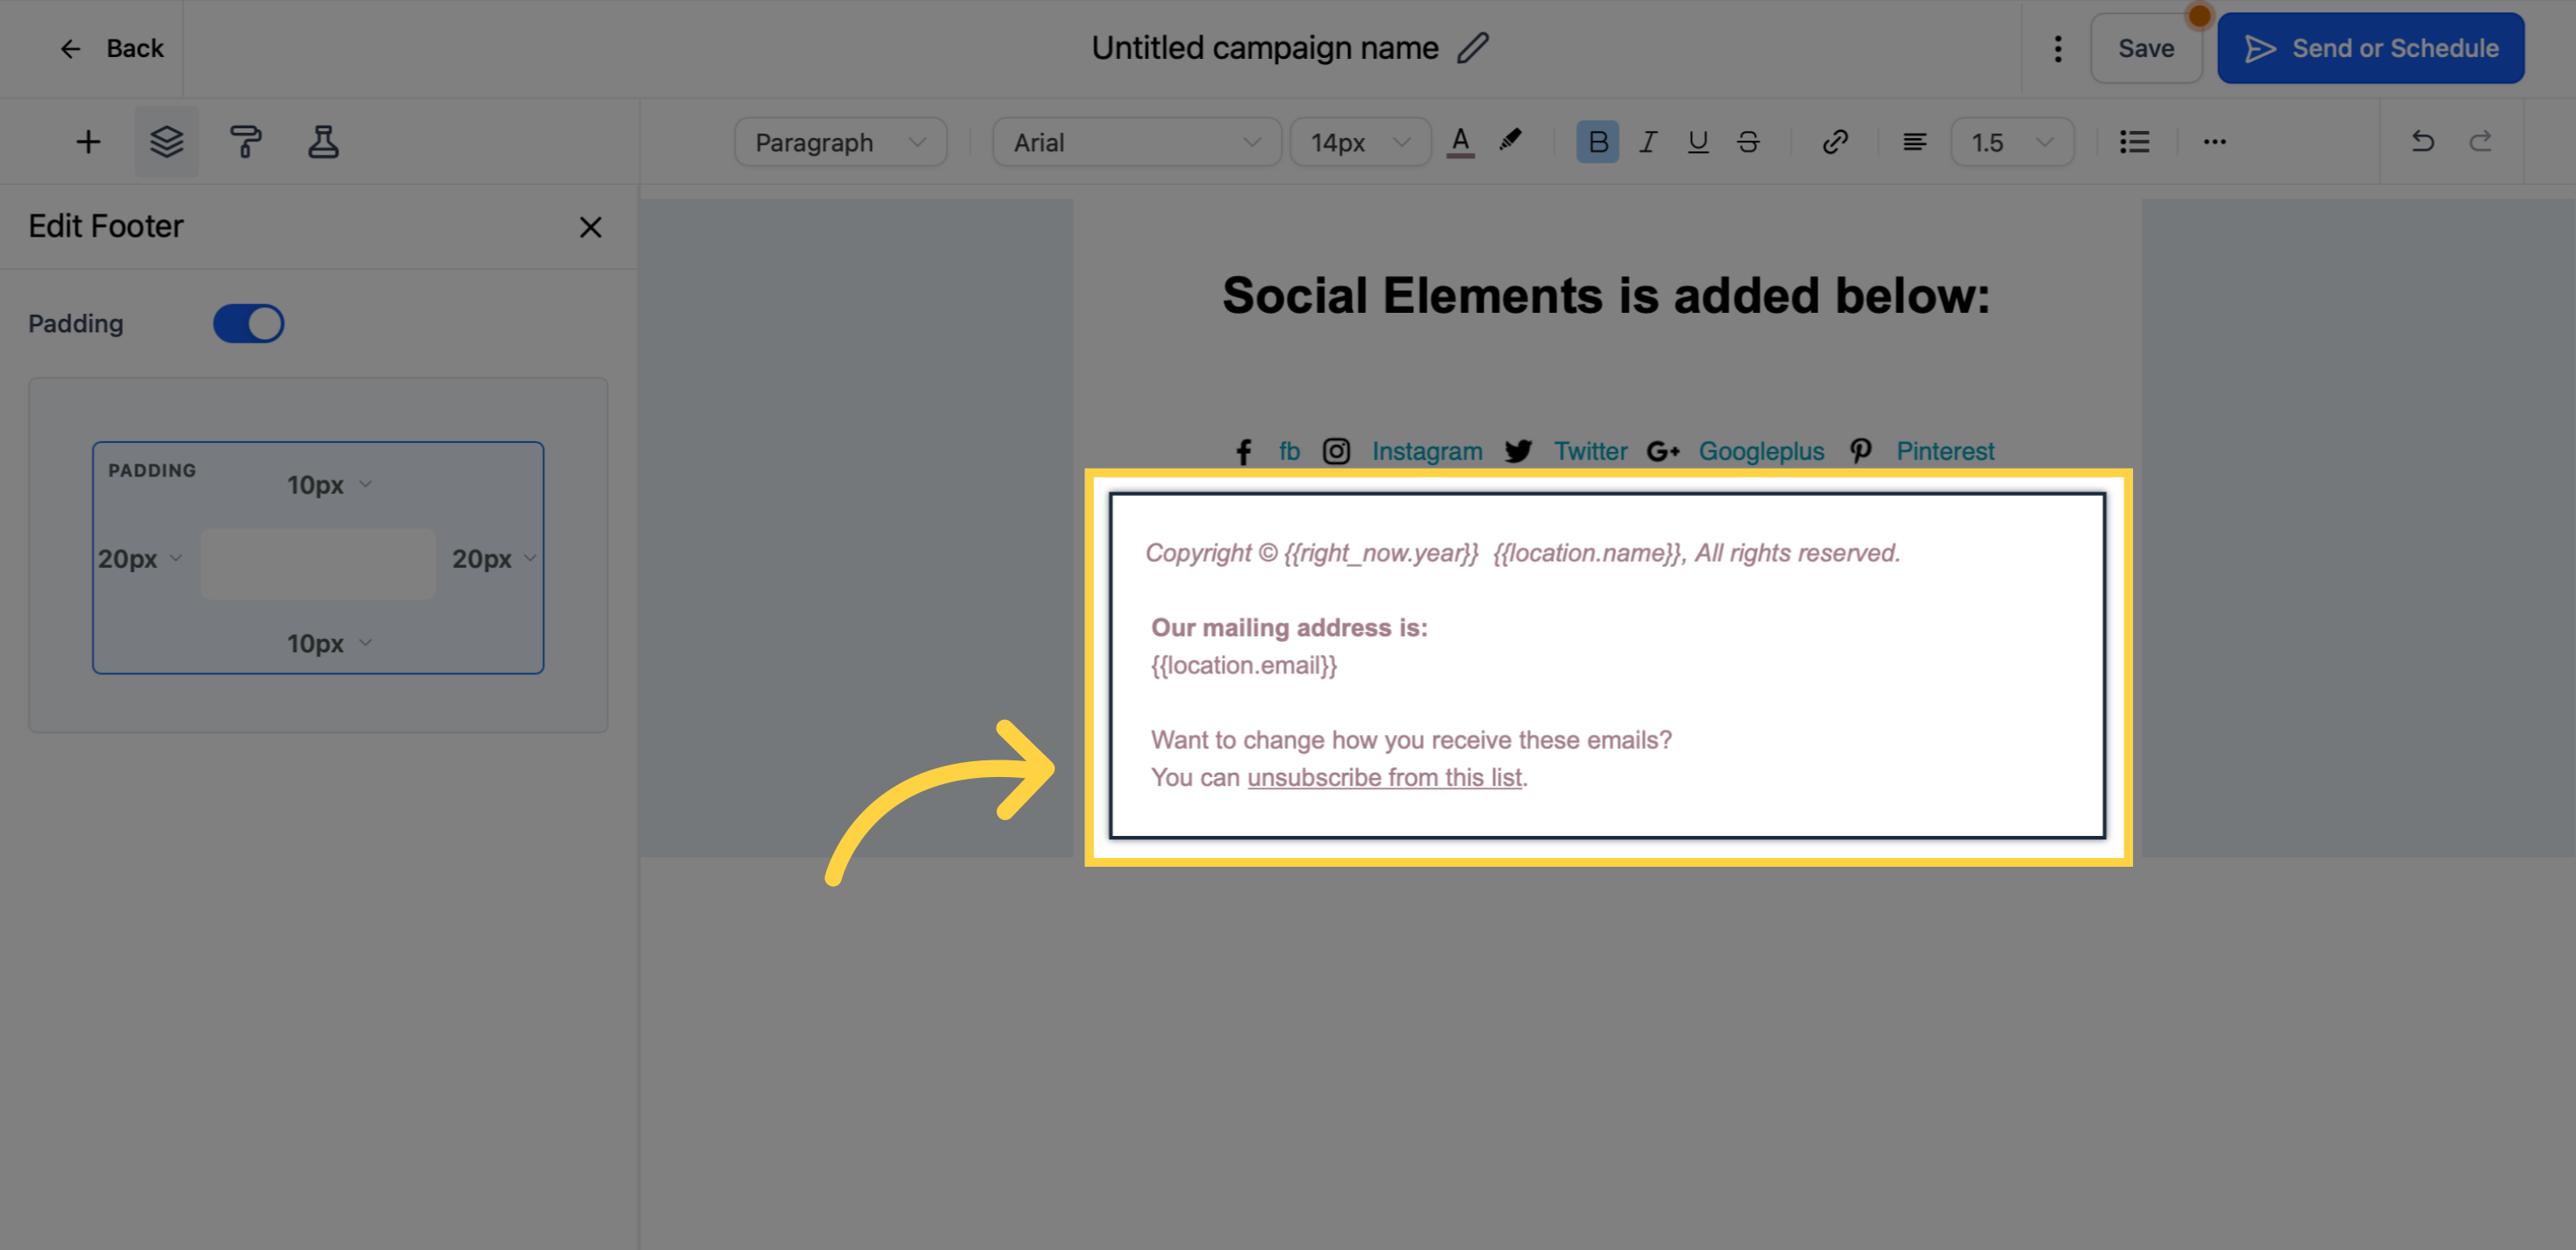
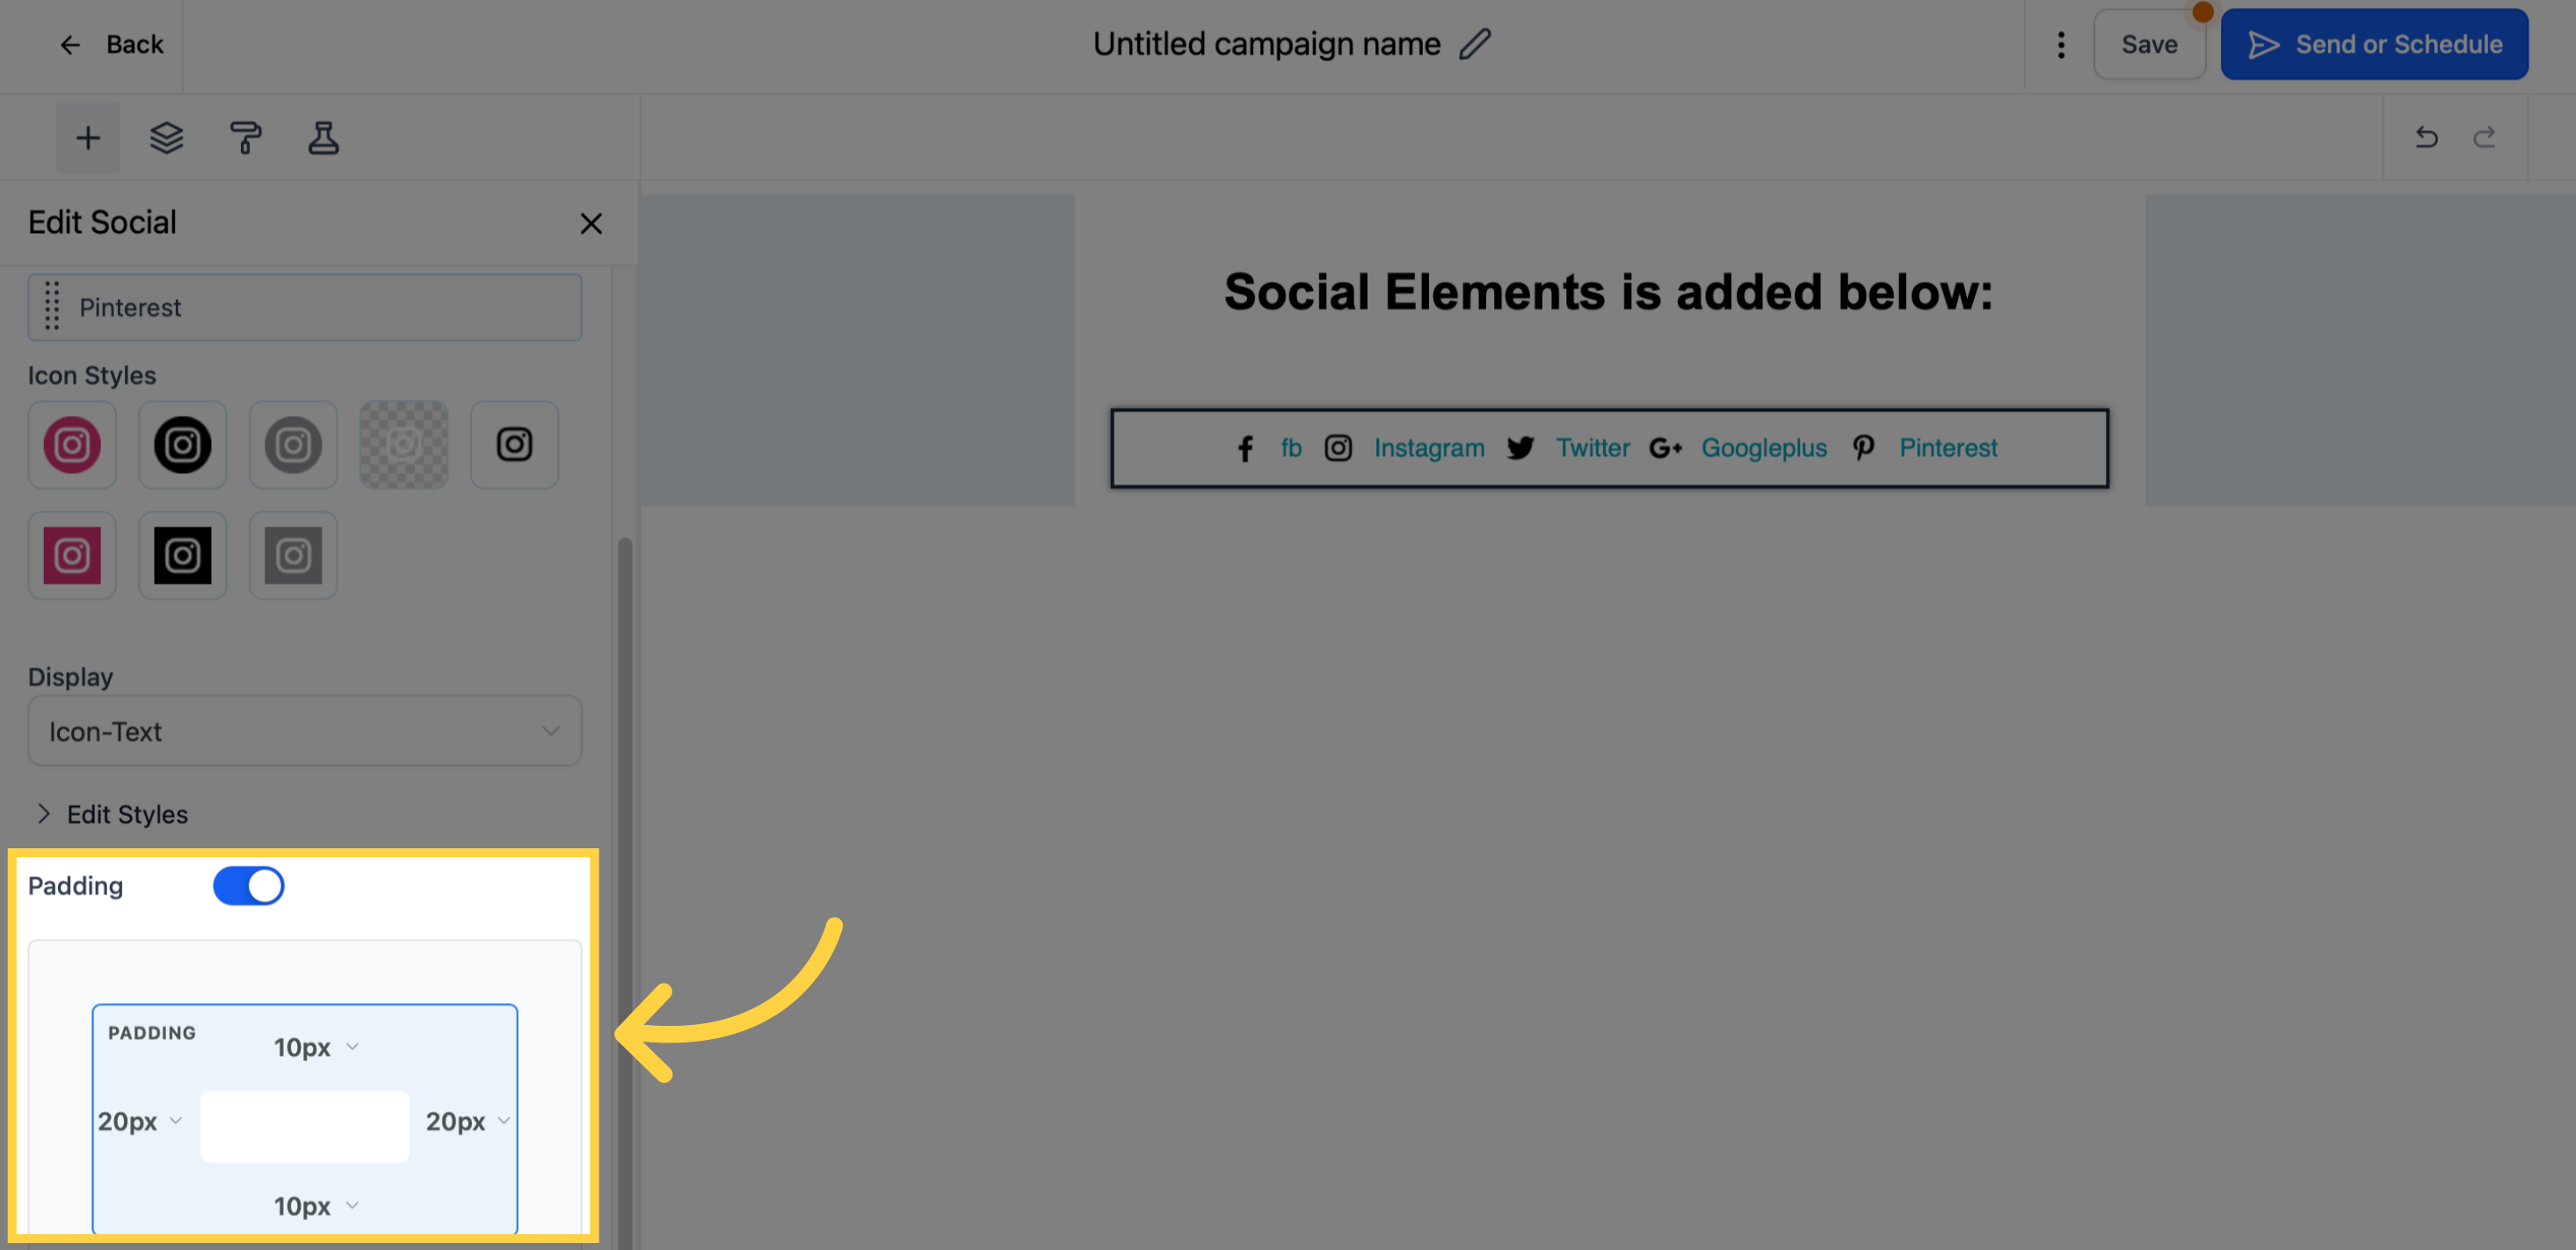
Click here to "Adjust padding"
After adding all the social media links, adjust the padding on the top, bottom, left, and right for proper spacing within the email template.
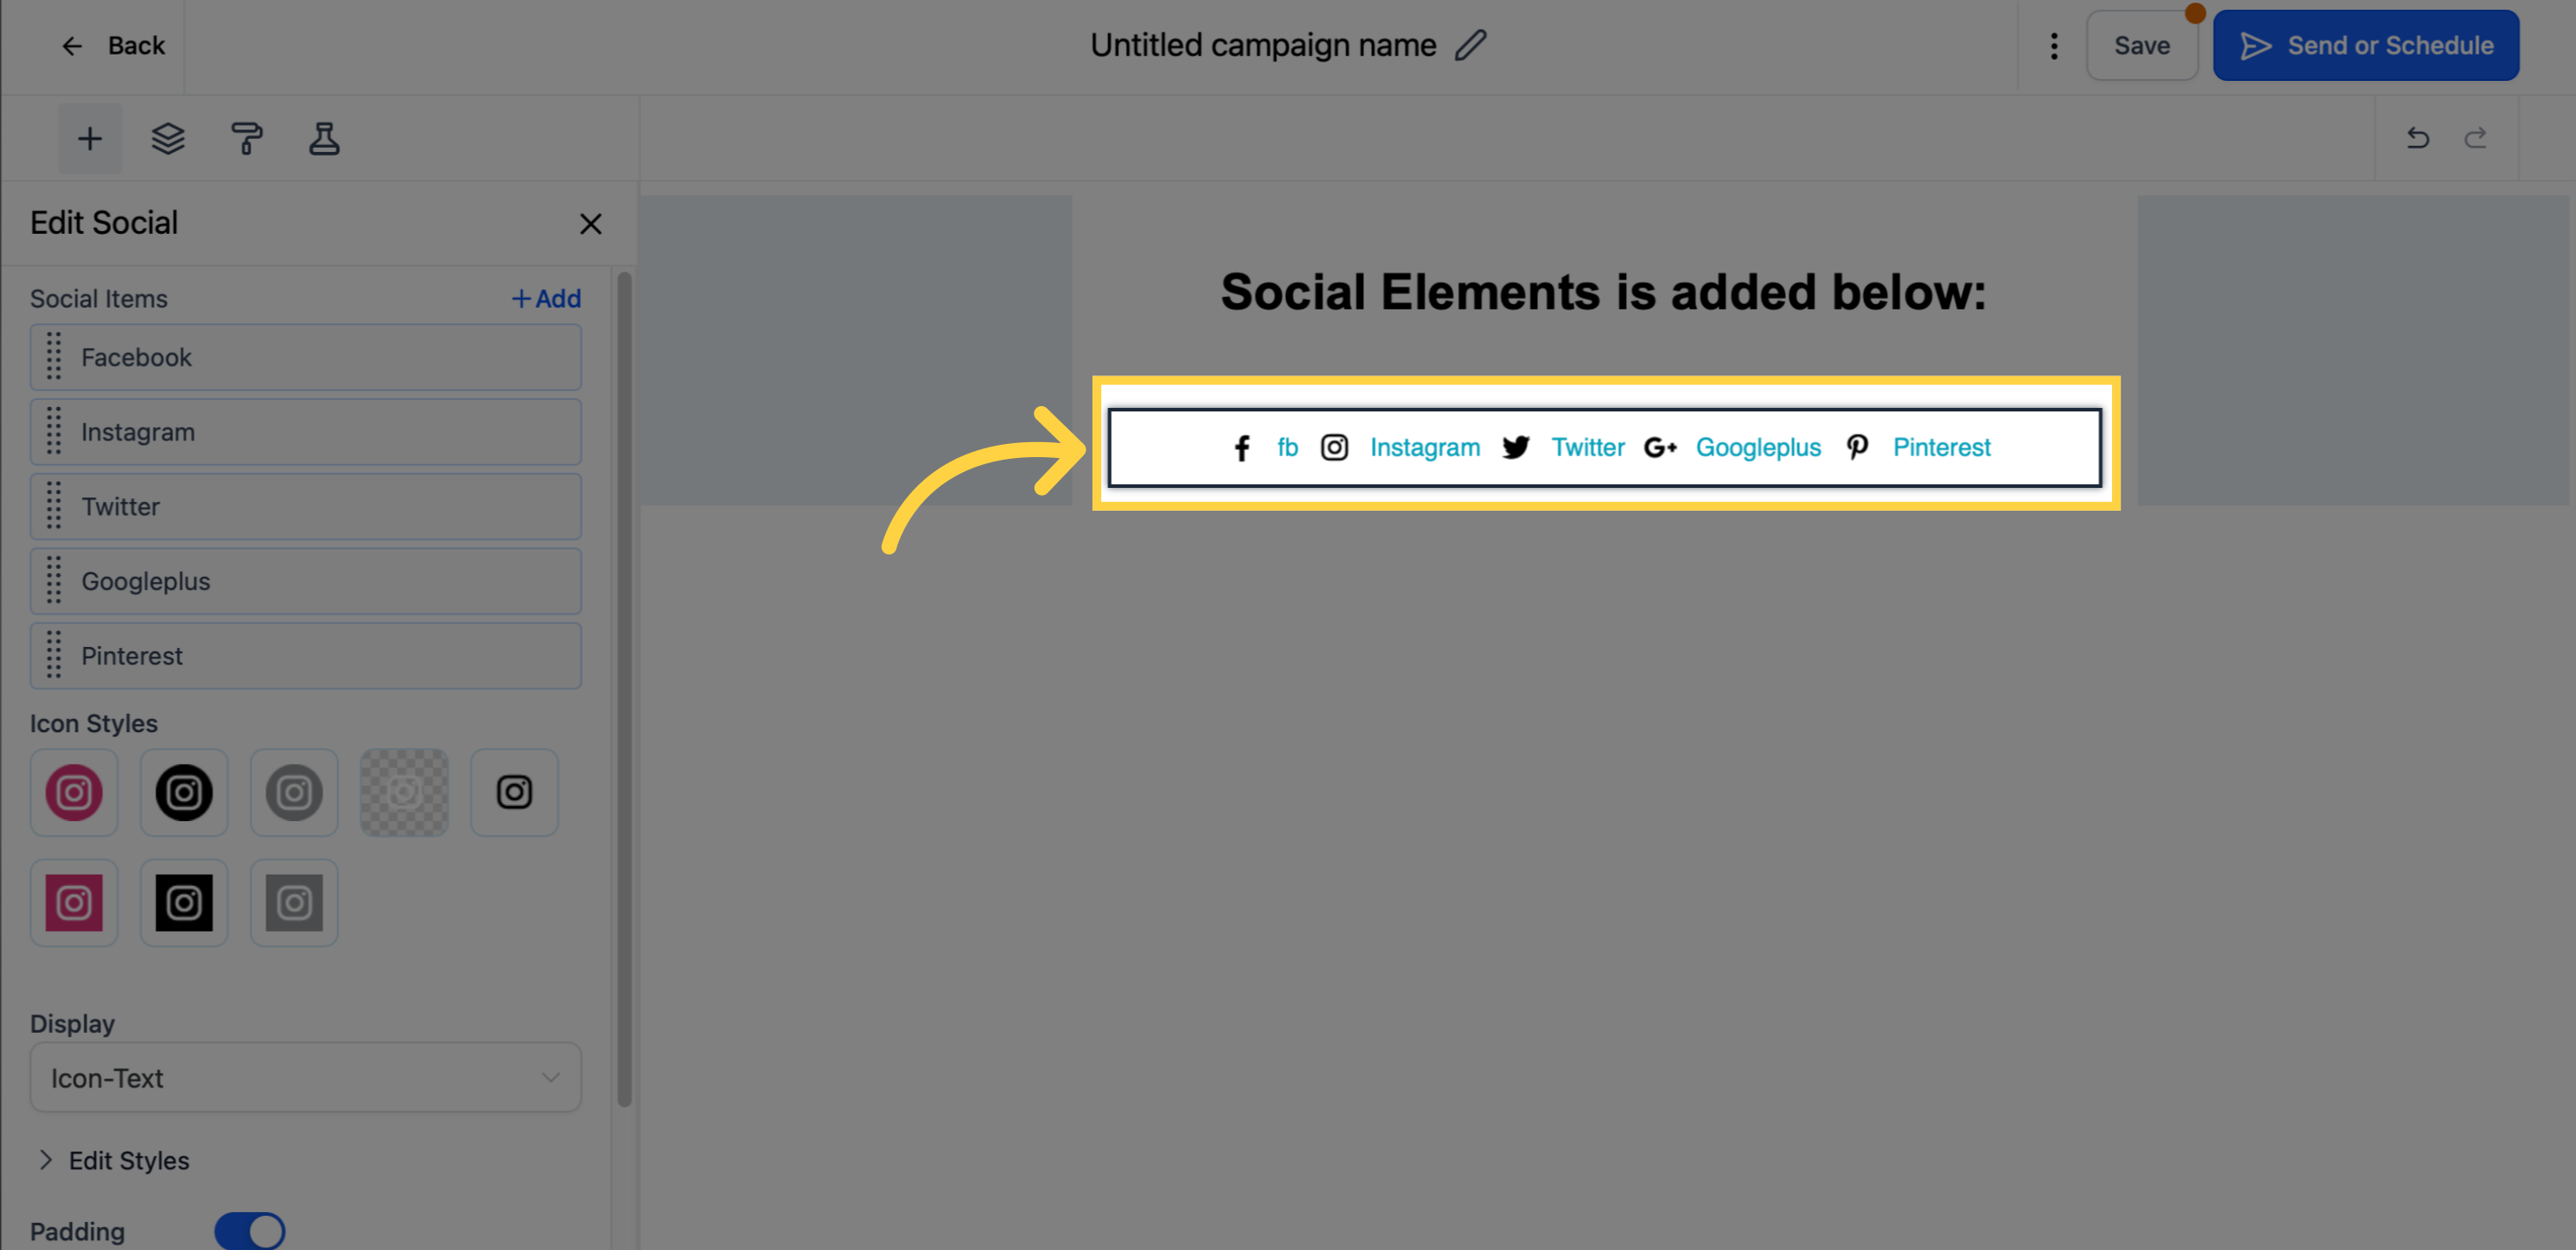
7. Sample output of edited social elements
To customize your footer element, follow these steps:
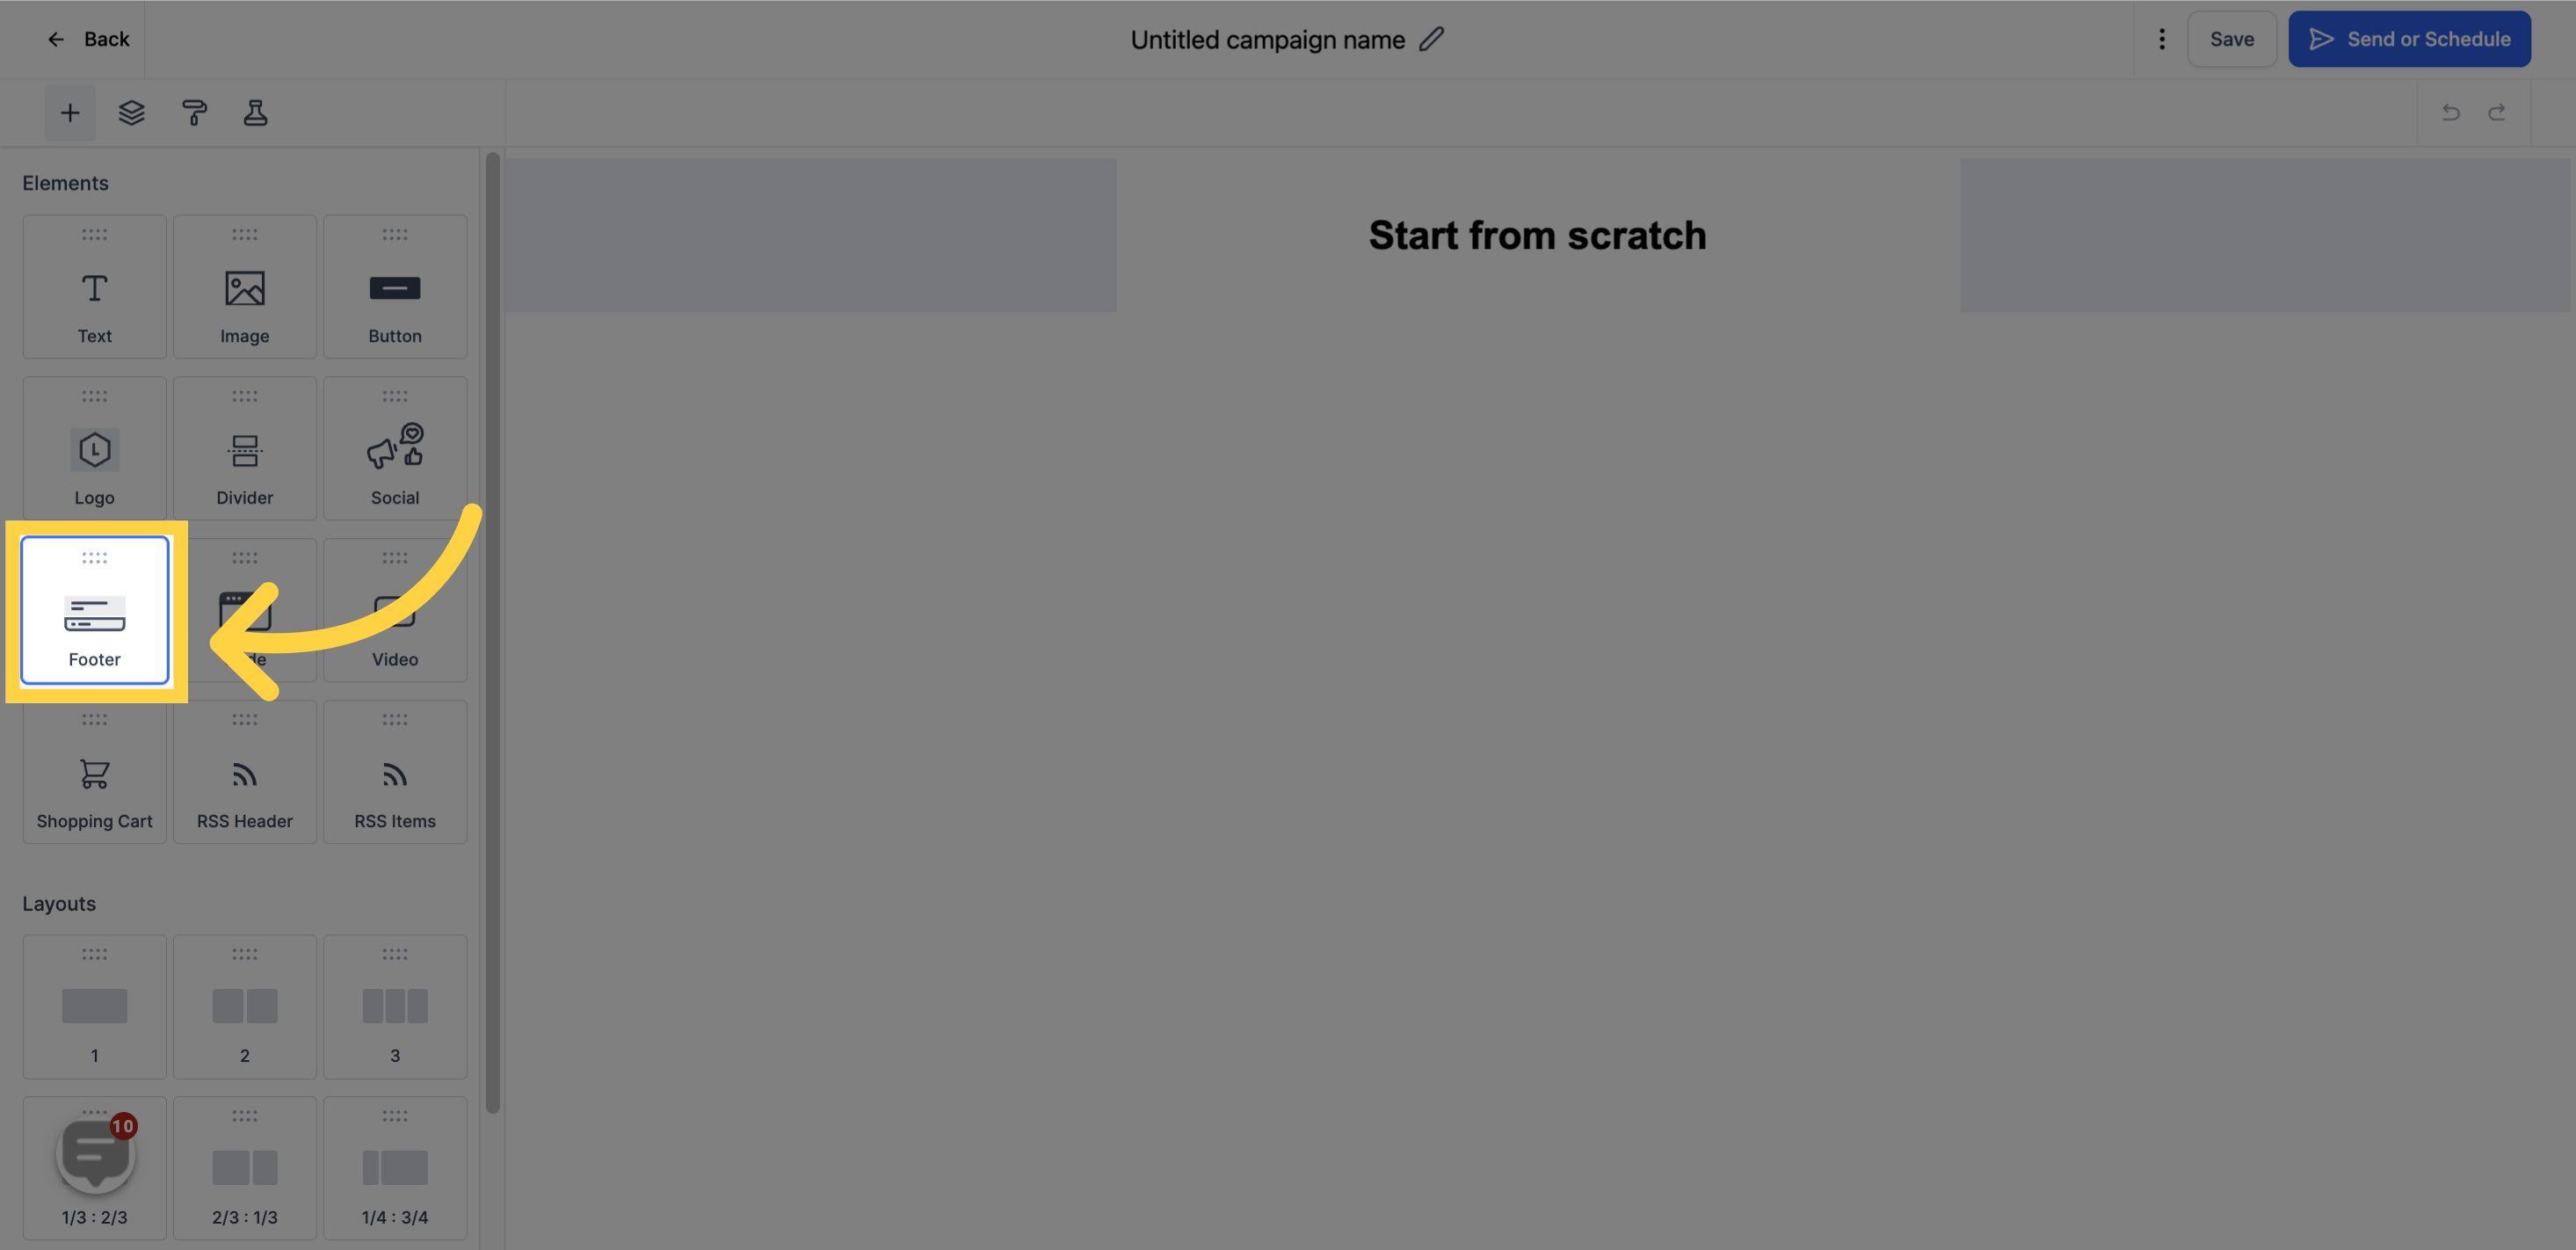
8. Click "Footer" and Drag to the center
To add a pre-built footer to your page, simply drag and drop the Footer element. It's an easy and convenient way to include a footer on your page.
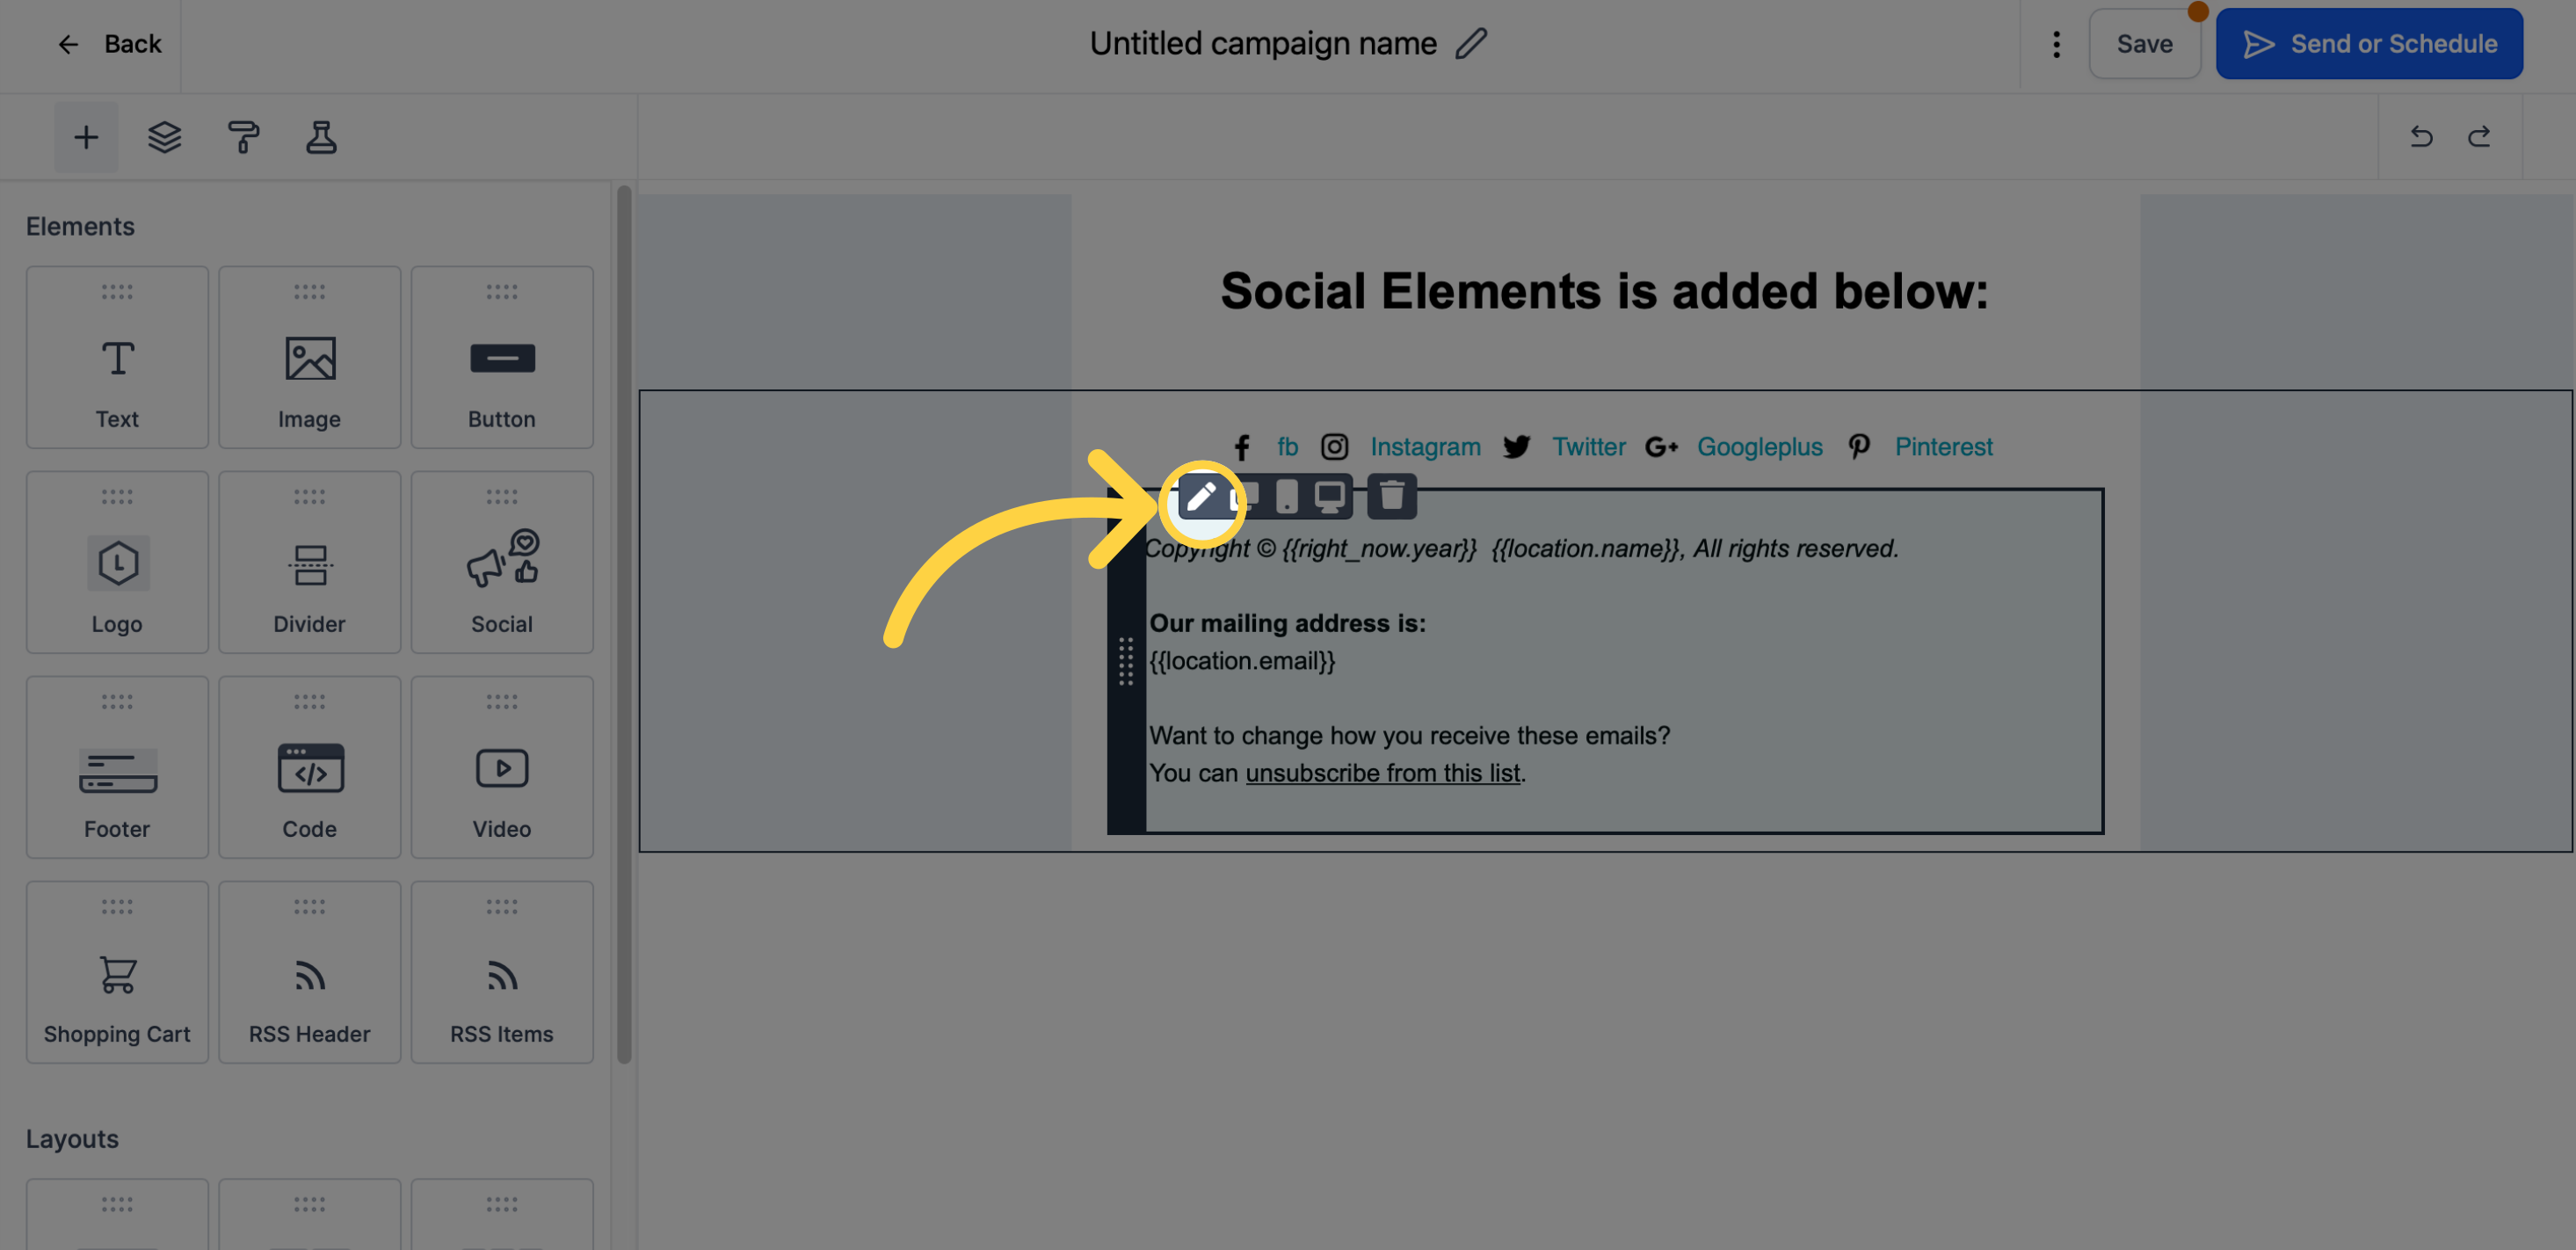
9. Click here to edit "Footer"
Hover over the footer element and click on the pencil icon.
Click here to adjust padding
To ensure accurate spacing within your email template, toggle on padding and adjust the top, bottom, left, and right padding.
)
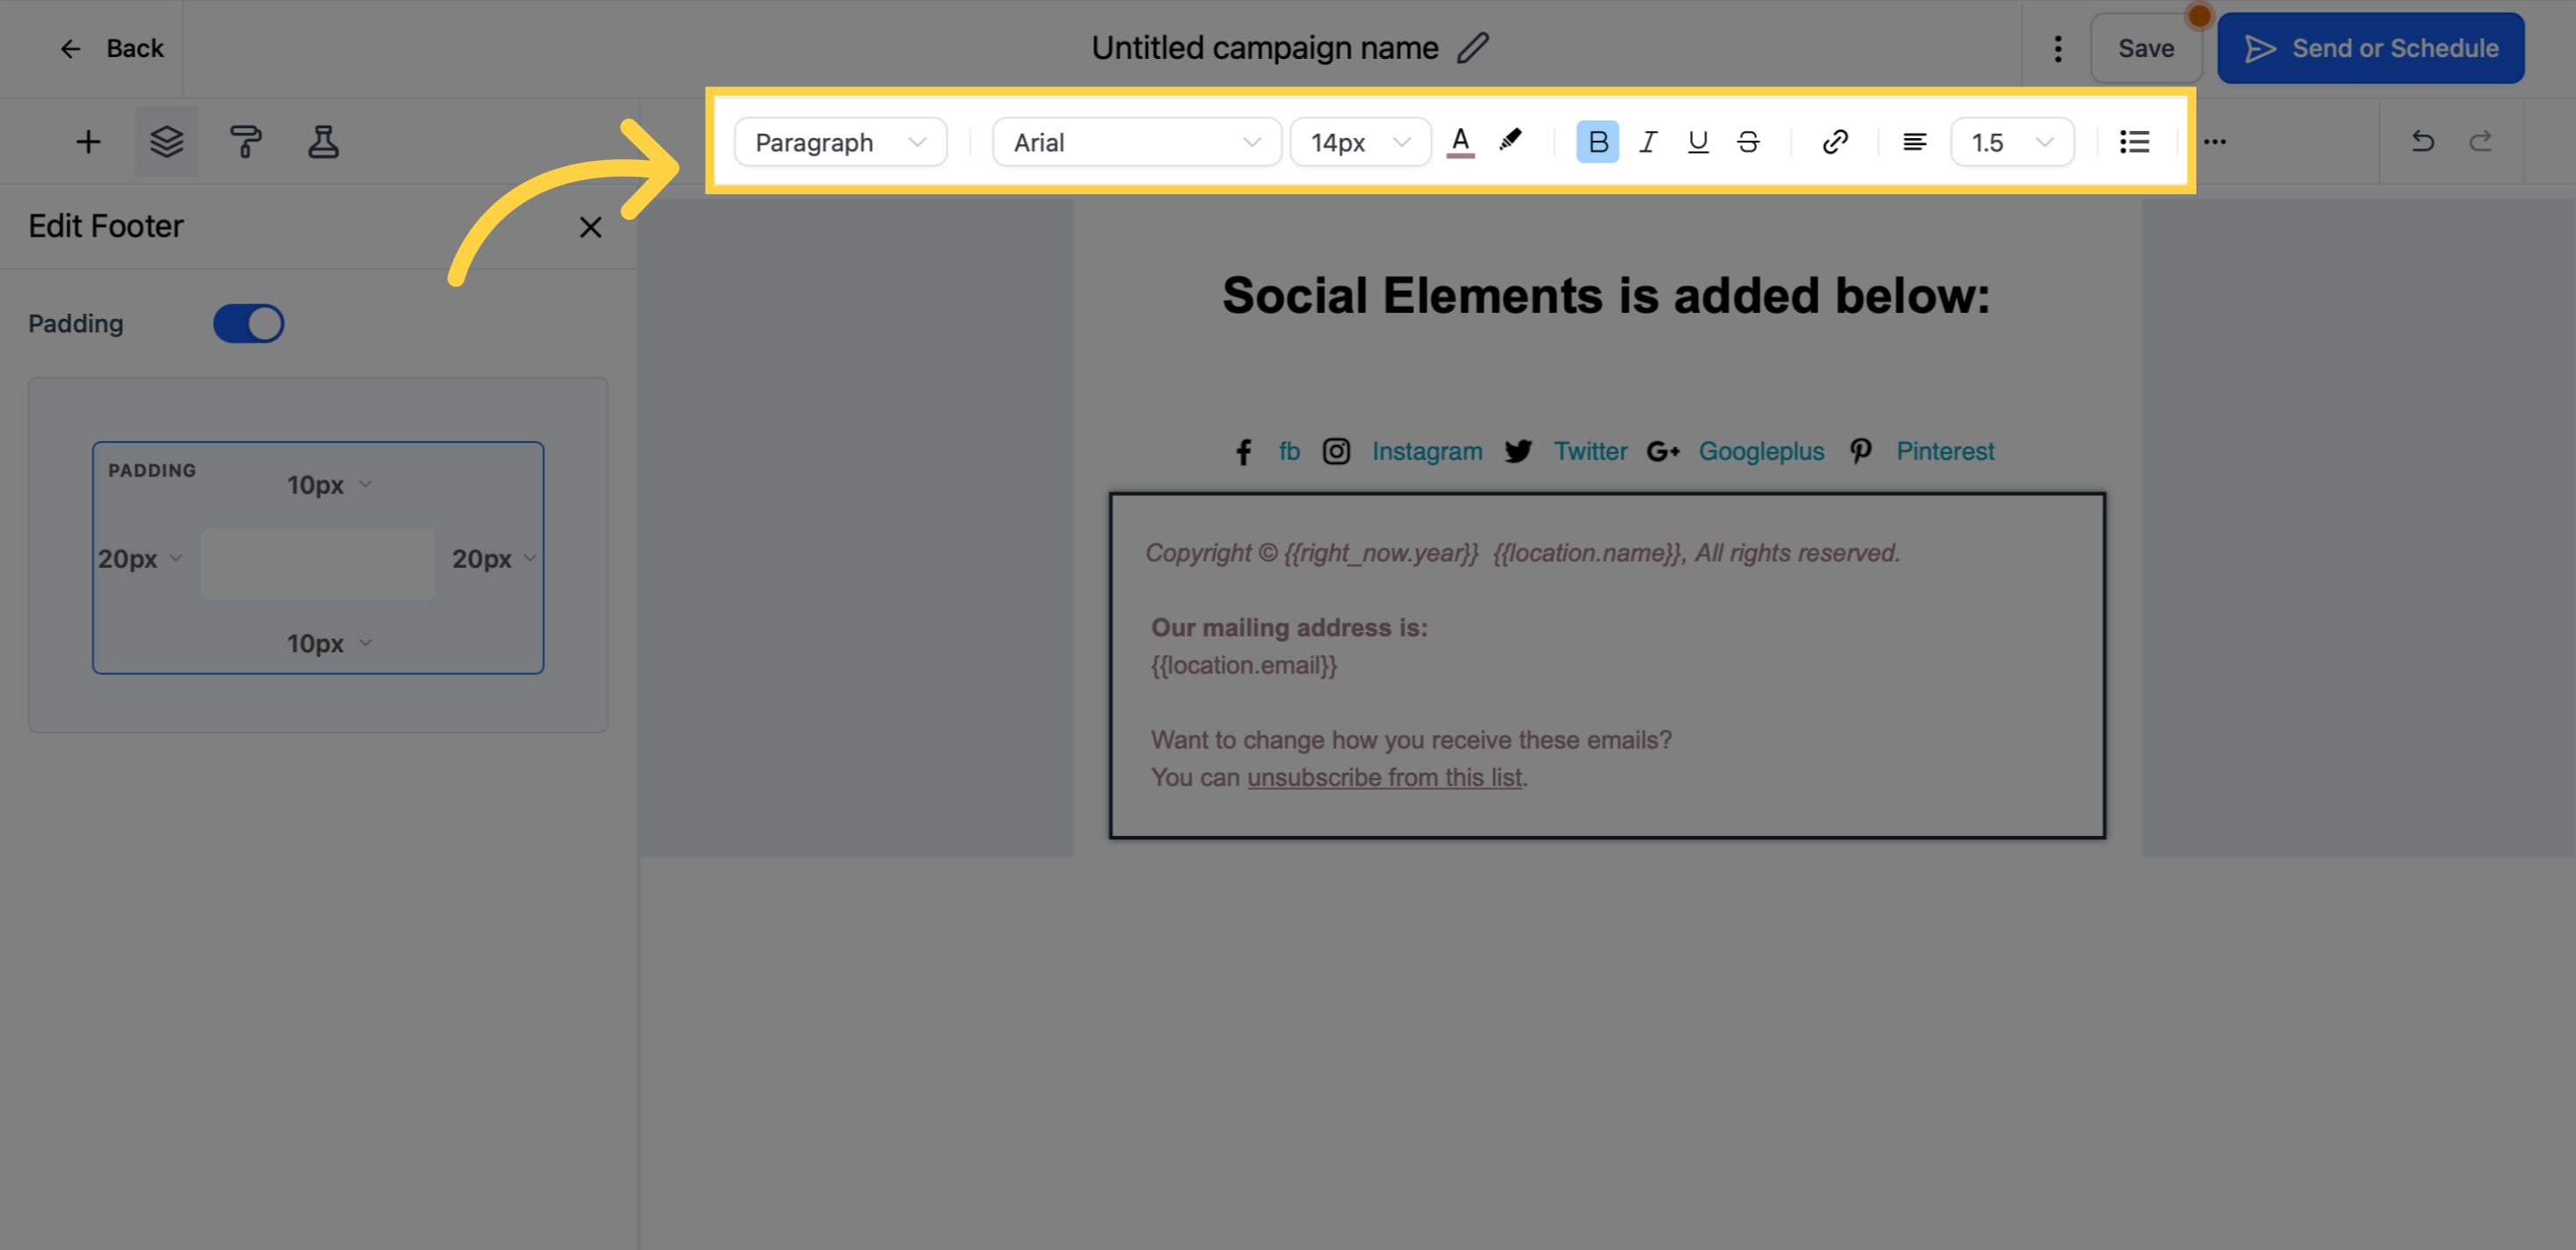
Click here to customize the text
You'll find various edit options to customize the text, including typography type, font size, color, and alignment.
10. Sample output of edited footer element