
Utilizing the Blog feature, you can design and enhance blog posts. This user-friendly feature allows you to concentrate on content marketing, SEO optimization, and gives you the capability to share your blog widely, attracting readership to your blog!
Step 1: Creating Blog Posts with Settings and SEO Details
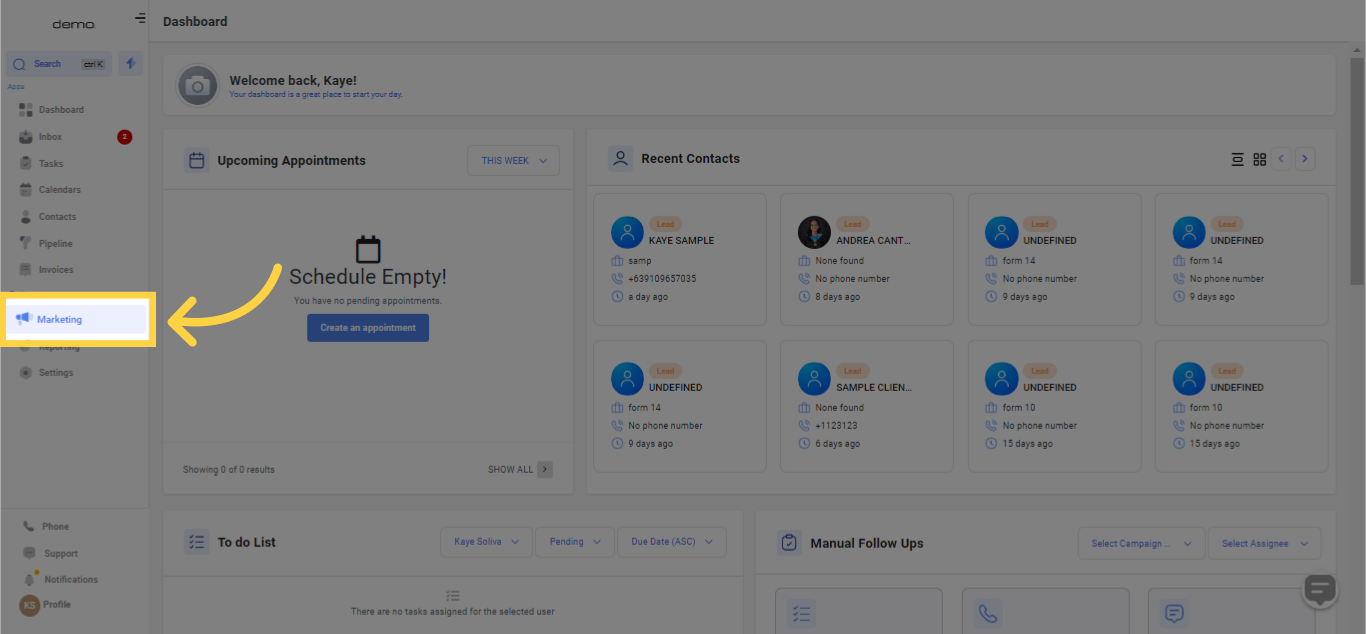
Navigate to Marketing > Blogs, and here you can create a new Blog Post. Give it a Title, Description, and a Blog Post image.
1. Select "Marketing"
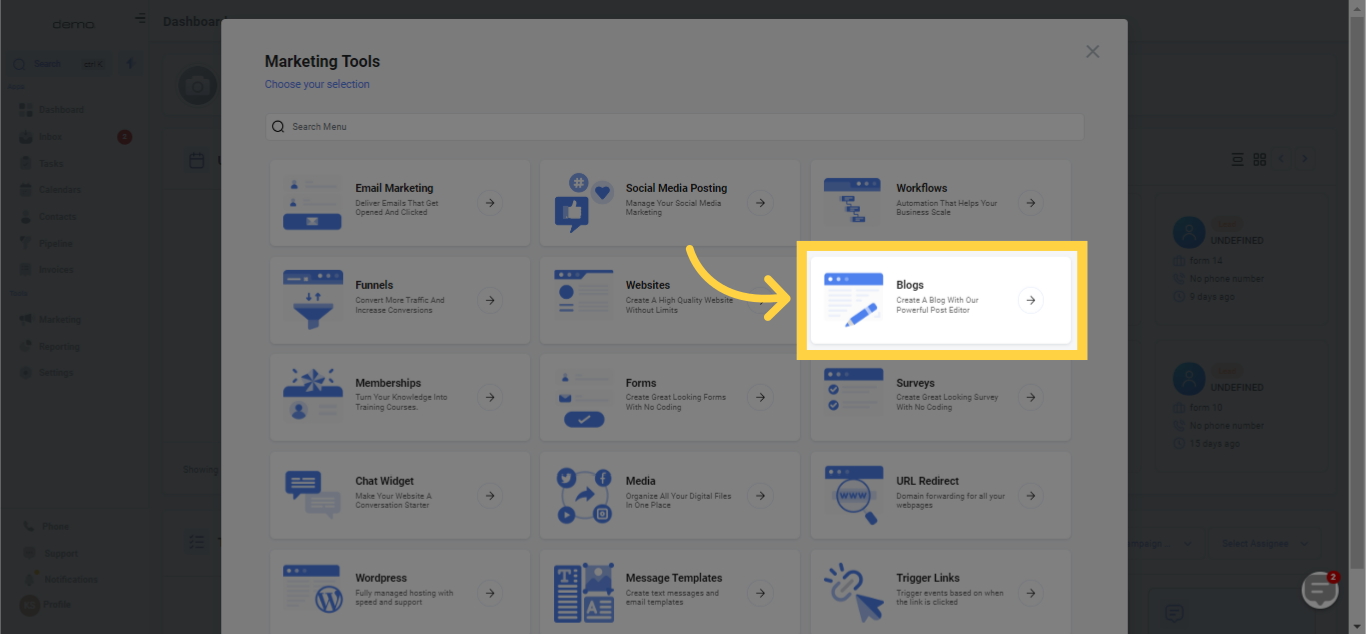
2. Select "Blogs"
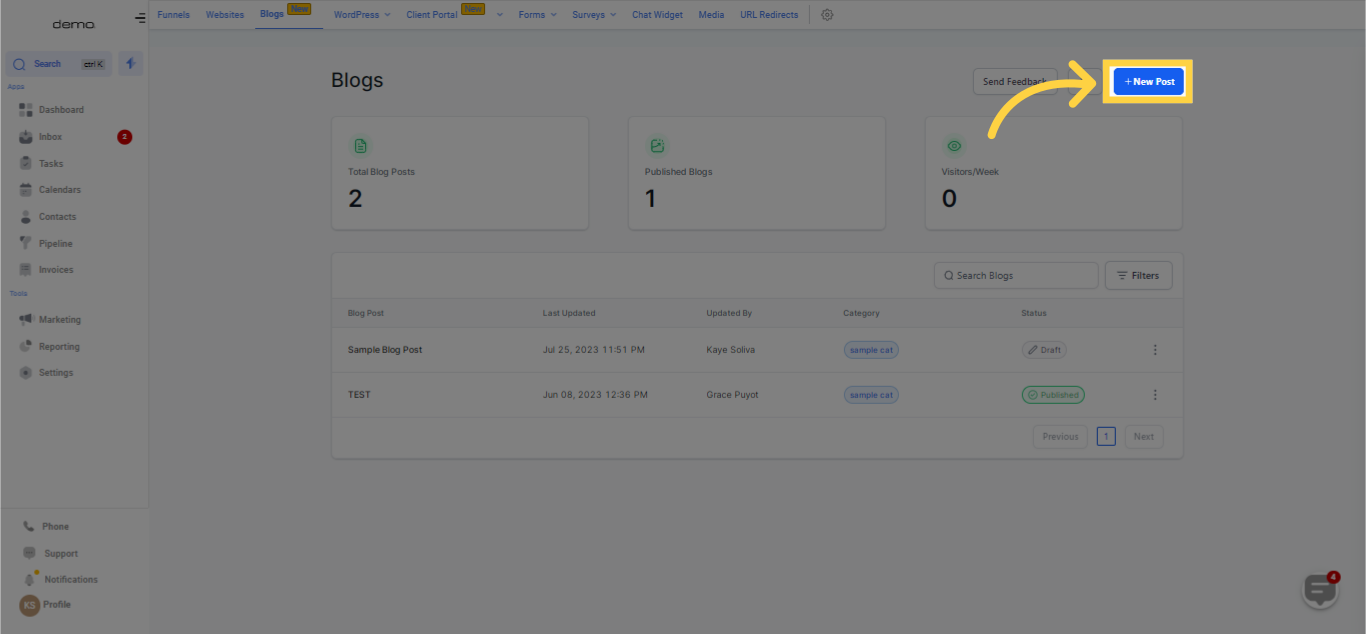
3. Click "New Post"
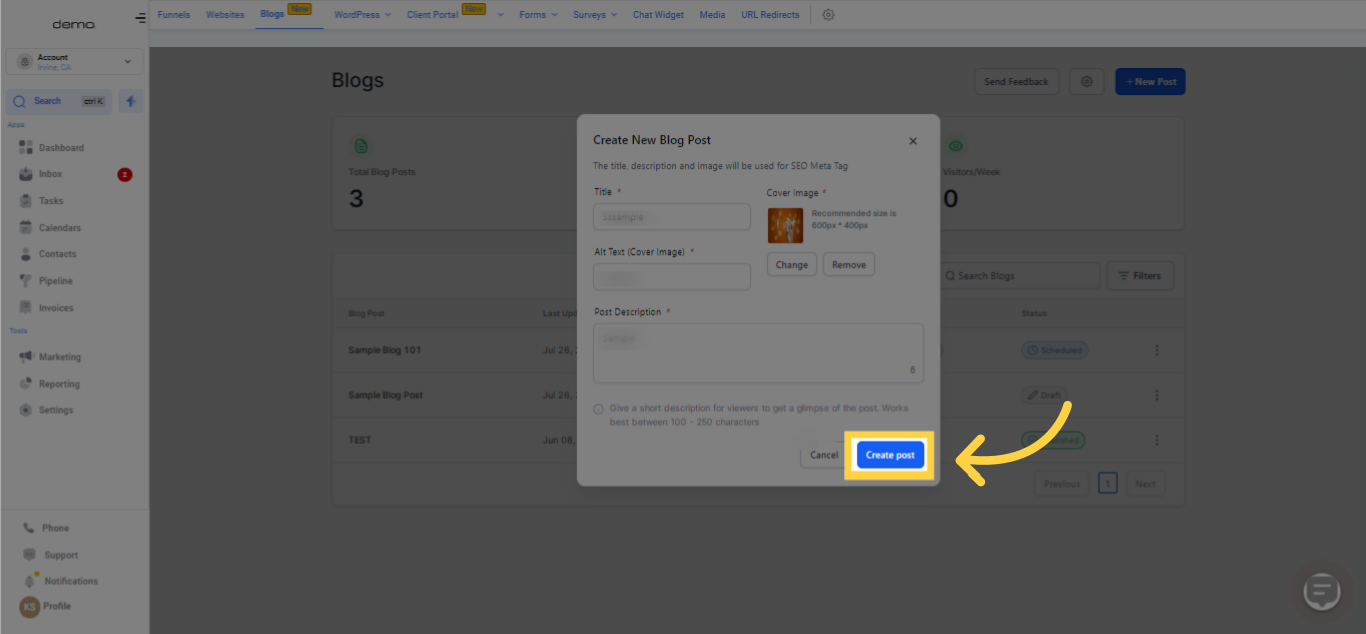
4. Provide necessary fields
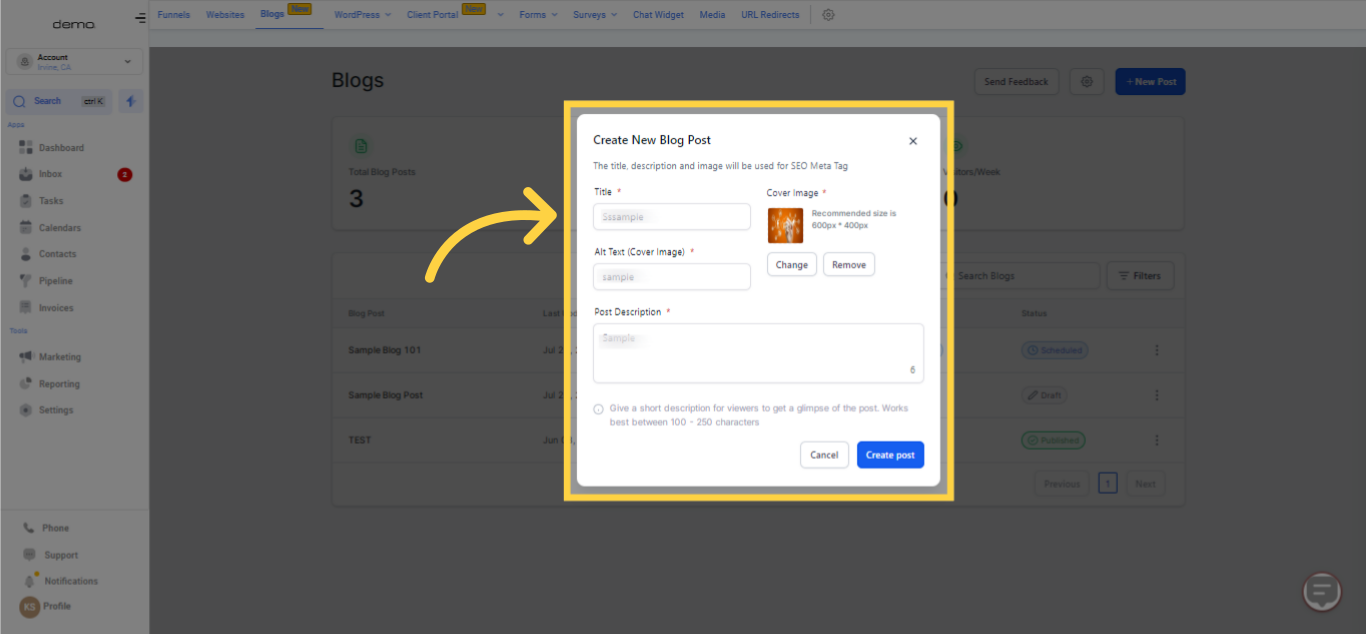
5. Click "Create Post
Leverage the editor toolbar to insert your content and customize the font, images, and other aspects as per your preferences.
6. Customize font styles and designs
Personalize the styles and designs of fonts.
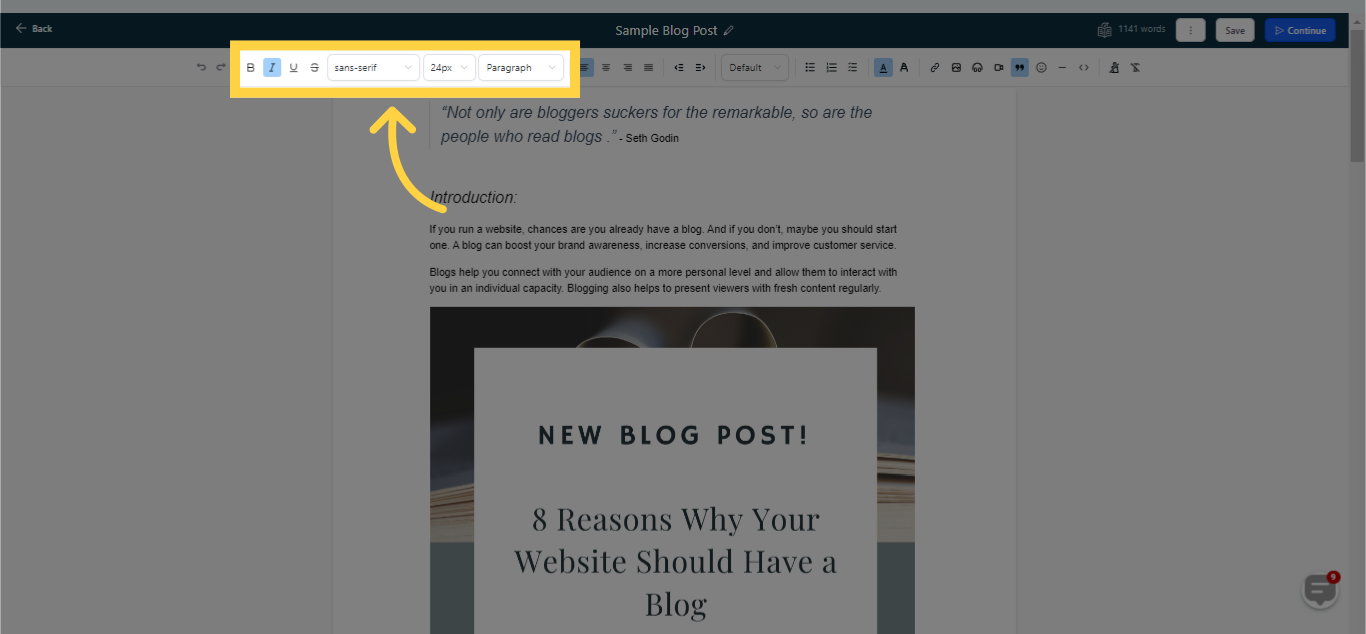
Incorporate indentations and a variety of list formats, including numbered, bulleted, and to-do lists.
7. Set document format

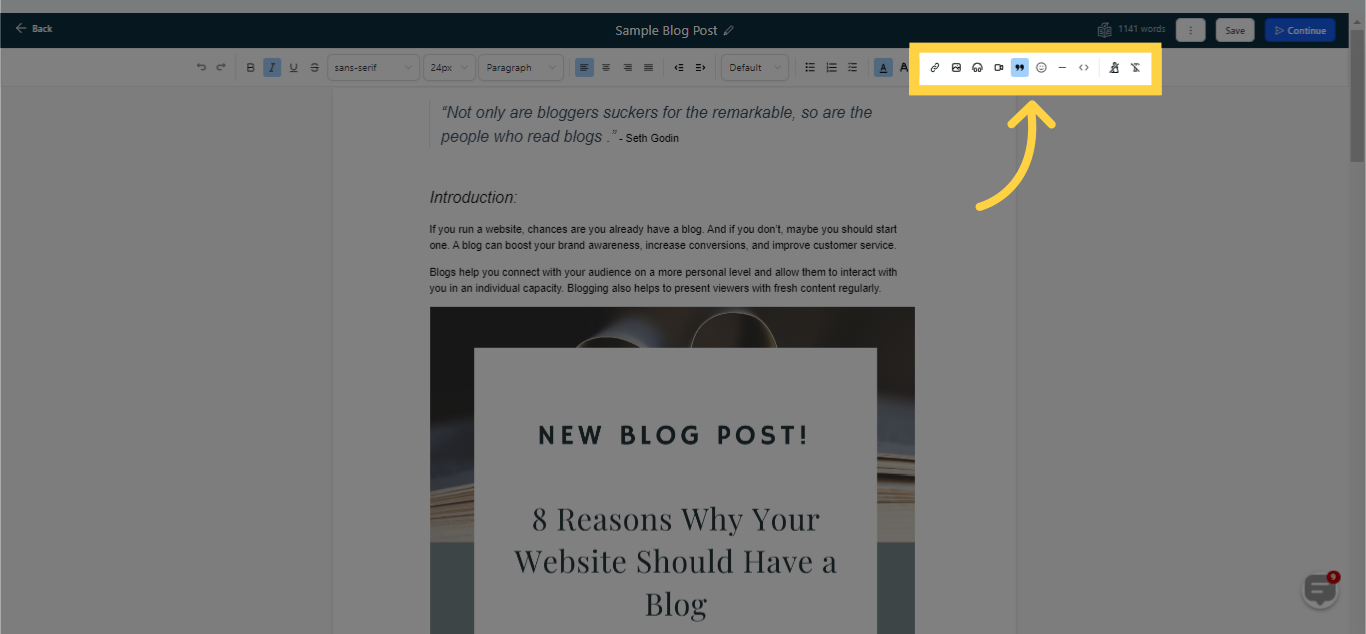
8. Provide multimedia if necessary
Integrate image(s) and/or video(s) from your Media Library. The option to add YouTube videos or insert hyperlinks is also available.
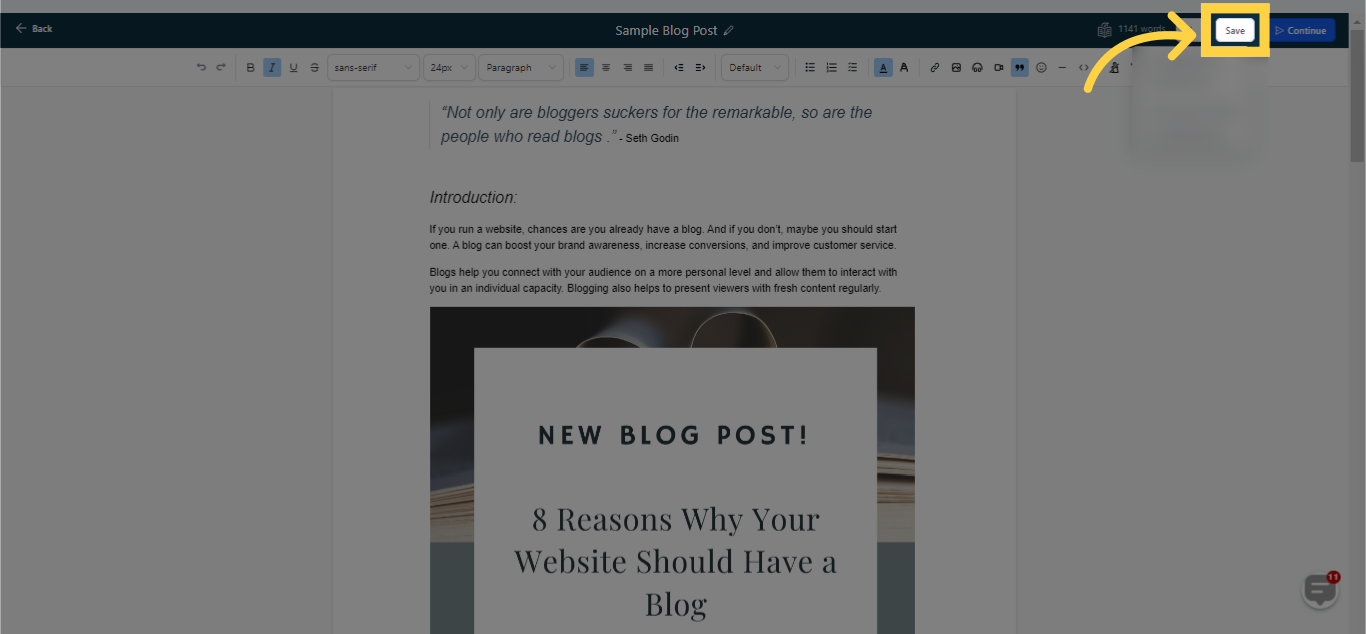
9. Click three dots for more options
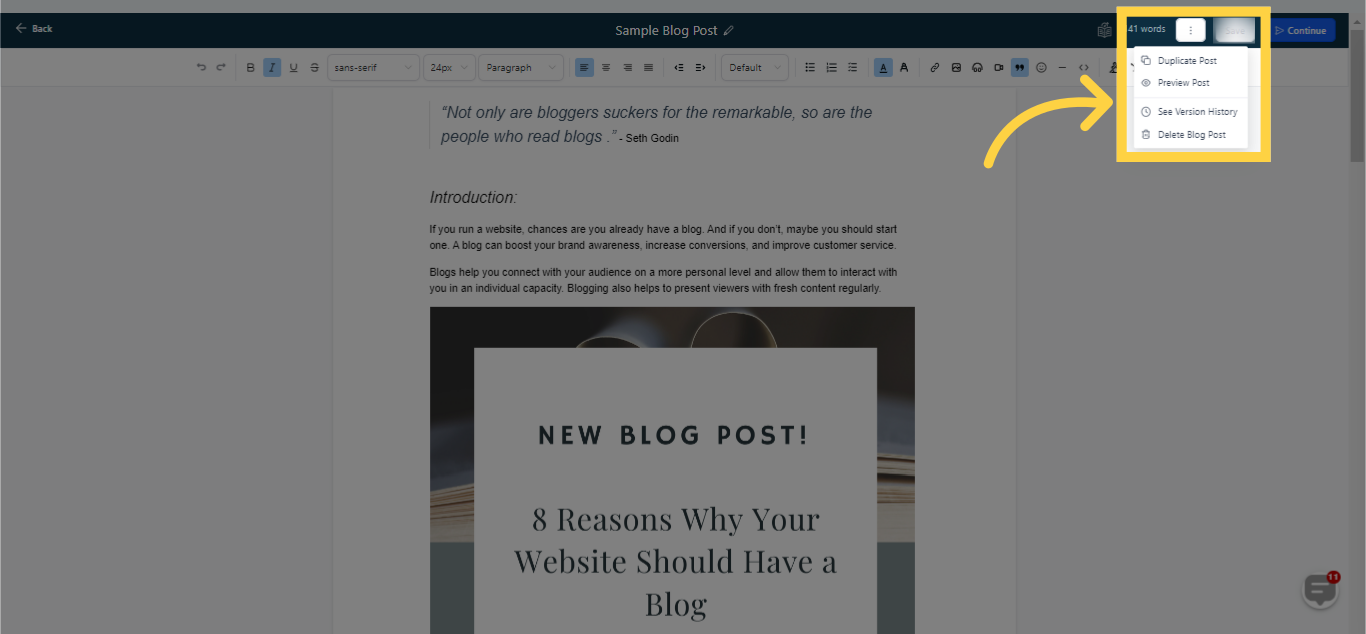
10. Click here to "save" blog post
Save changes.
11. Click "Continue"
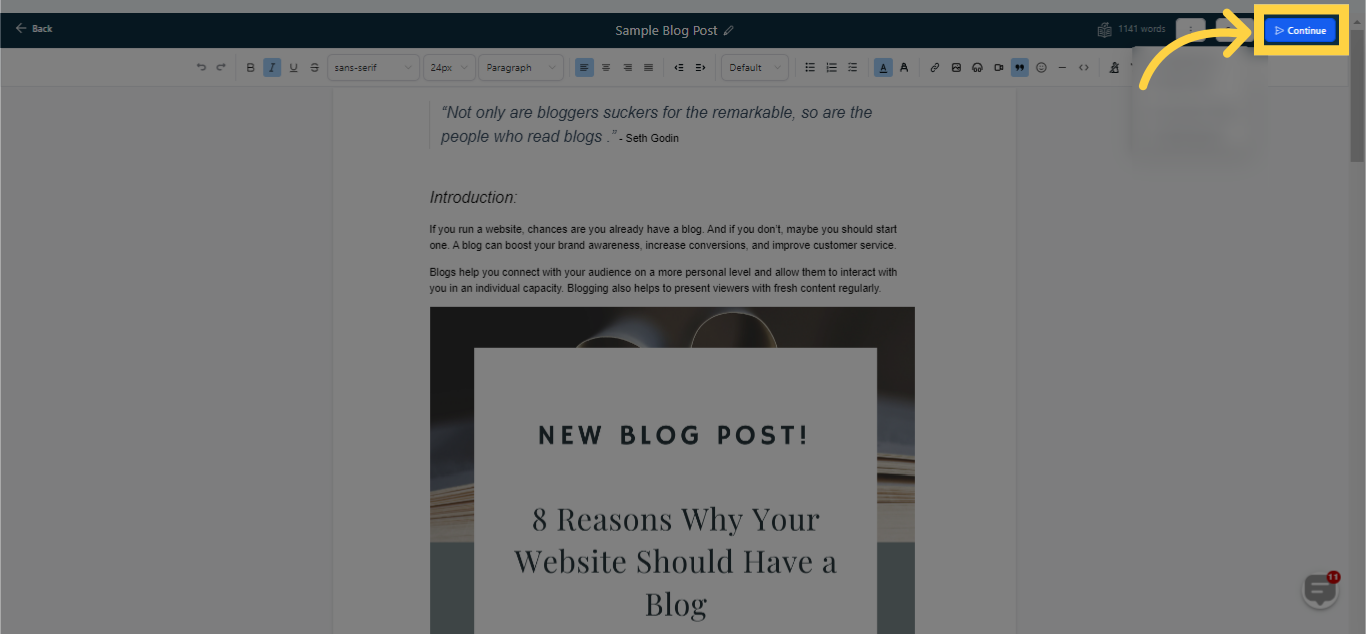
After inserting your content, it will be necessary to configure the specific details for your blog. This includes:
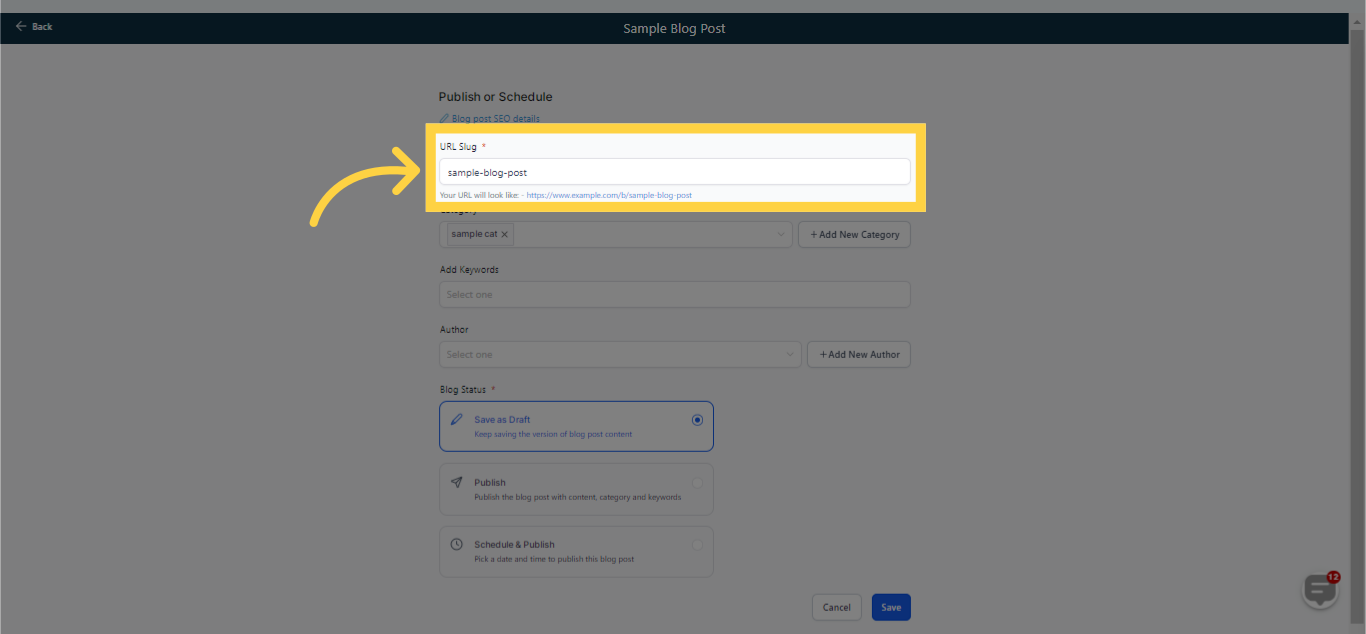
12. Provide URL Slug
the URL path for your blog post
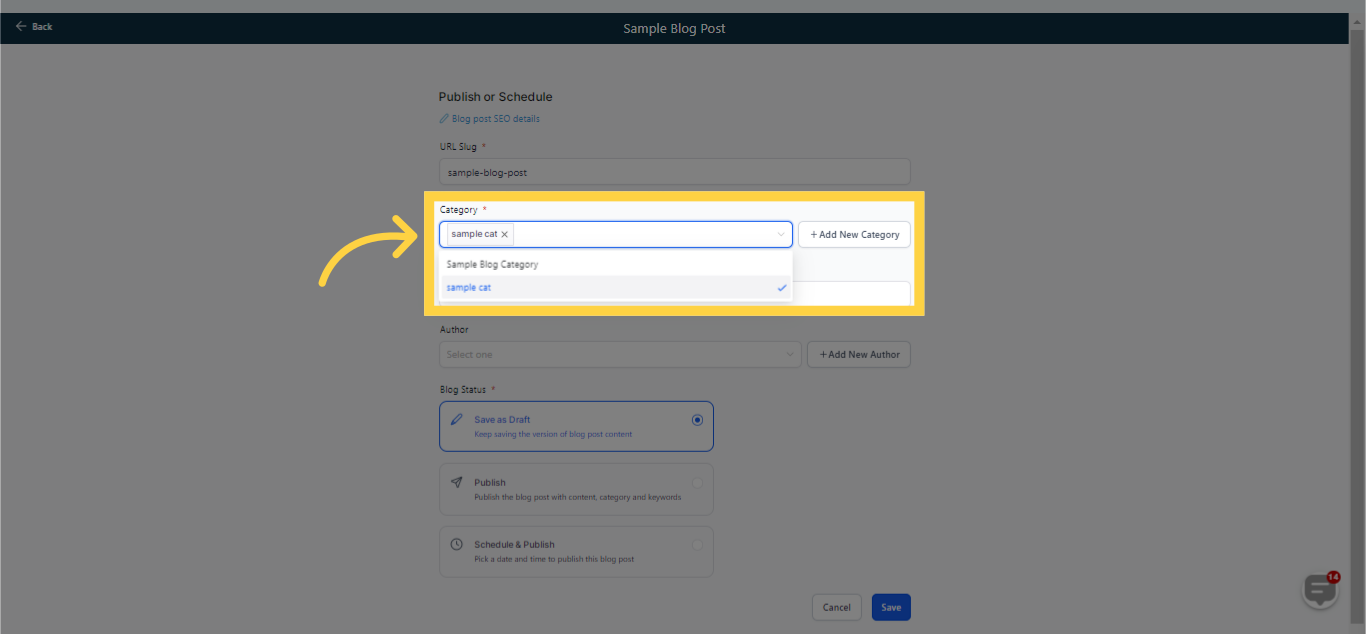
13. Select "Category"
(as defined in the blog settings)
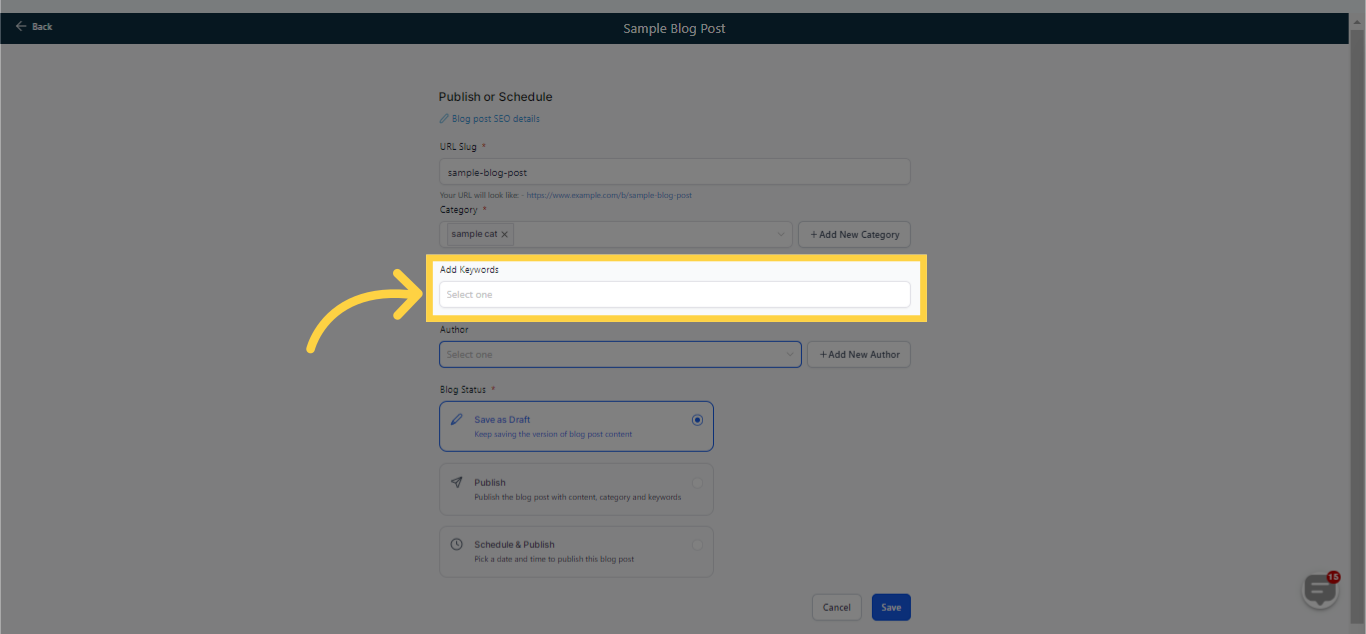
14. Click here to Add Keywords
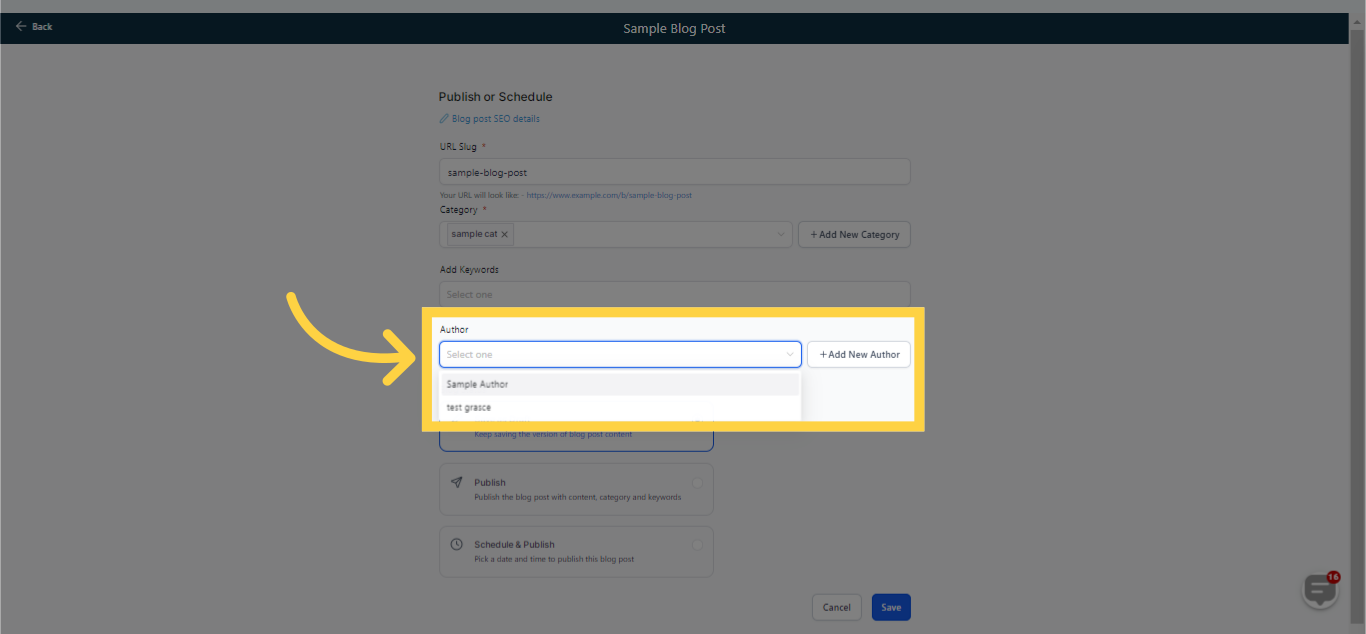
15. Select Author
(as defined in the blog settings)
16. Choose "Save as Draft" Blog Status
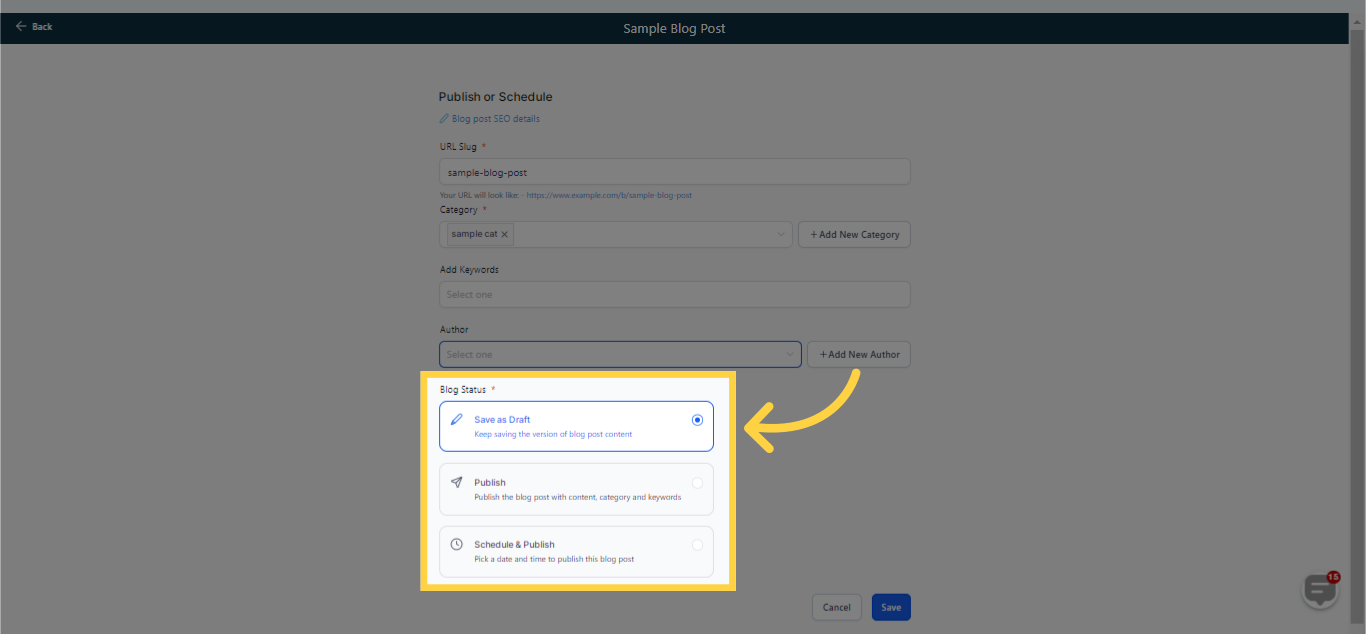
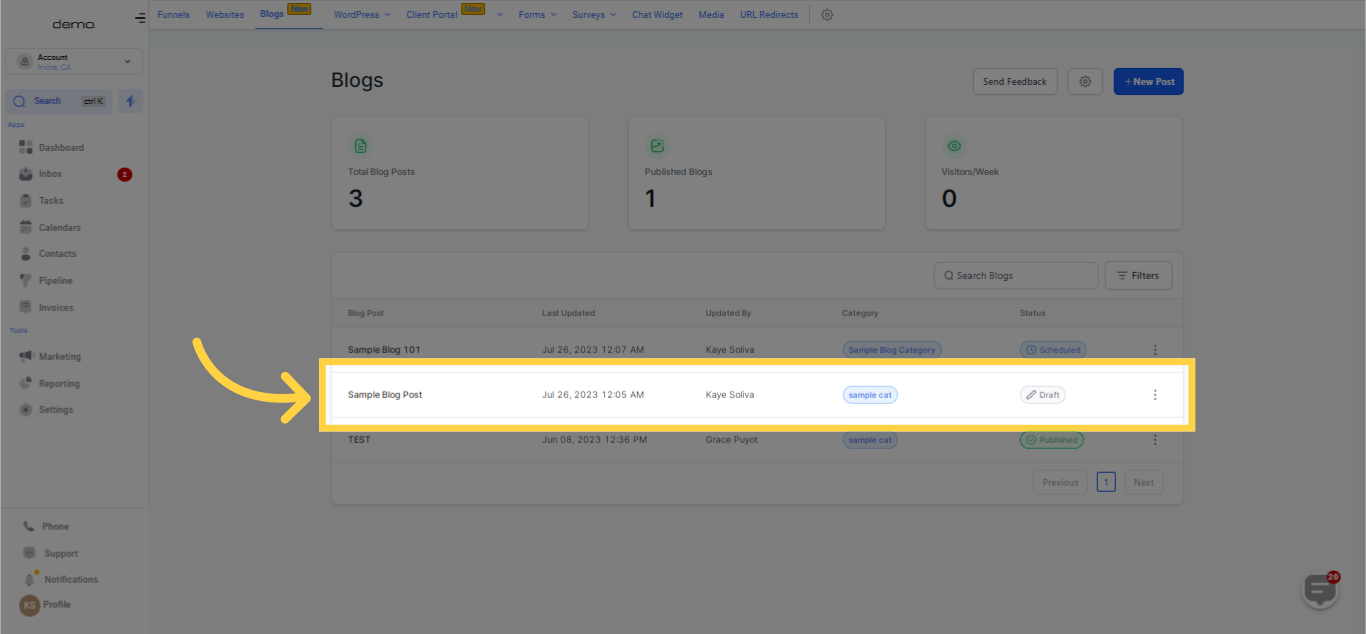
17. Blog saved as DRAFT
18. Choose Publish Blog

19. Select Date to Publish Blog
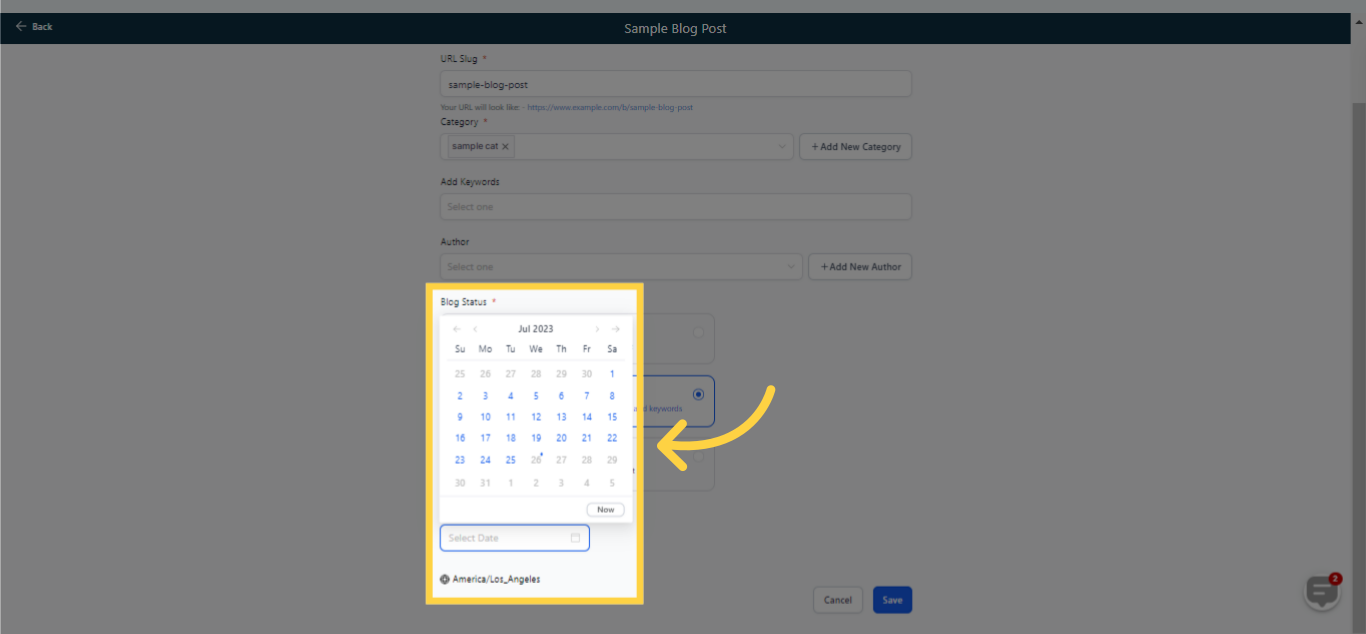
20. Click Save
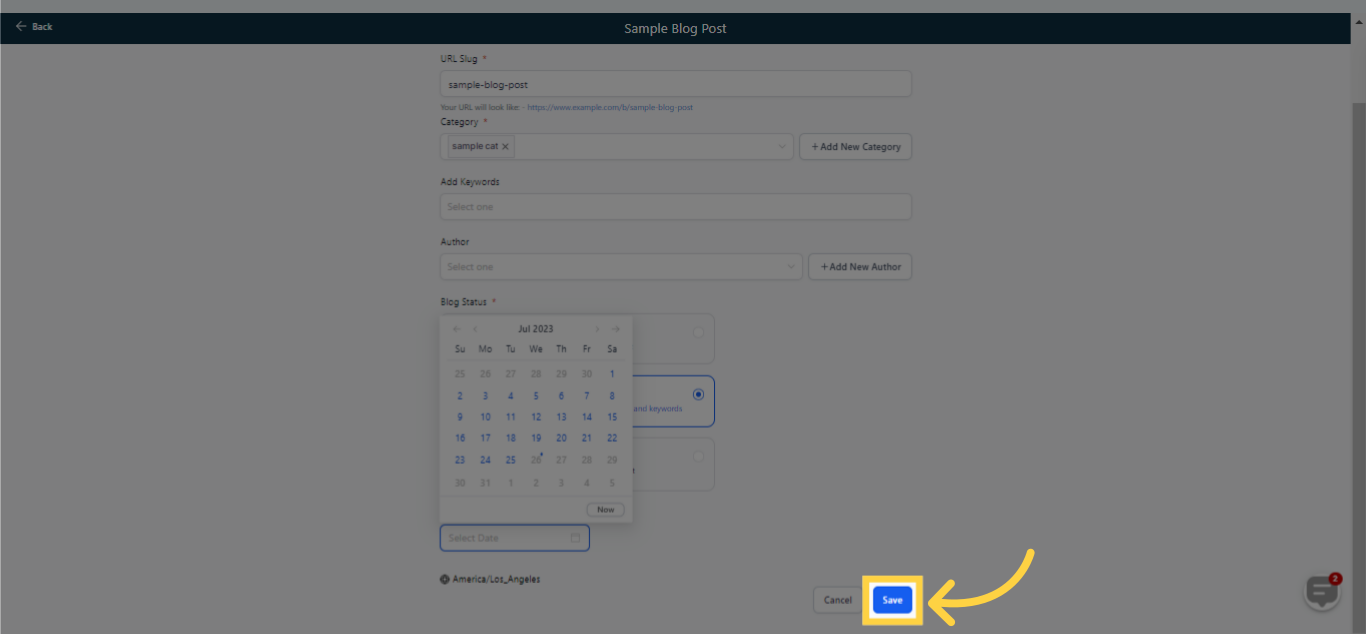
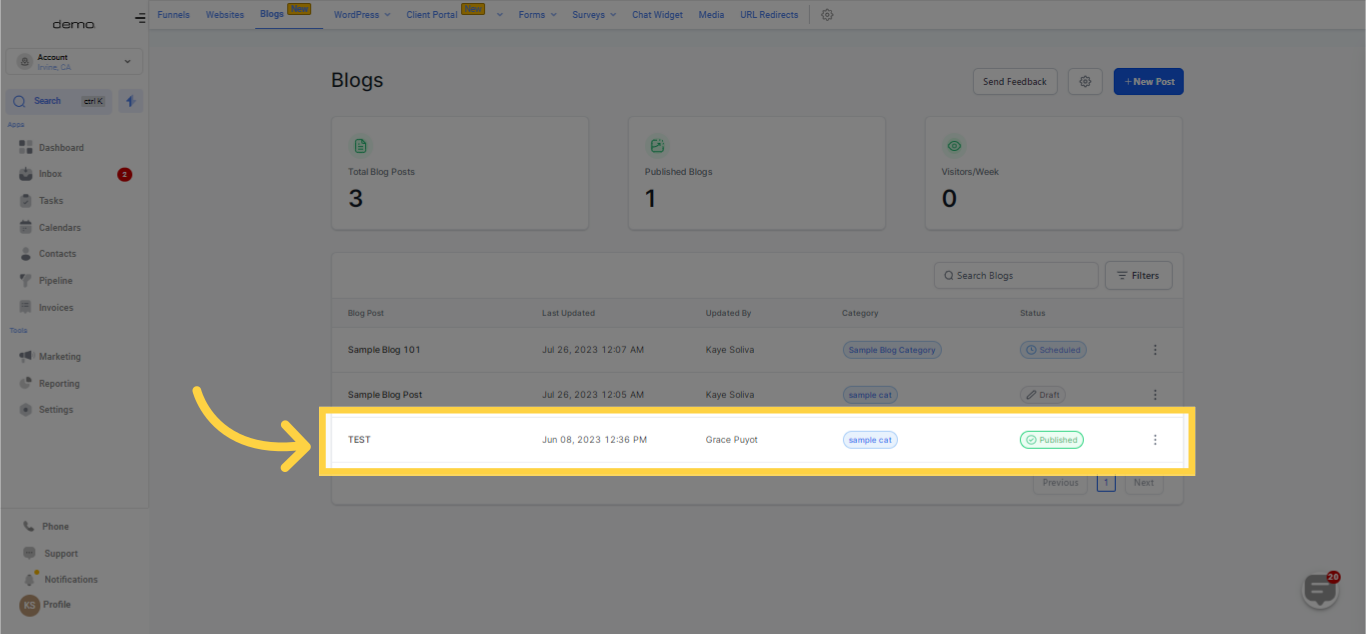
21. Blog status " Published"
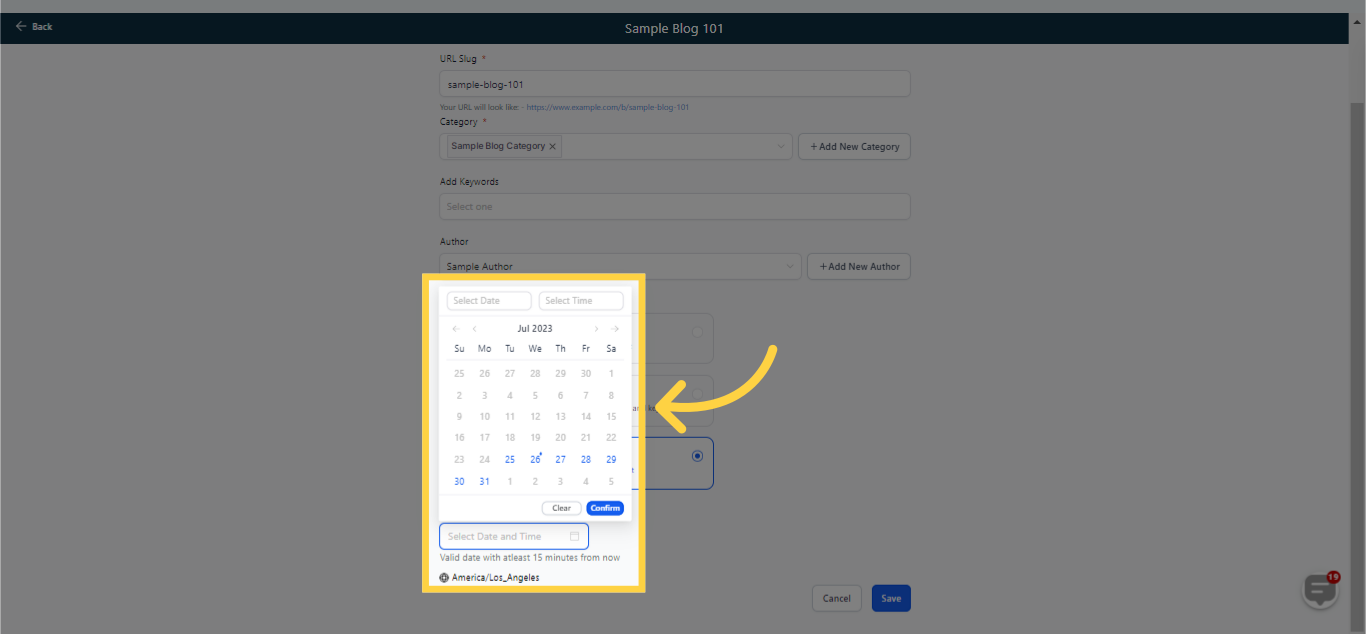
22. Choose "Schedule and Publish" Blog Status
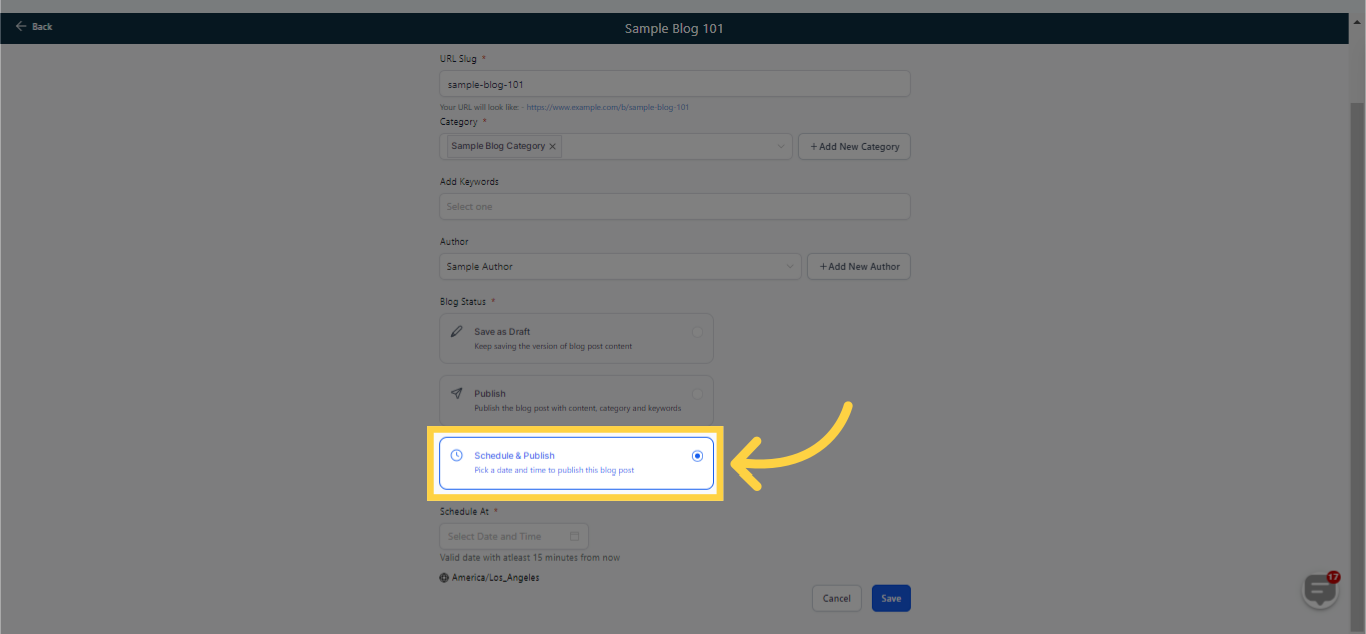
23. Select Schedule to Publish Blog
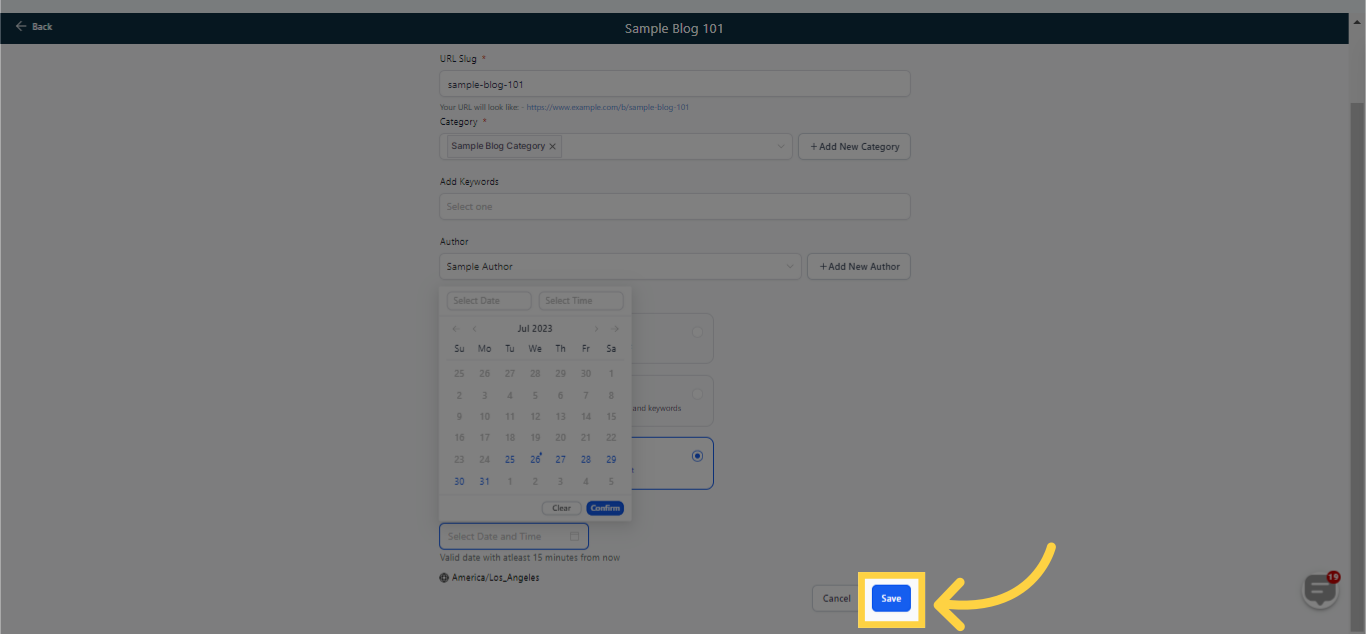
24. Click Save
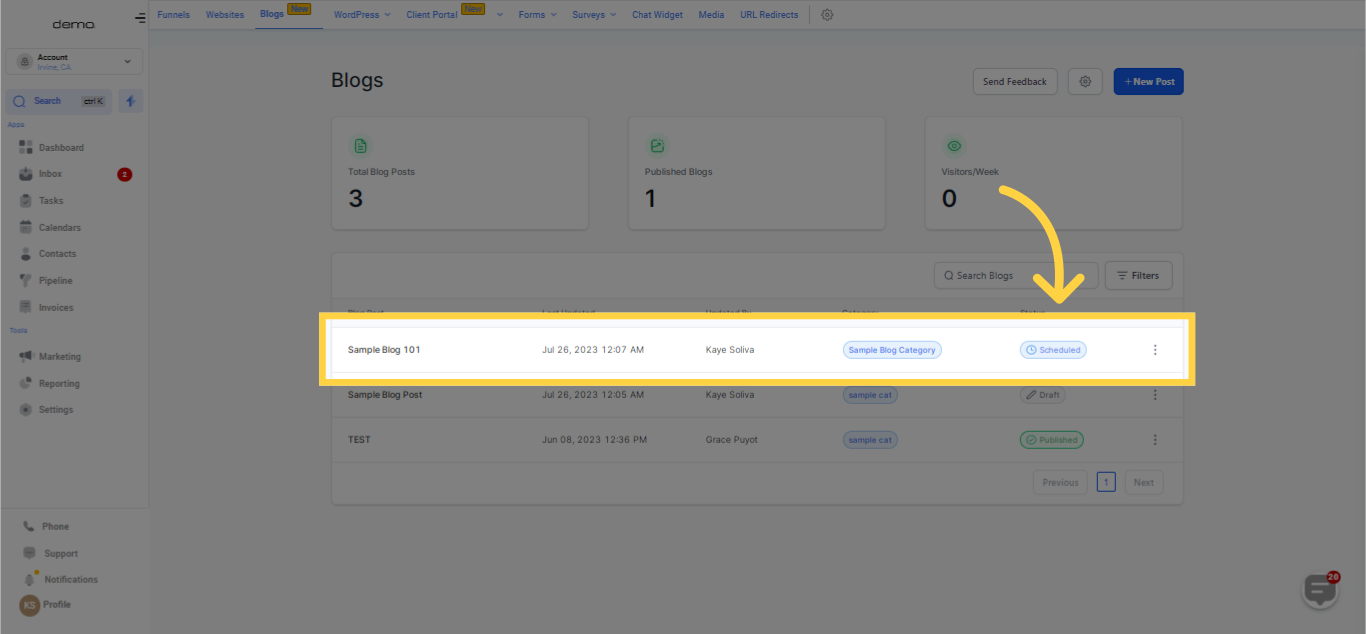
25. Blog Status is Scheduled
Post detailing, you can either immediately publish them or schedule them for a specific date and time, or simply keep them saved in draft mode.
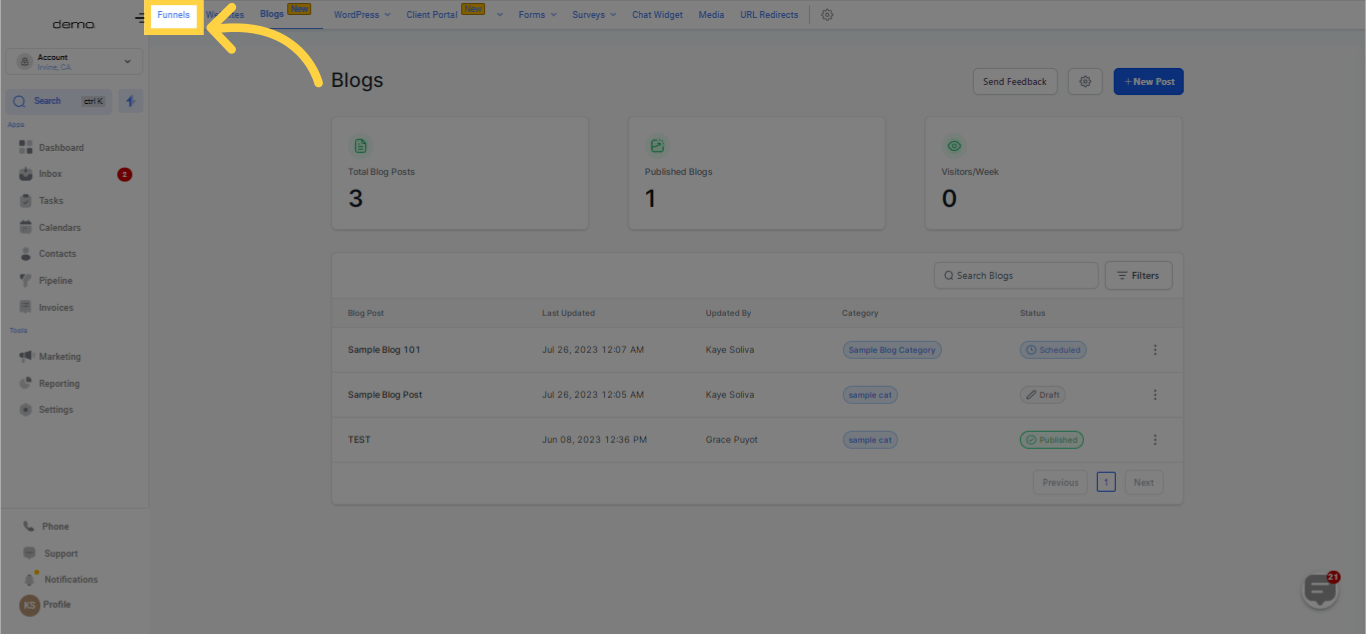
Step 2: Adding a Website or Funnel with the Blog Post List Element
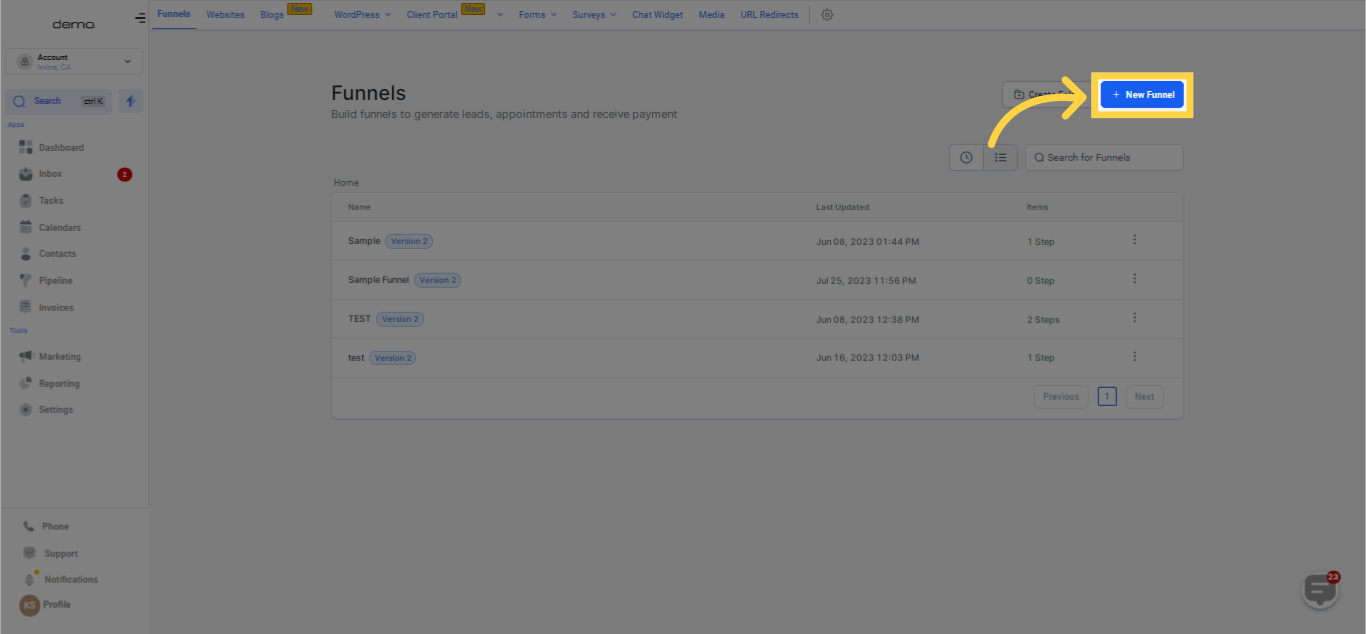
NOTE: This funnel or website page will serve as your primary Blog page, displaying all your blog posts.26. Click "Funnels"
27. Click "New Funnel"
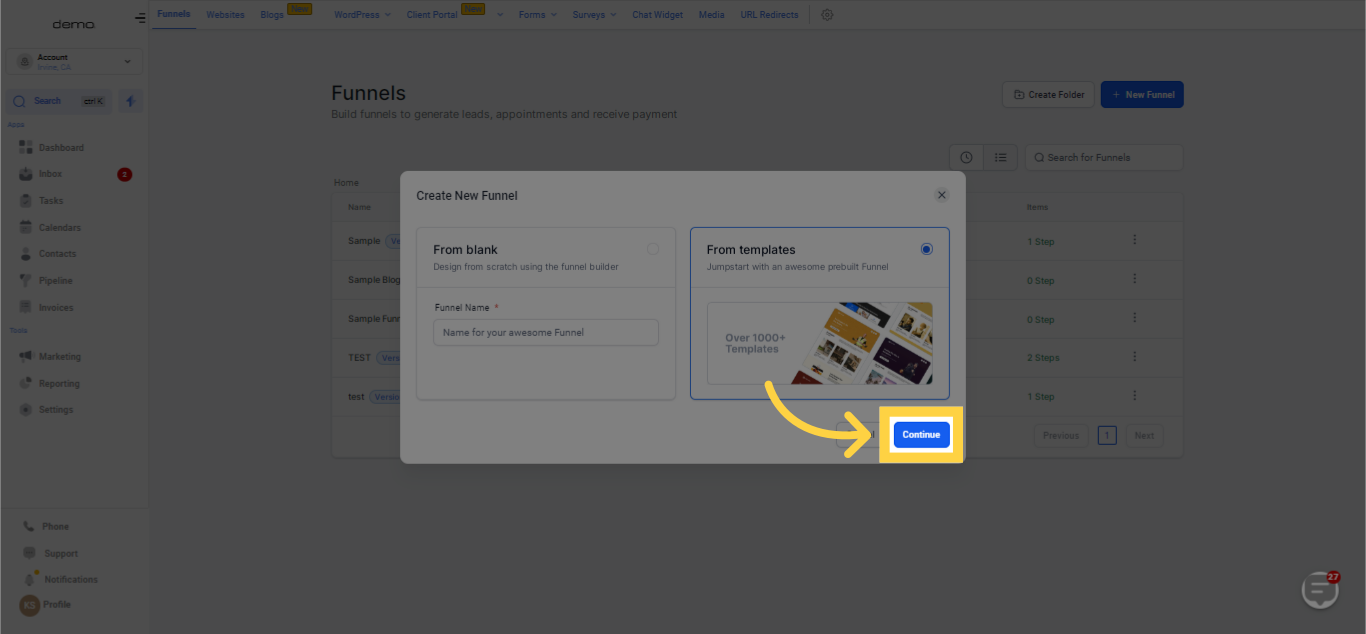
28. Choose from template funnel

29. Click Continue
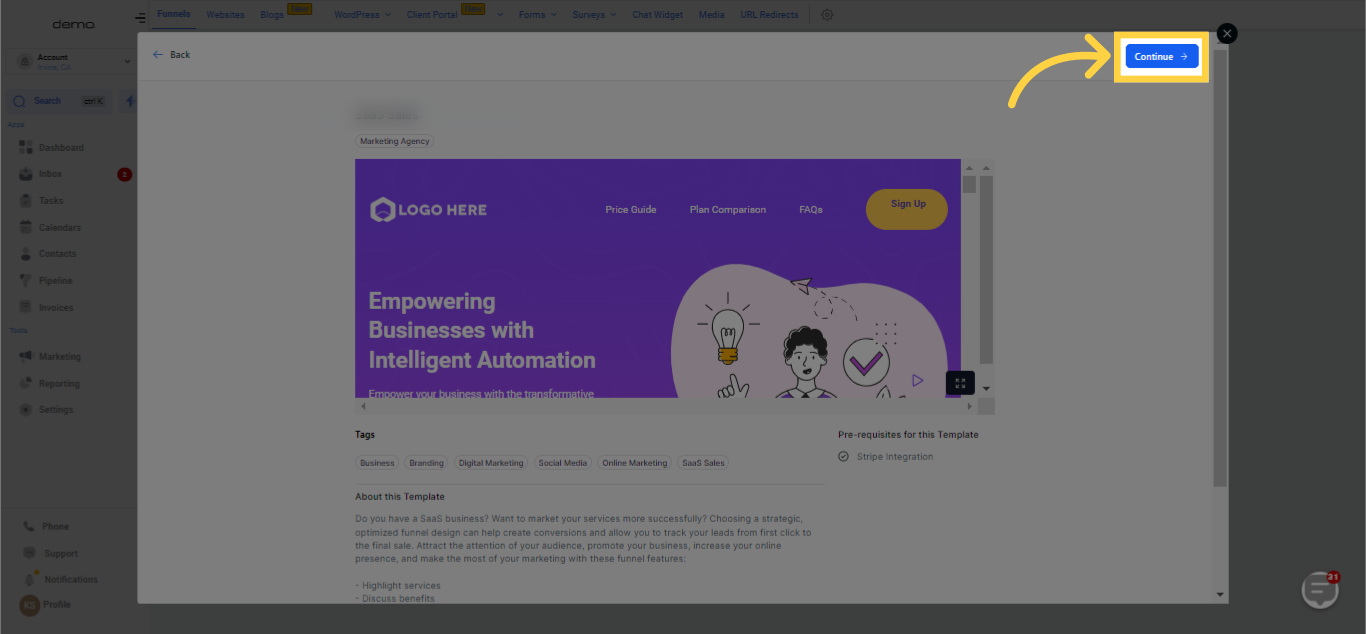
30. Select Template

31. Click "Continue"
32. Click "Get this Template"
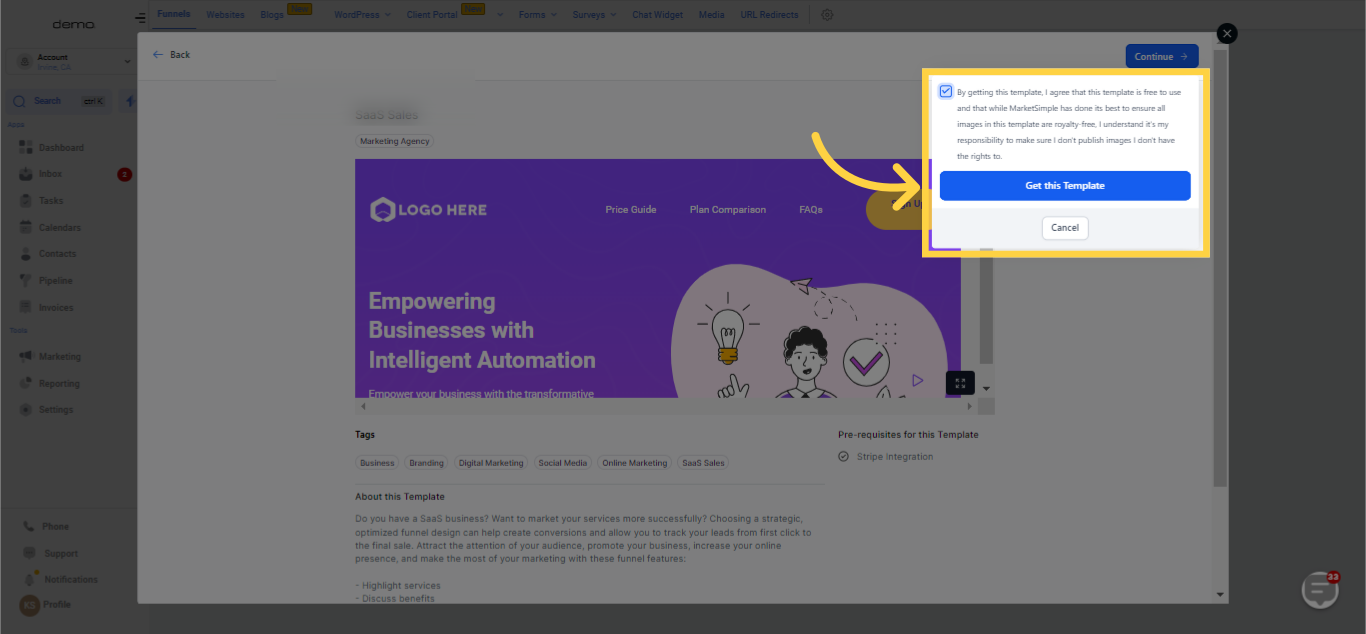
33. Funnel template applied
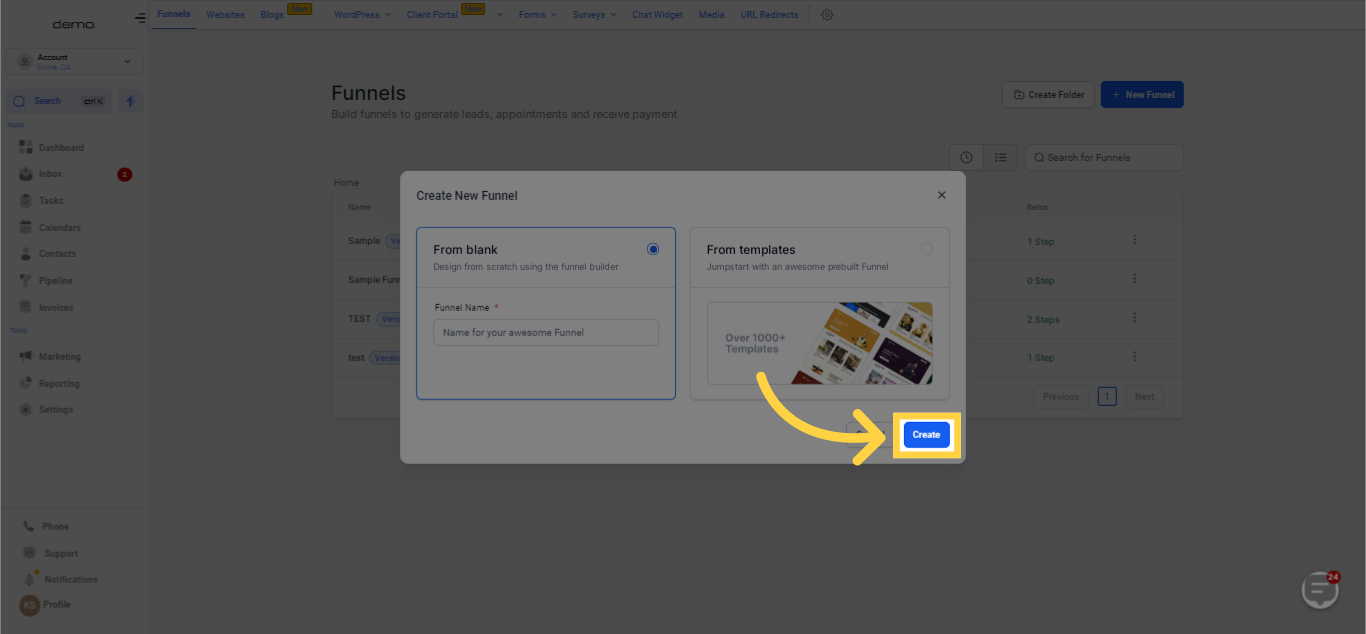
34. Provide Funnel Name
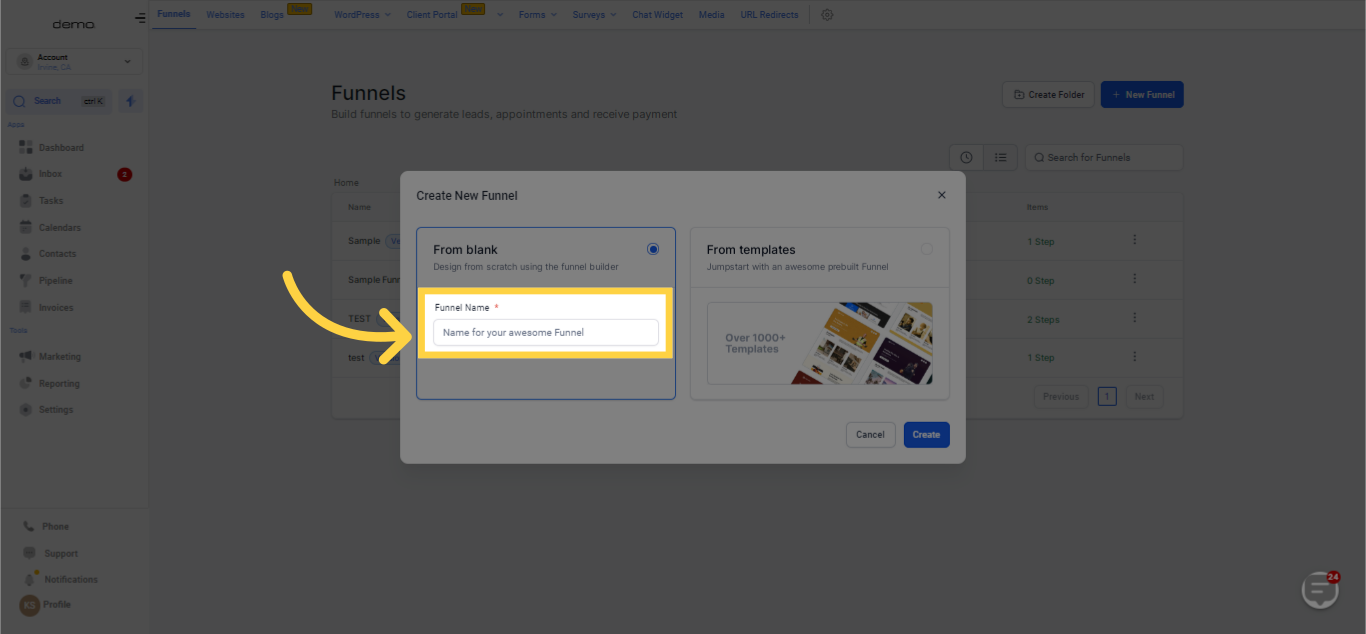
35. Click Create
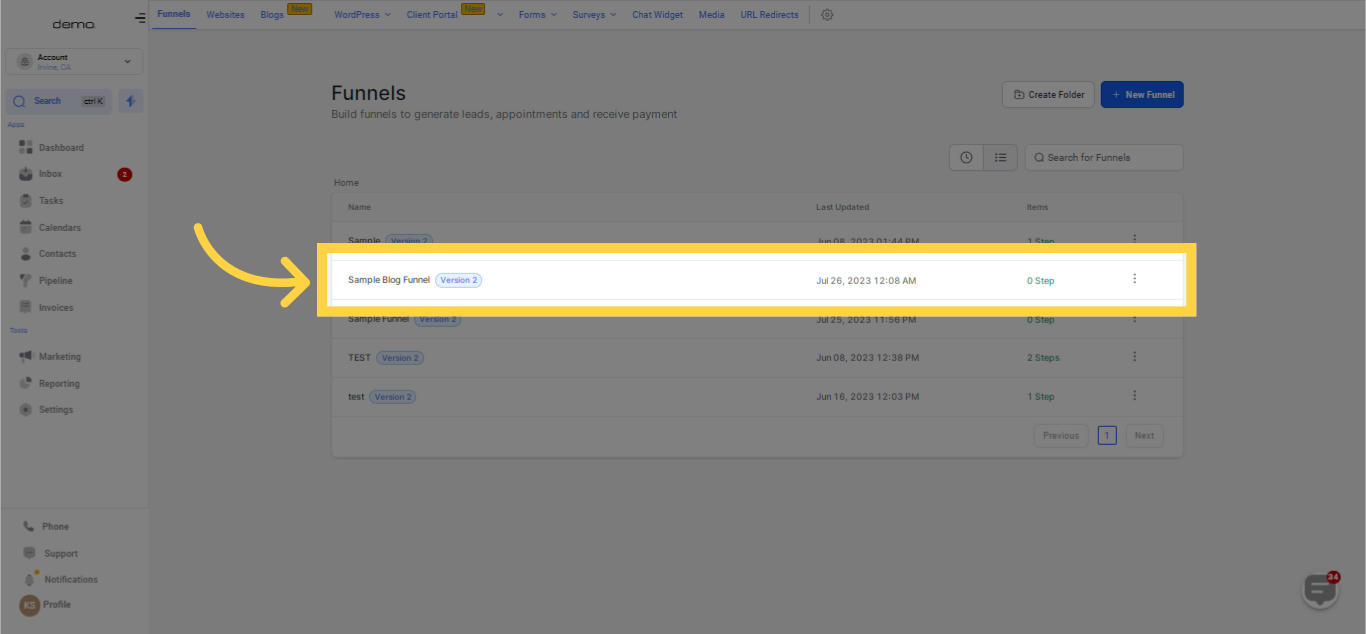
36. Select created funnel from the list

37. Click Settings
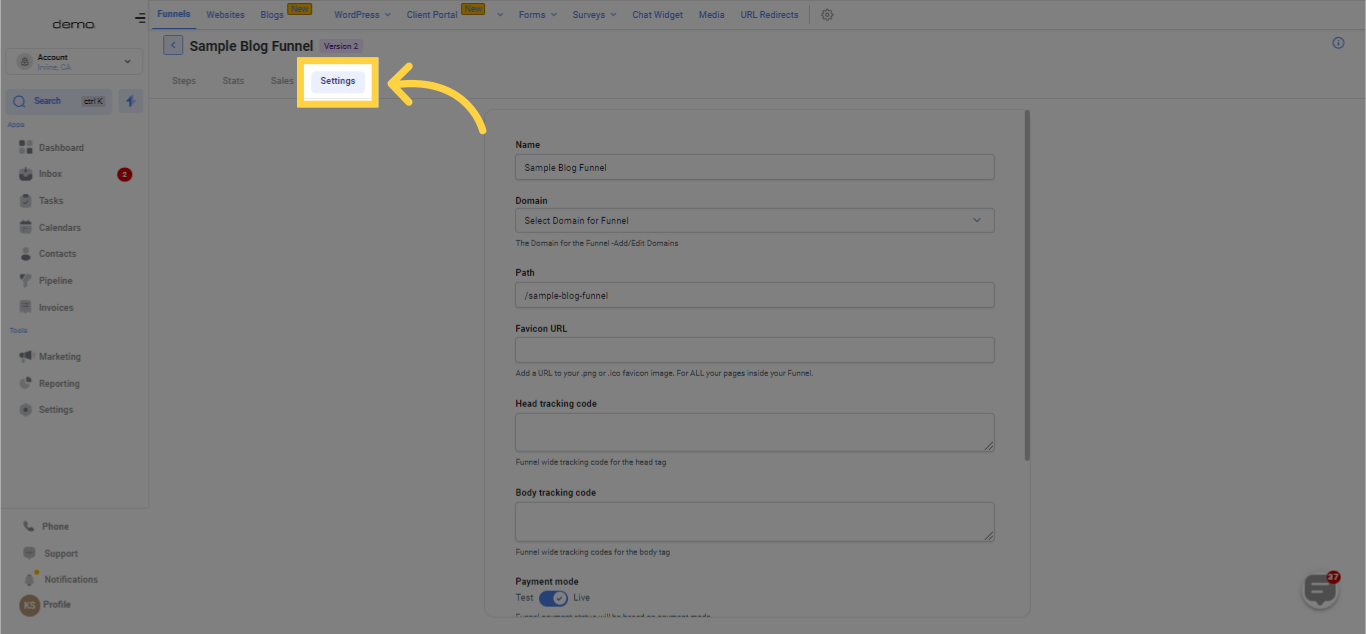
38. Fill in necessary details
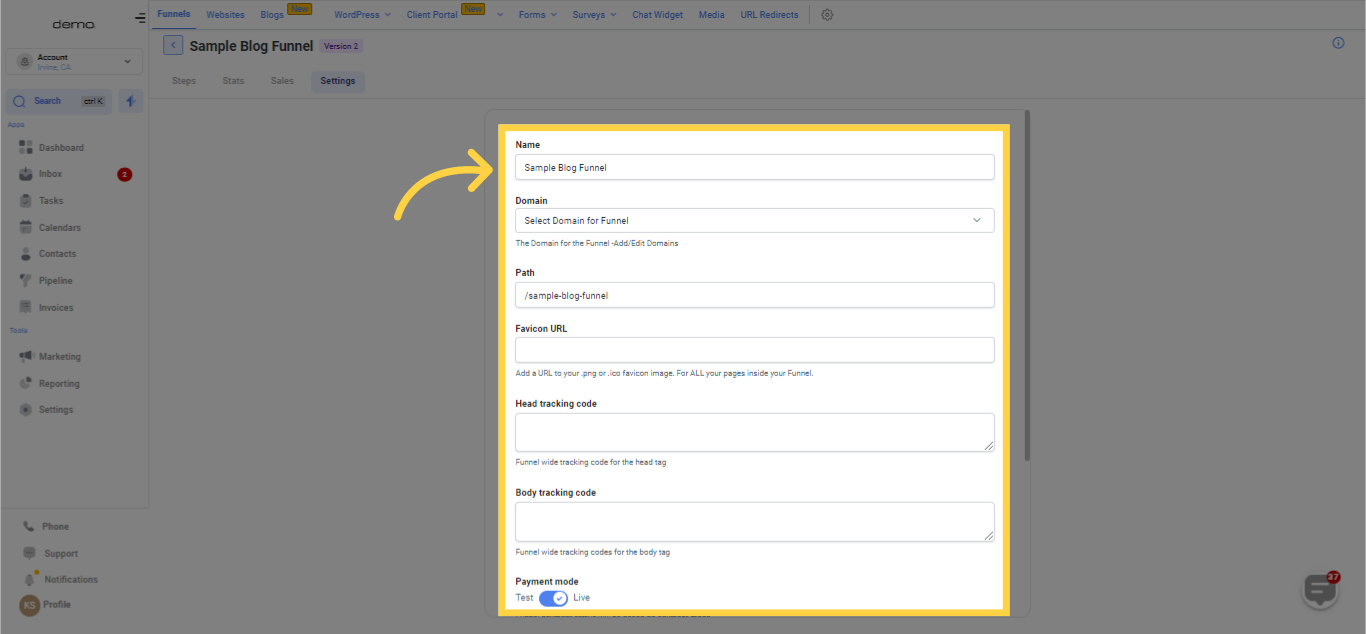
39. Turn on options if you want to apply
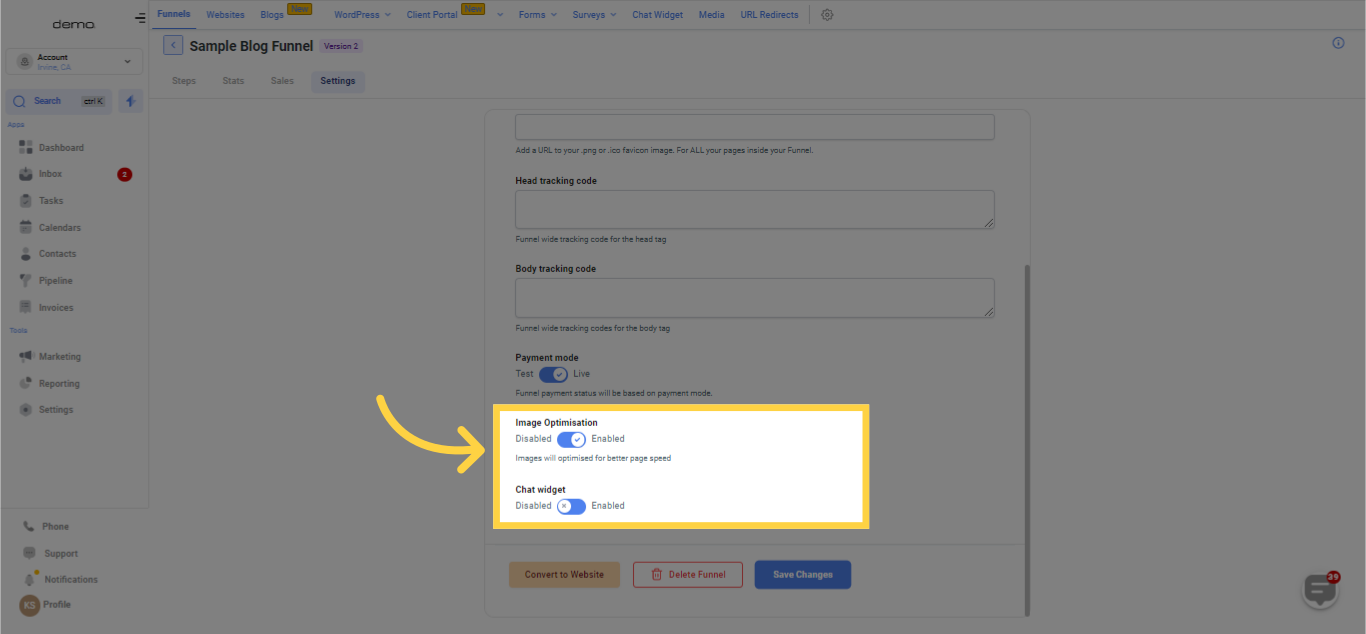
40. Click options if you want to apply
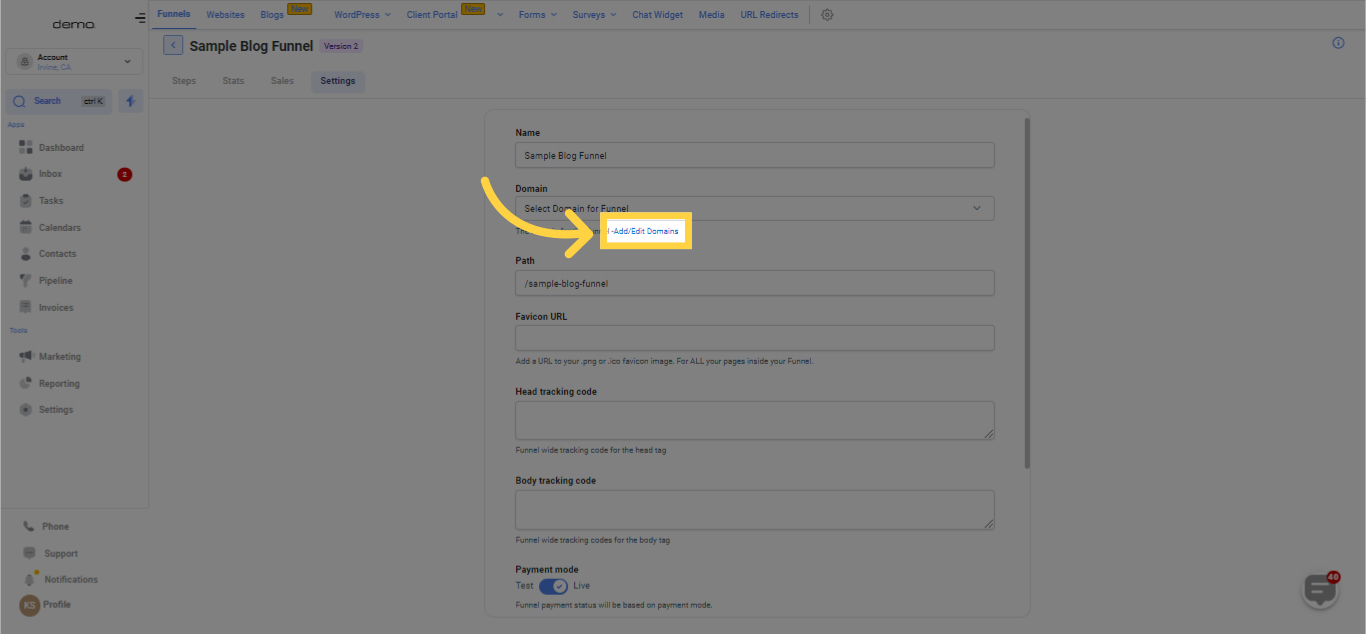
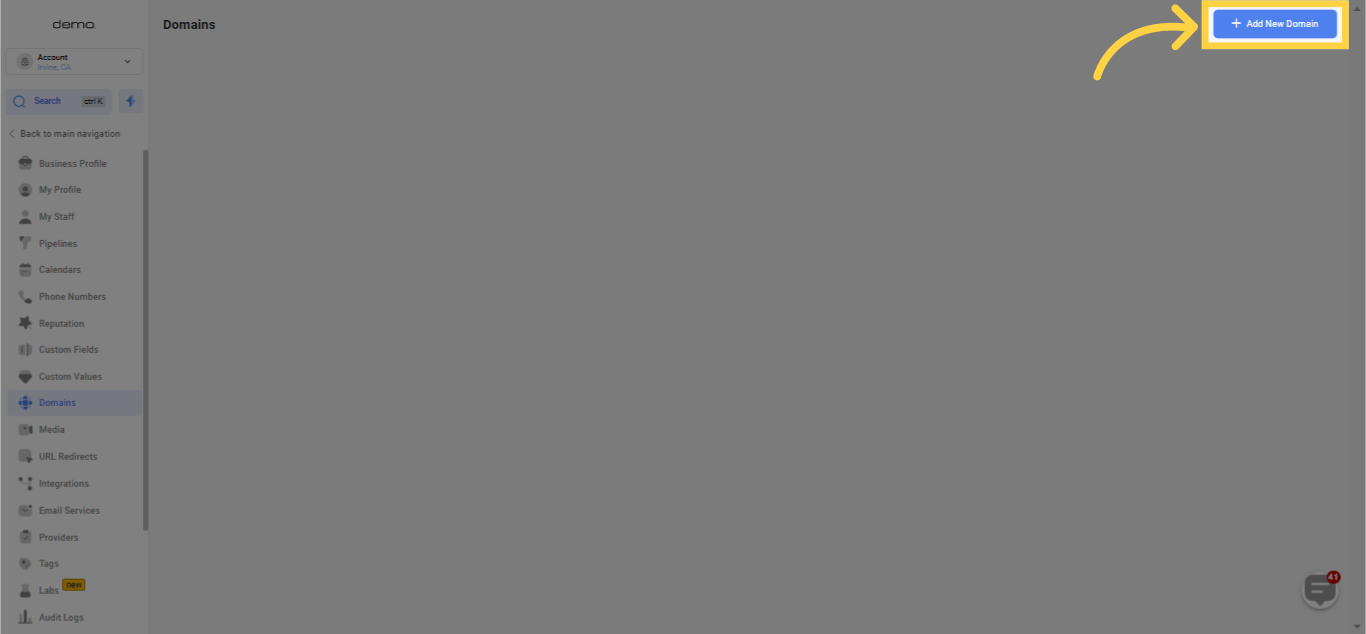
41. Click "Add/Edit Domains"
Incorporate the domain into the site via the Funnel/Website Settings.
42. Click "Add New Domain"
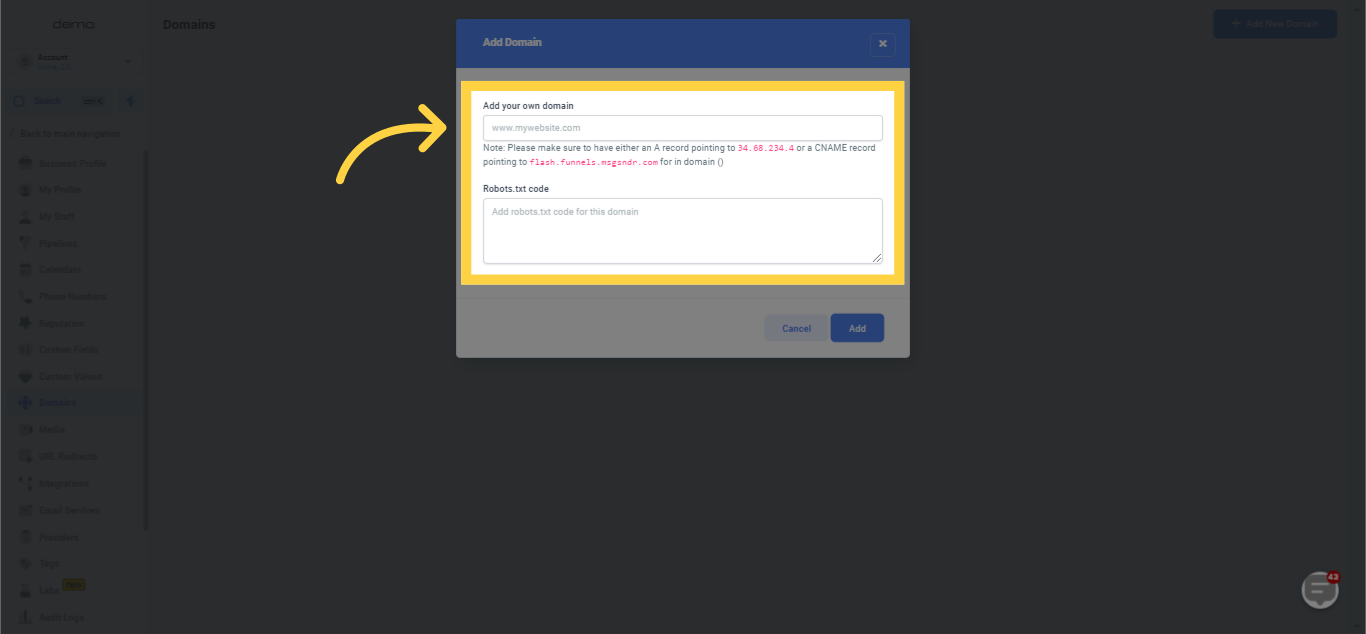
43. Provide own domain and Robot.txt code
Incorporate the domain into the site via the Funnel/Website Settings.
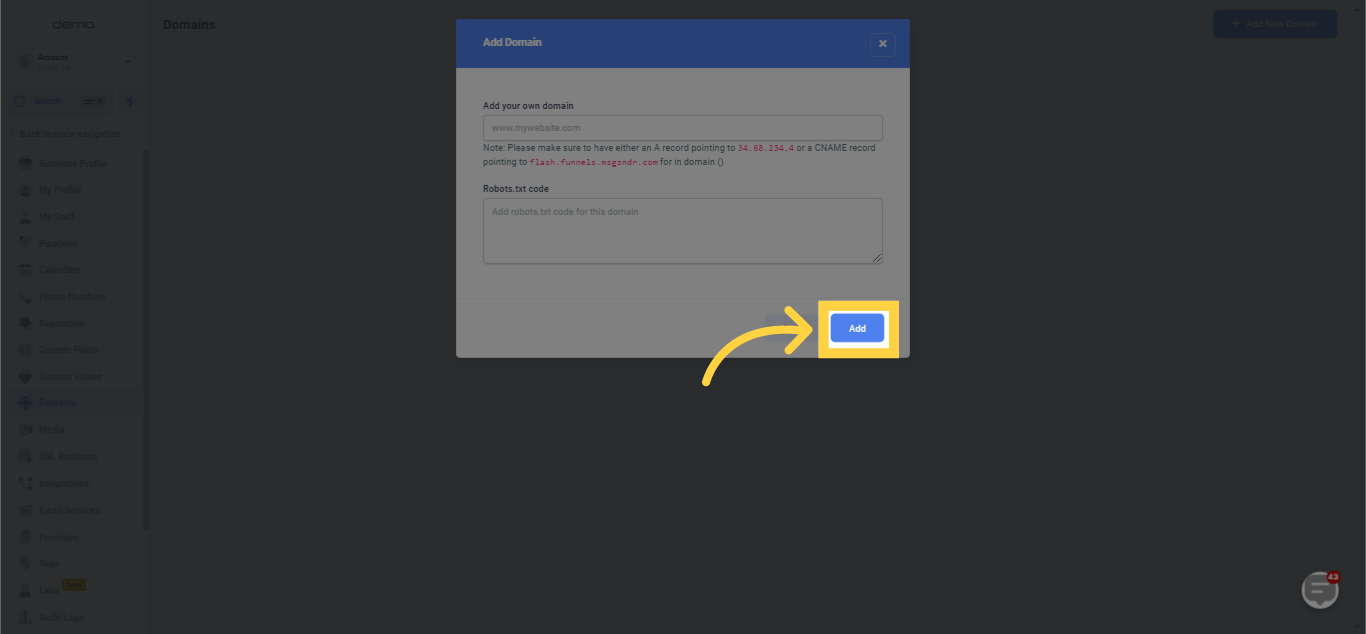
44. Click Add
If you prefer your blog page to load upon entering your domain without any specified path, you can go to Settings > Domains > Edit Domain, and designate the blog page as the default page. This configuration allows your blog to open at blog.thedemoaccount.com rather than blog.thedemoaccount.com/home.
Step 3: Understanding Domains within the Blog Context
You incorporate the domain to the Funnel or Website where your blog component is added. Here's an example of a Blog URL format:
Domain: XYZ.com
Post Slug: b/sample-demo
Final URL: XYZ.com/b/sample-demo
Professional Tips:

Categories: The details of each Blog Post will require specification of Category. Multiple categories can be added.
Customizations of Category details, such as name, slug, and SEO aspects can be made within the Blogs Settings.
The inclusion of Blog Author and Keywords is discretionary. Author details can be personalized in Blogs Settings with factors like name, photograph, and social media data. The keywords can be set from the "publish" section.